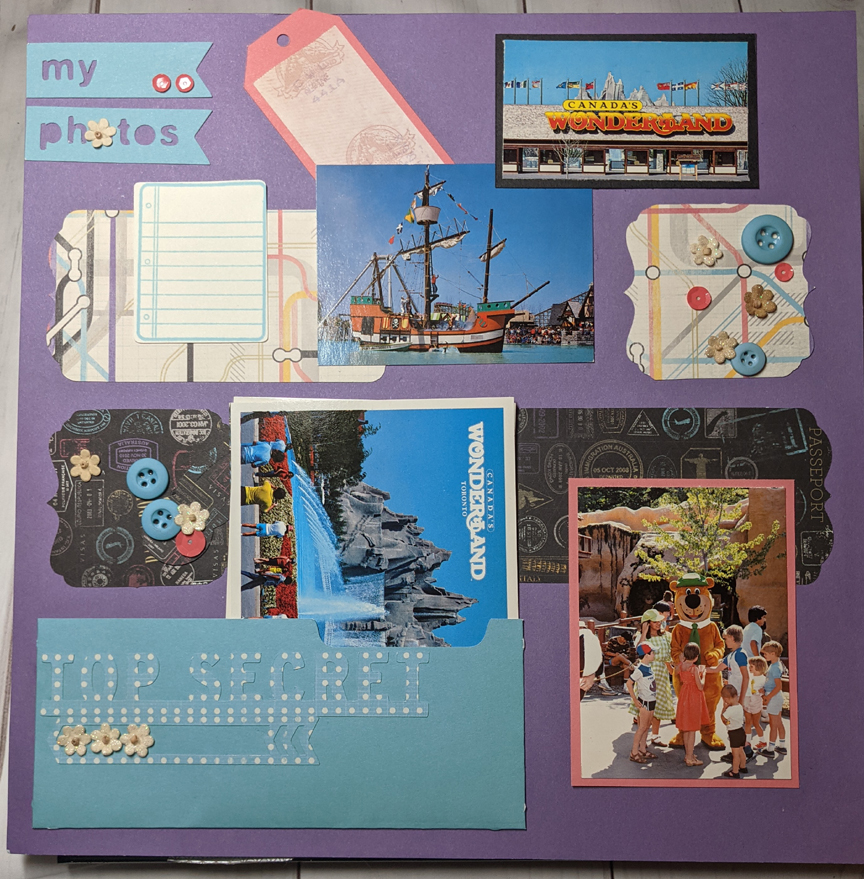
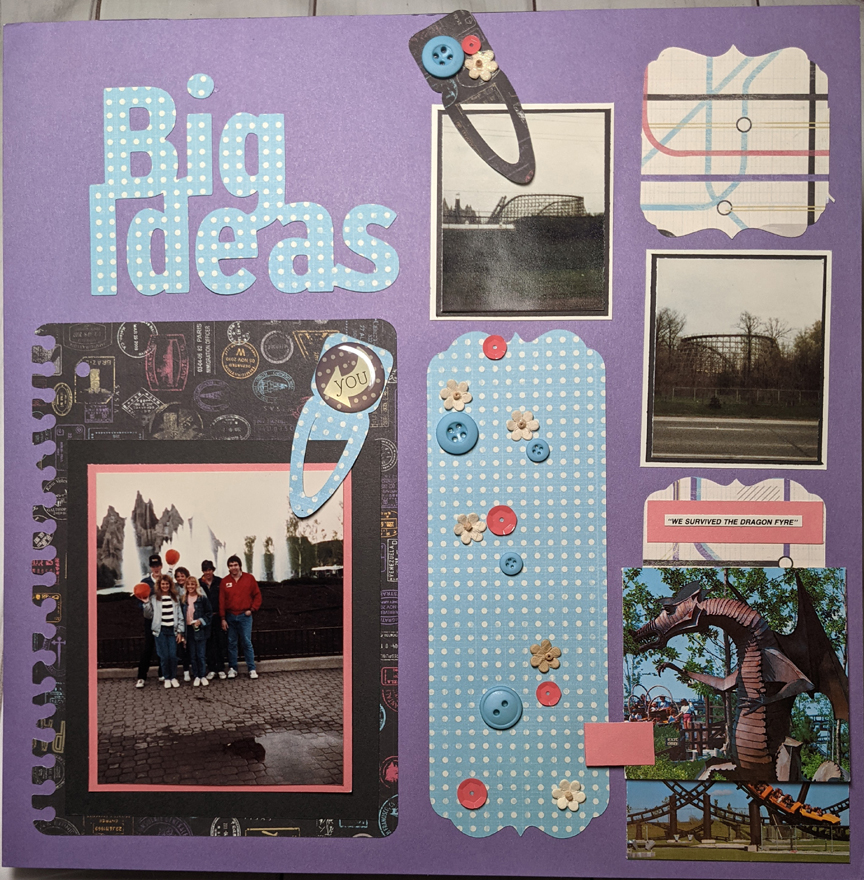
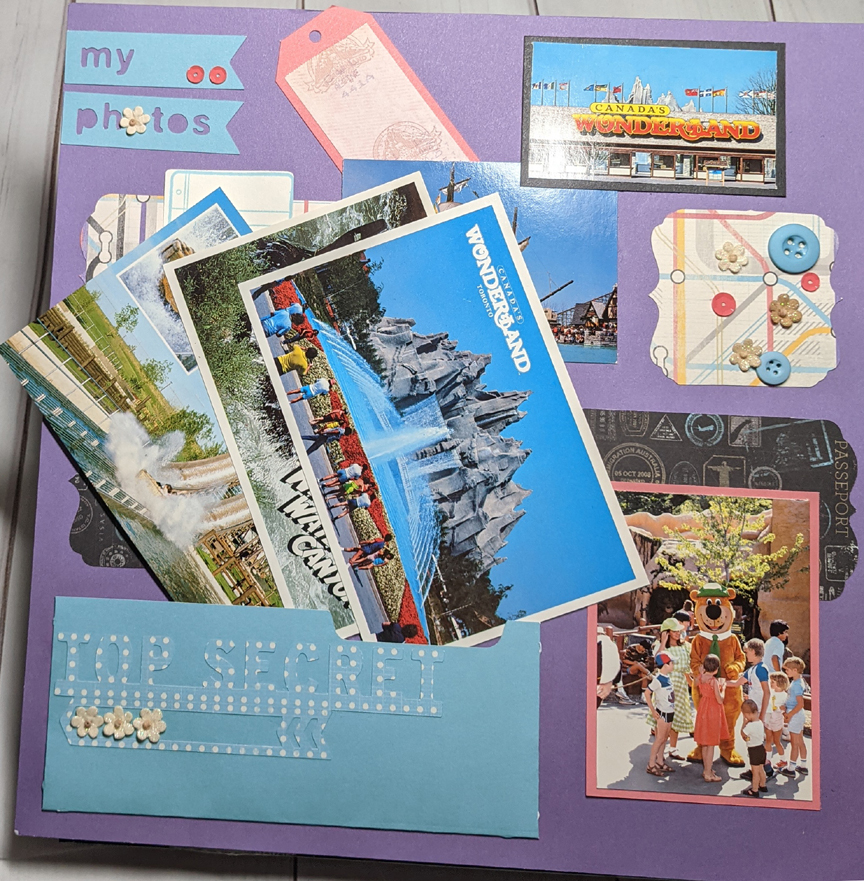
As some of you might know, I have found 1000s of photos and hundreds of blank layouts as we unpack and settle into our home. I’m trying to pair the photos with the layouts in an effort to get them into albums that everyone can enjoy.
These photos (all 3 of them) are from my husband’s high school senior trip. He really likes the layout.
I was certain that I had a craft desk in my studio. If you walked into my room, you needed to look closely to see glimpses of the top. In an effort to dust off my crafting mojo and find the top of my desk, I created some cards.
Here is the Process Video if you want more information.
Hi. If you are curious about how you can be included the fun at our monthly club night, just ask join our Facebook group “Crafting with Amanda VIP Group” I can then connect with you and share more information. We are currently a smaller group, but active and fun and supportive.
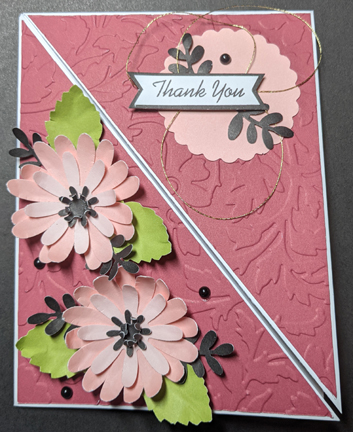
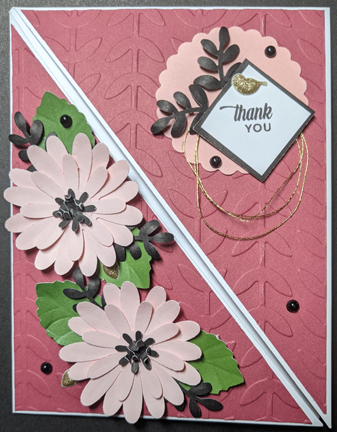
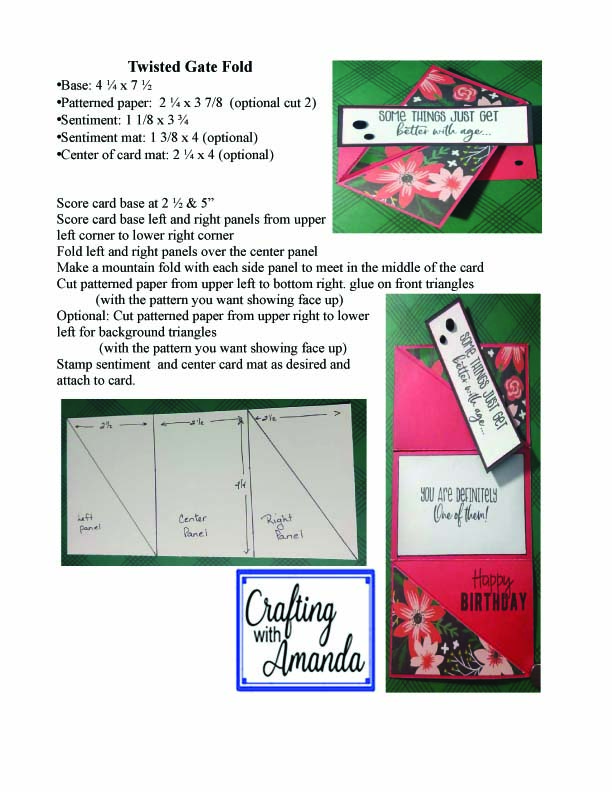
Twisted Gate fold
I found this cute, new to me, folding card and thought this would be perfect for our group! It can power through scraps and yet deliver a big greeting! It fits in a standard A2 envelope. (5 3/4 x 4 1/2)
It’s really a simple card. You can print the instructions and follow those, or I walk you through the steps in this video.
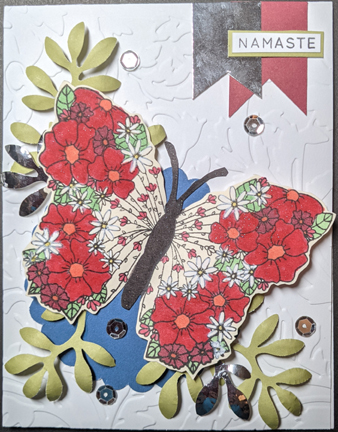
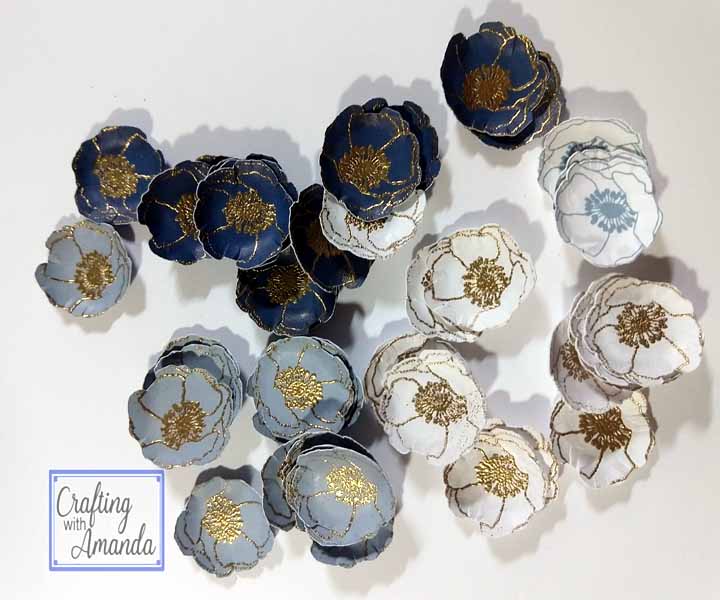
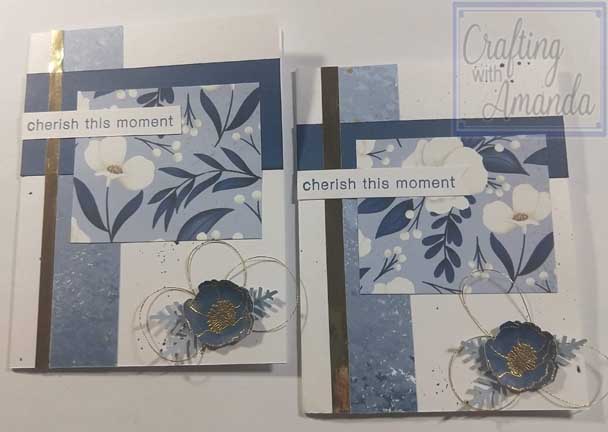
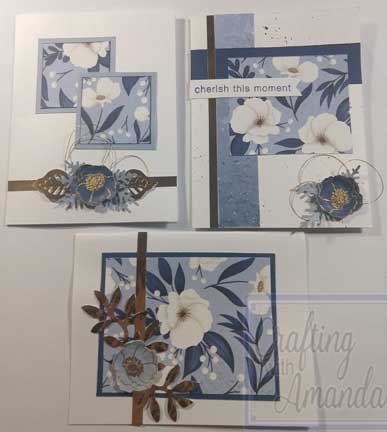
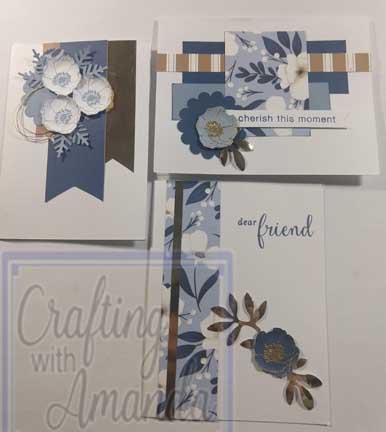
I had a big pile of scraps left from my Christmas cards and started creating some cards from the pieces. At first I did a few and then decided I needed some flowers for embellishing. So I cut 20 flowers in blue belle, sapphire and whites daisy. I used my cricut to fussy cut the flower from the old Chelsea Gardens stamp. (C1709) Then to finalize the flowers I stamped them with embossing ink and heat embossed them with gold powder.
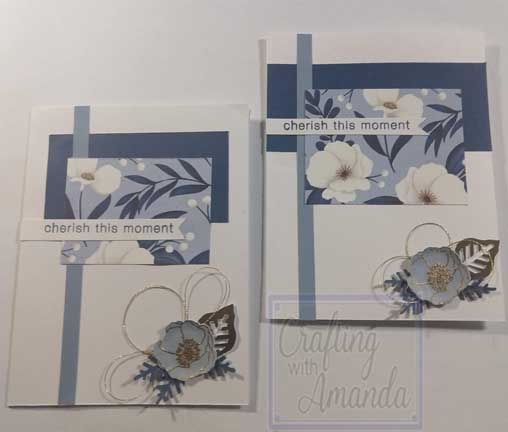
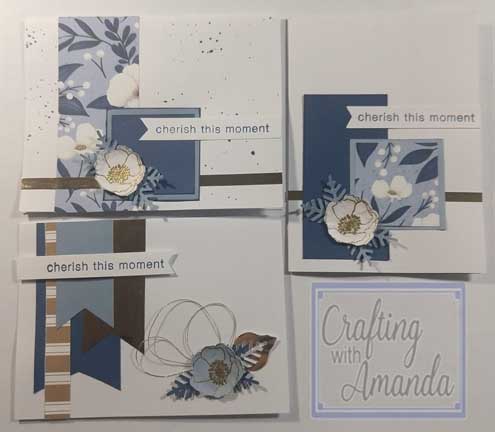
So now that I had a bowl of flowers I could dive into creating some cards.
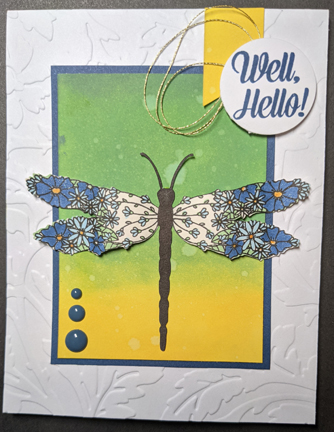
The branches and gold leaves are all from the leftovers too. If you like watching process videos, here’s mine from these cards.
Less than $1.85 per card including tax and shipping for the yearly subscription is an a amazing deal. That doesn’t include any bonus cards or the stamp set, block & ink! Here are cards 3-12 plus the 3 bonus cards I made with a brief description of what I did to create the cards.
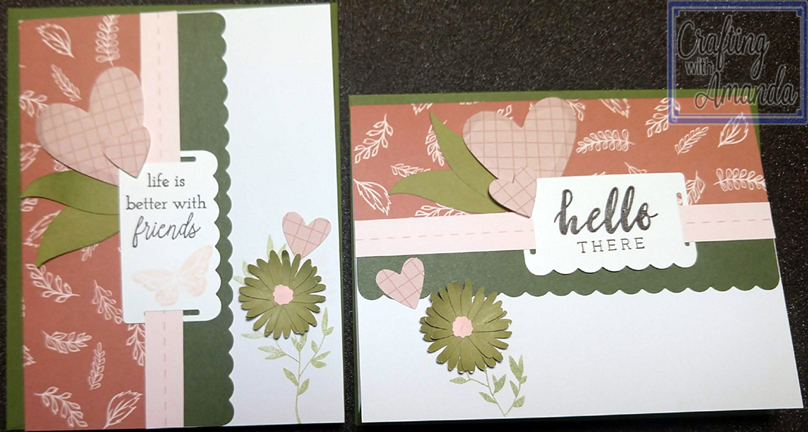
Card #3
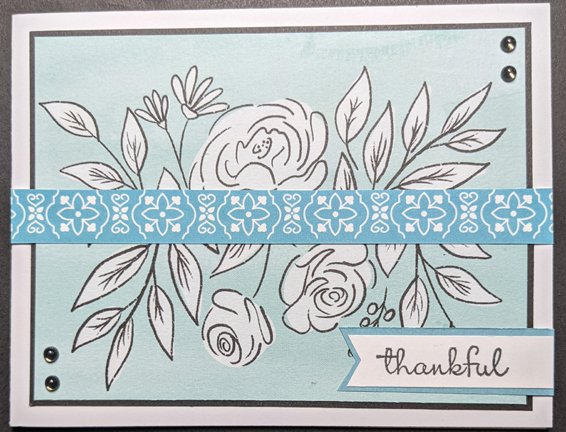
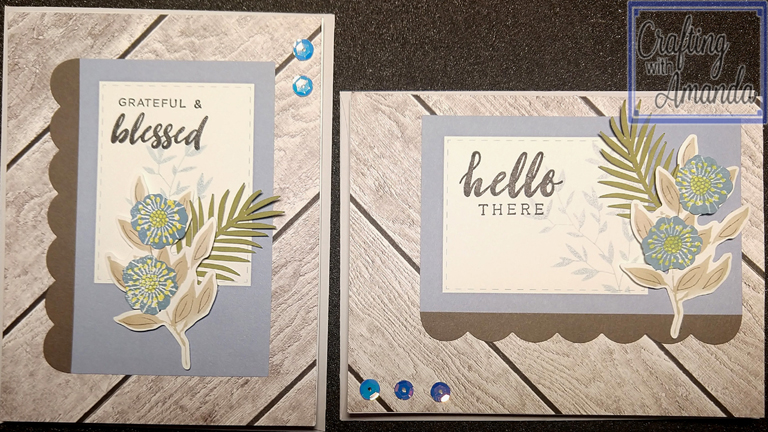
All I did on card #3 was stylus emboss the big heart, one of the little hearts & curved the petals on the green flower. I used foam tape under the hearts above the sentiment. I also stamped the leaves under the green flower head.
Card #4
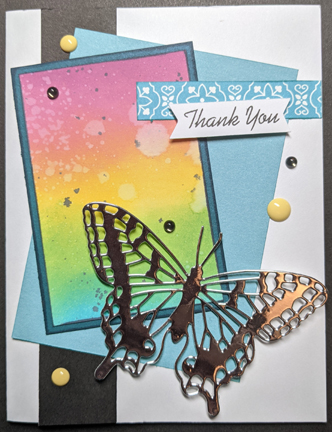
Card Number four was kicked up a notch with a couple of pink leaves and a palm branch. Splattered the sentiment base with the pink shimmer brush and added some sequence along with stylus embossing the foliage & flower.
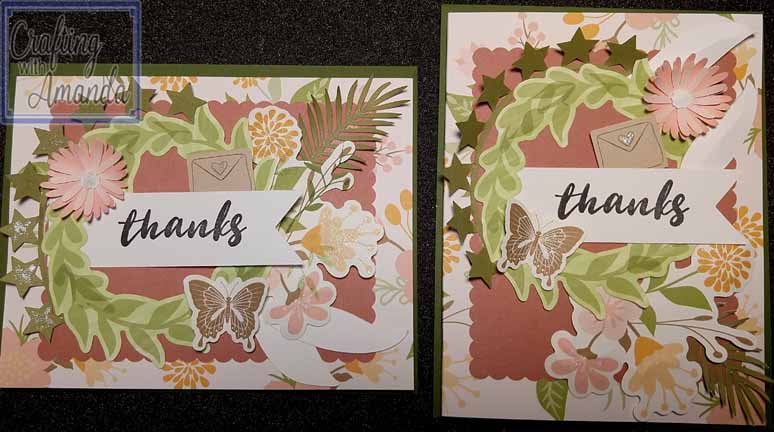
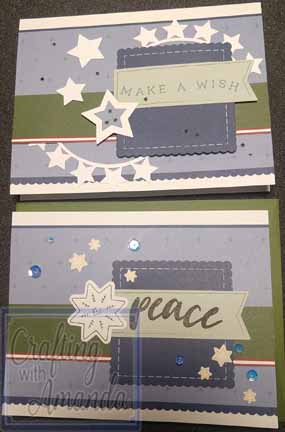
Card #5
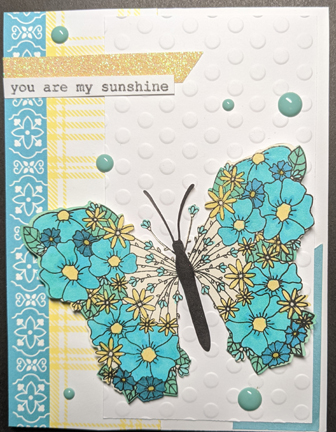
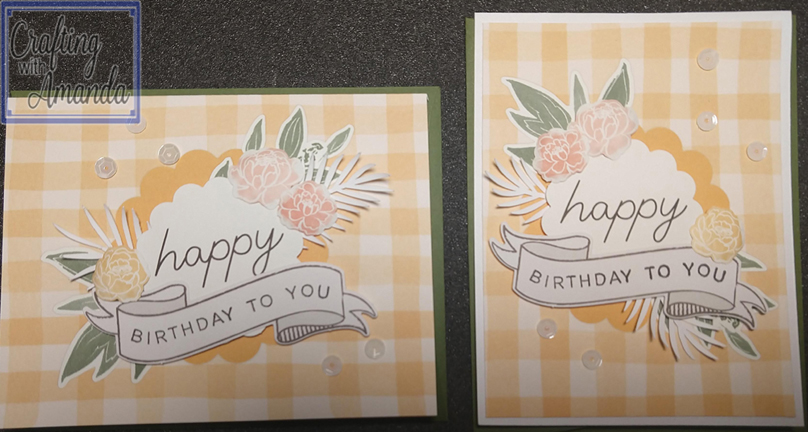
I added some fern color stars from the circles of stars along with palm brand and a peach flower head to card #5. Glitzed it up a bit with the clear shimmer brush too.
Card #6
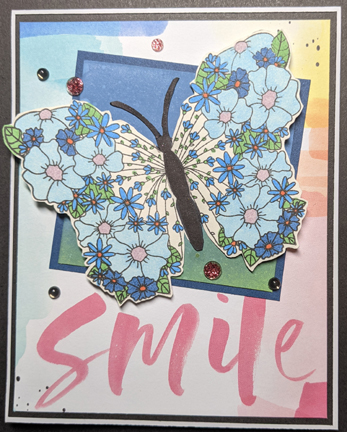
Adding some second generation stamped leaves and a few of the cricut cuts was all Card #6 needed.
Card #7
I gave all the pre-cut die images from one card to the other card, and added all stars from the cricut cuts. Sprinkle in a few sequences and cards #7 are done.
Card #8
A couple of blue belle palm branches and a blue belle and white flower head joined a folded in half white leaf to complete cards #8. (Sprinkled with a few sequences too.)
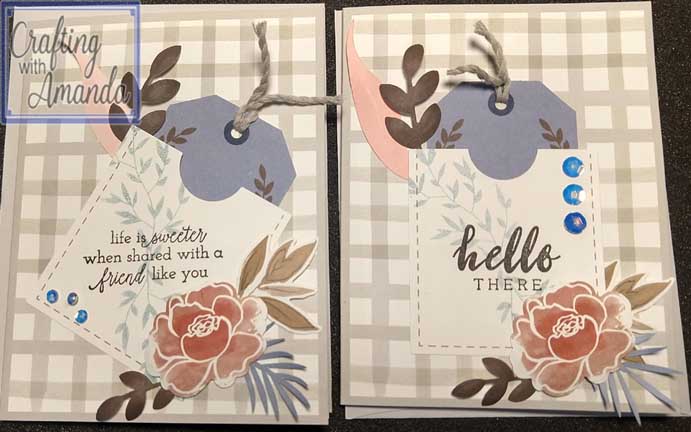
Card #9
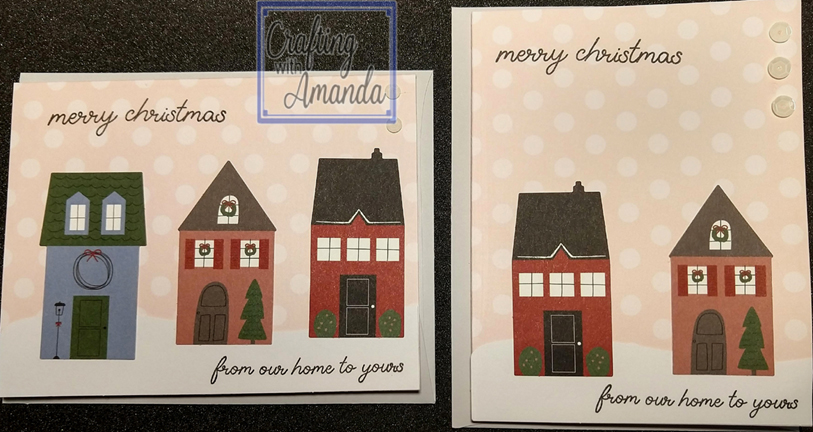
In the chaos of moving from room to room, one of the blue houses was lost for Card #9. Add a few sequences and rotate the 2nd card and it’s done.
Card #10
I took both of the pre-printed card bases and cut them in half. I added 2 white card bases and added the front panel on them. The flowers on the branch are not pre-printed, so I found a flower stamp and used the center to turn the blank die-cuts into flowers. (The other 2 panels will be used in the bonus cards later.)
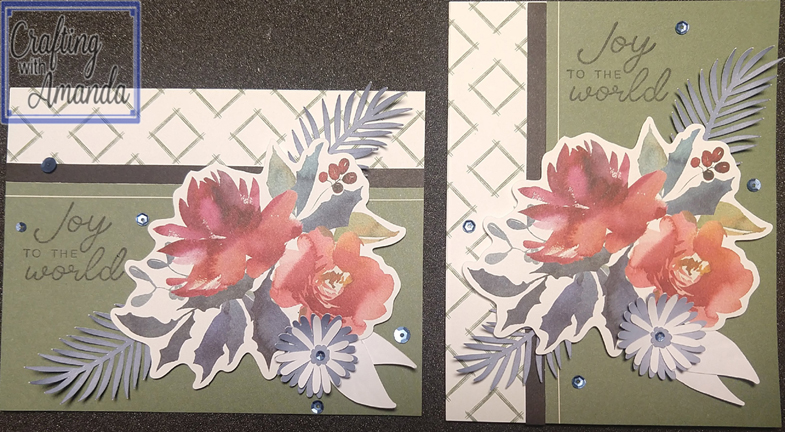
Card #11
Card #11 was straight foward. Some stylus embossing on the flowers and palm branch, add some foam tape for dimension and sprinkle with a few sequences.
Card #12
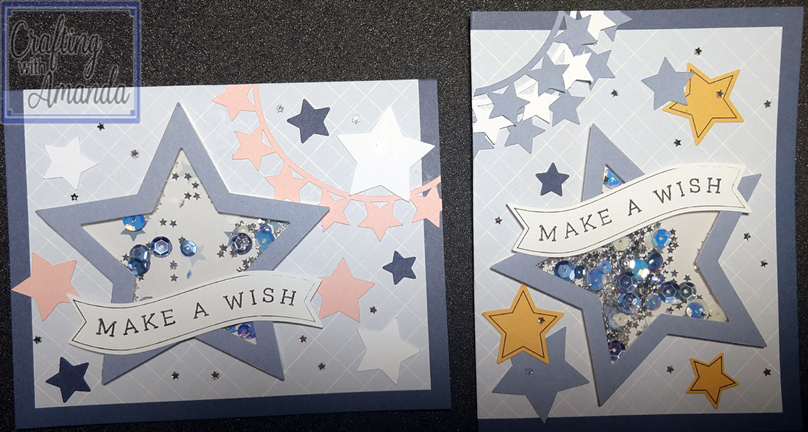
I put all the yellow stars with one card base and added pink & white to the other card base. Sprinkle a few tiny silver stars and both cards should be well received.
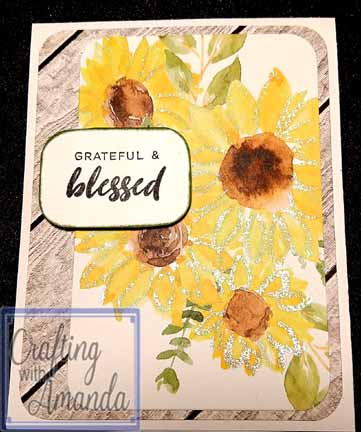
Bonus Card #1
Rounding the corners from one of the wood card panels cut from Card #10, I then cut the sunflowers off of the notecard from Jeannette Lynton and added a foam taped sentiment. You can see a few of the petals were outlined with the clear shimmer brush.
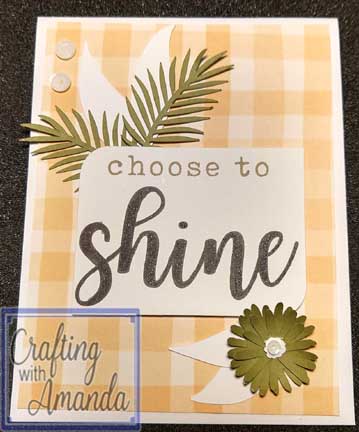
Bonus Card #2
The sentiment also came from the notecard from Jeannette Lynton and so I added some of the left over palm branches and white leaves along with a great flower head for fun.
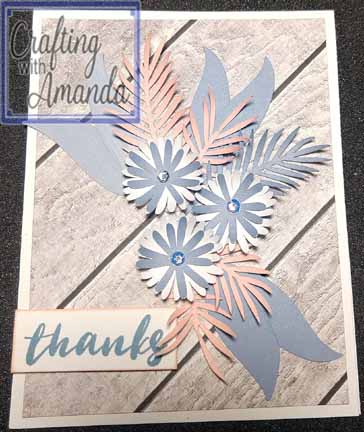
Bonus Card #3
This last card I took the last woodgrain panel from card #10 and made a cluster of flowers and leaves that were left over from the set of cricut images I added to this subscription kit.
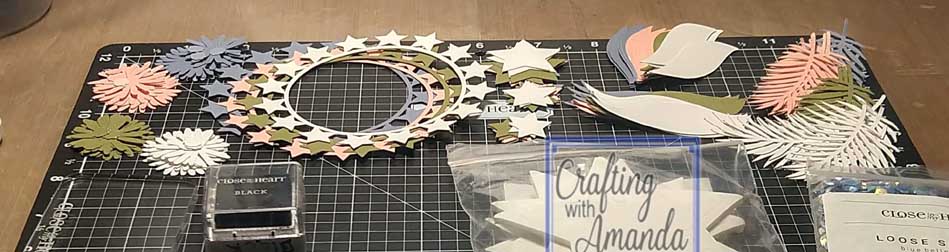
If you didn’t see the Cricut Image set in the previous post. Here it is. All the images come from the Flower Market cartridge and I used 4 half sheets of 12×12 in blue belle, peach, fern & white daisy.