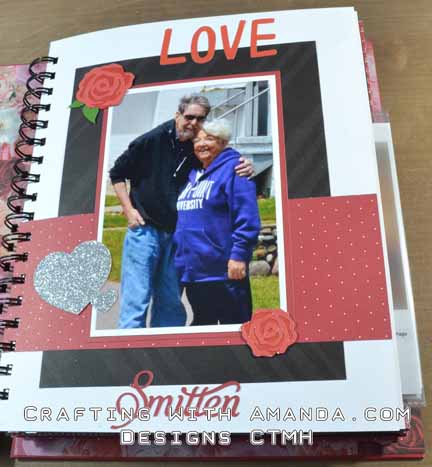
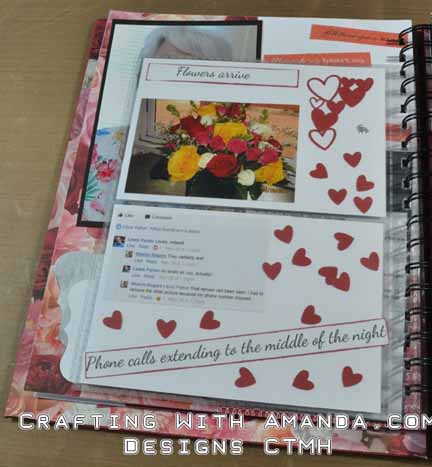
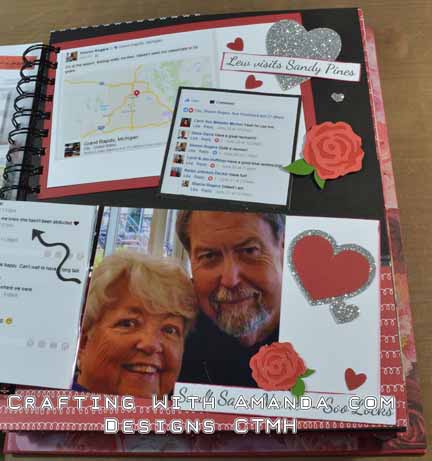
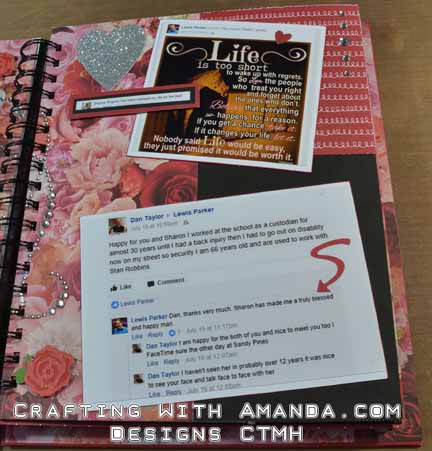
Have your heard the saying you find love when you least expect it? Or when you’re not looking for it? That’s exactly what happened to my Mom this year. She connected on facebook with a high school classmate and they got married this week. It has been a special journey for her, and for me as her daughter. I’ve seen and heard her joy, elation, vulnerabilities and cheered her rollercoaster ride to love.
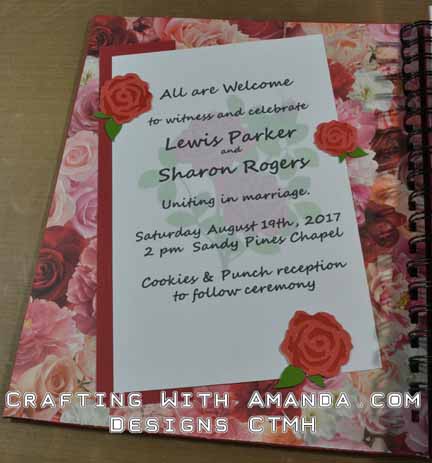
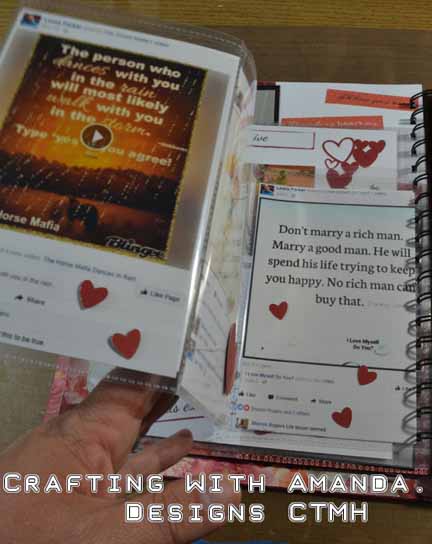
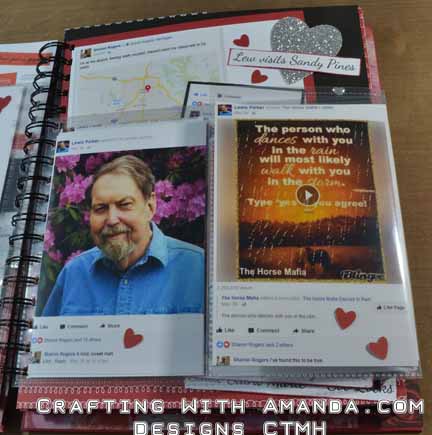
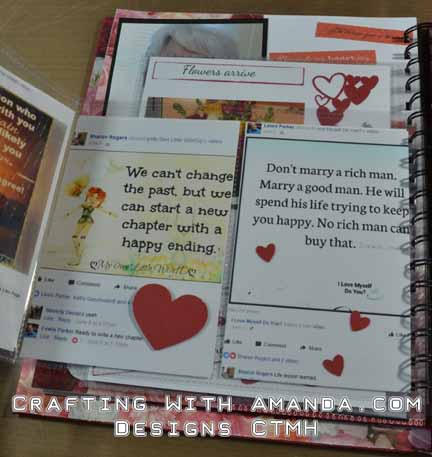
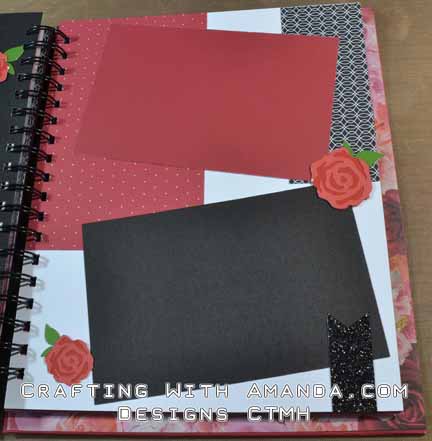
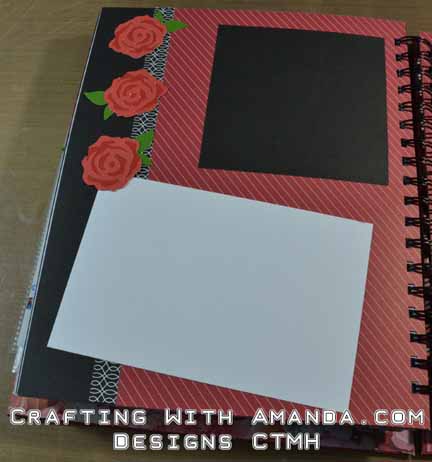
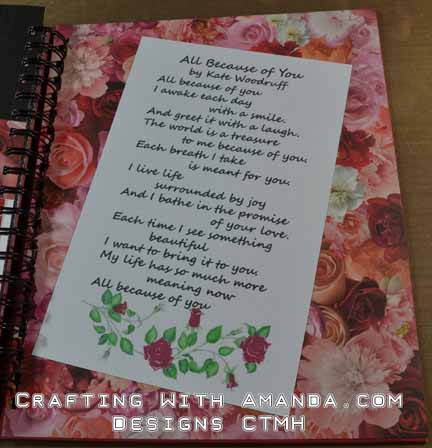
I’ve had very little tractor time this summer, so once they announced the wedding date, I have been stealing time from other things and putting together this wedding album for them. The first few pages are already filled with photo from their HS year book, facebook posts and personal photos from when we got to meet Mom’s fiancé. The remaining pages are to be filled with photos from the wedding weekend. I also provided several roses, hearts & titles to match the style I had already started.
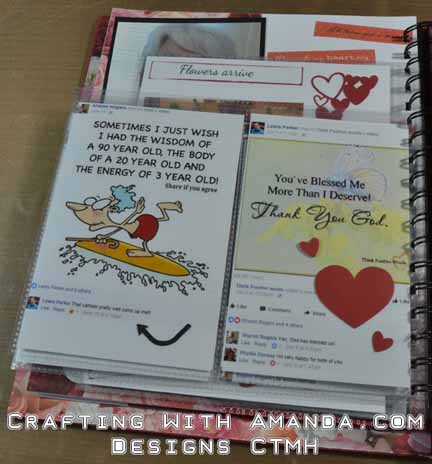
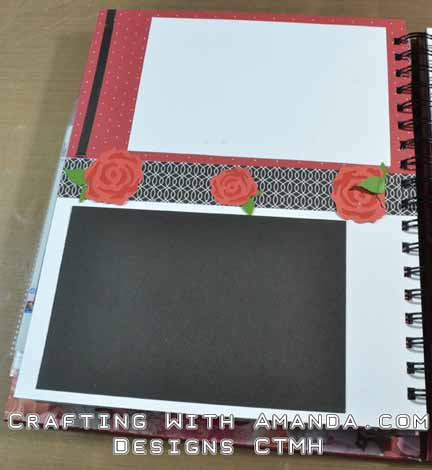
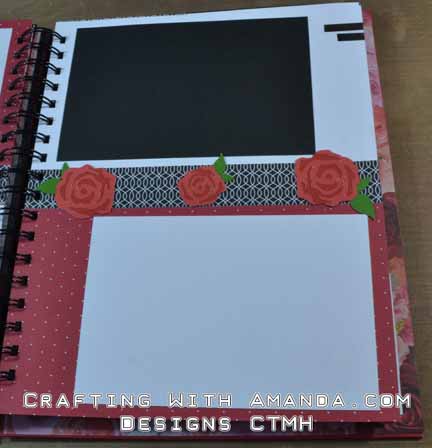
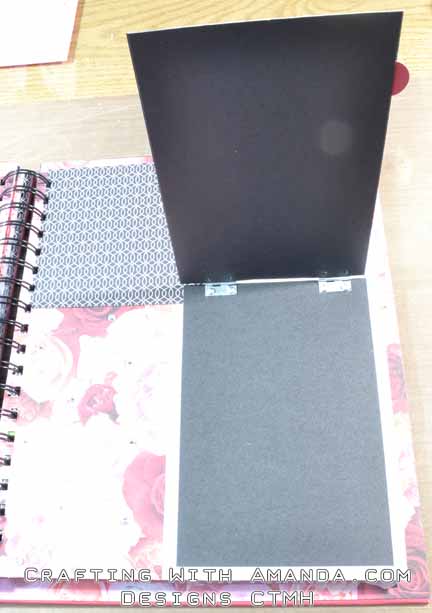
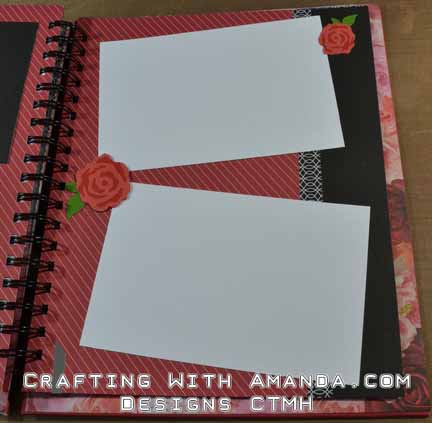
I was really pleased with my solution for adding both horizontal and vertical photo memory protectors to the book. Mom will be able to add more in between later pages as I created them to be modular. I took the standard memory protectors and using my bind it all, I punched holes along the edge and then cut a slit into the center of each of the punched holes. This allows me to place them anywhere in the book that I need more photo spaces.
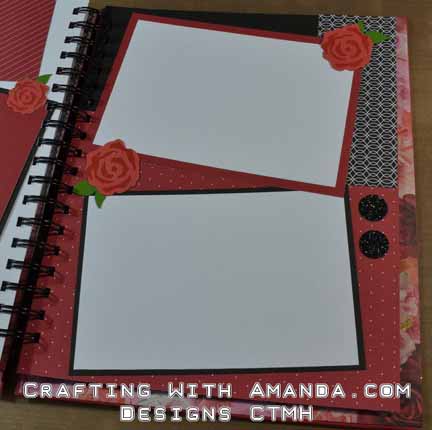
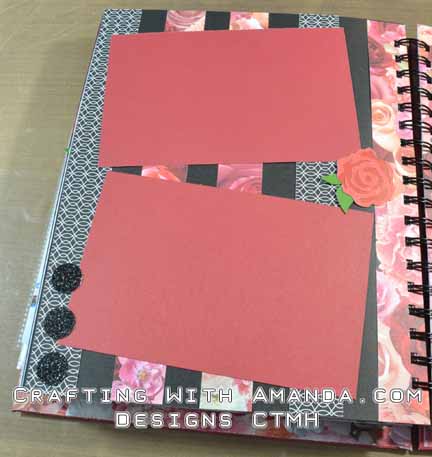
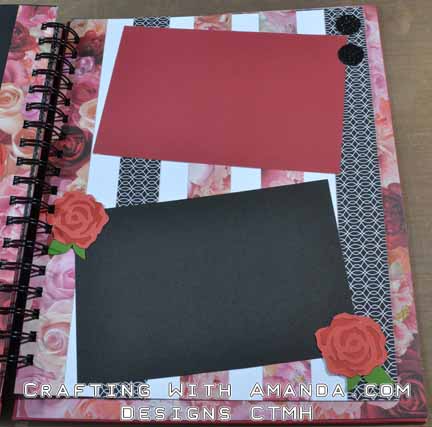
Without further ado, here are the first few pages with photo inserts I have finished.
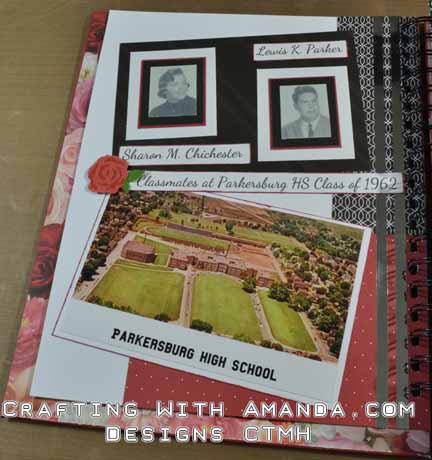
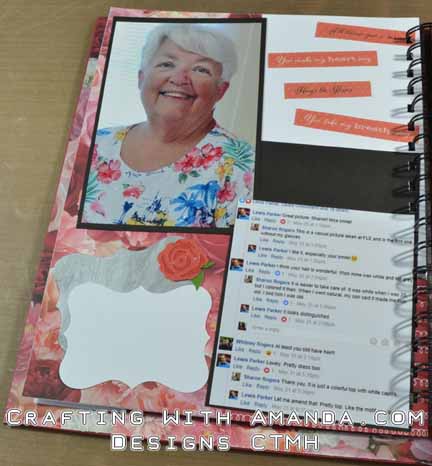
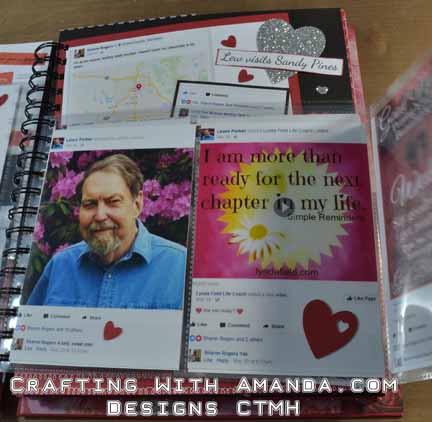
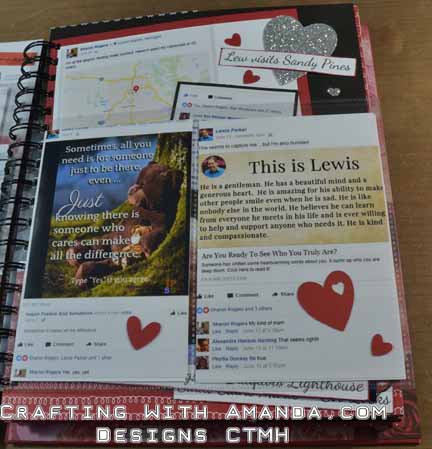
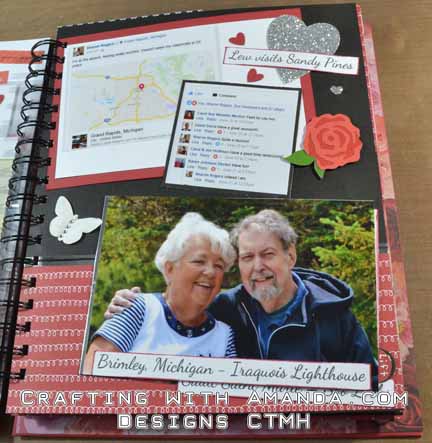
 I found some photos of Mom in the HS yearbooks on line 🙂 yay!
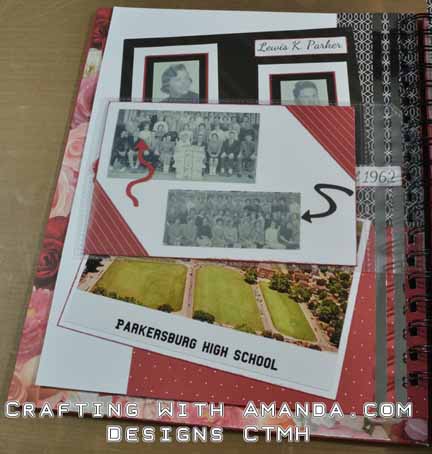
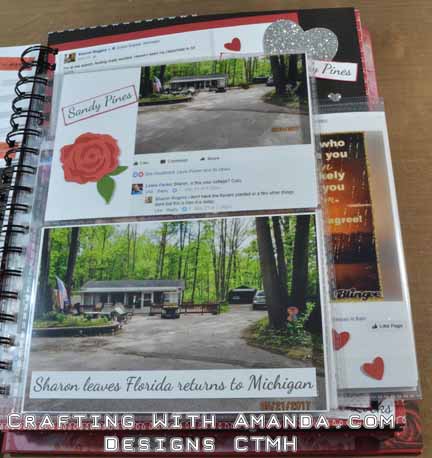
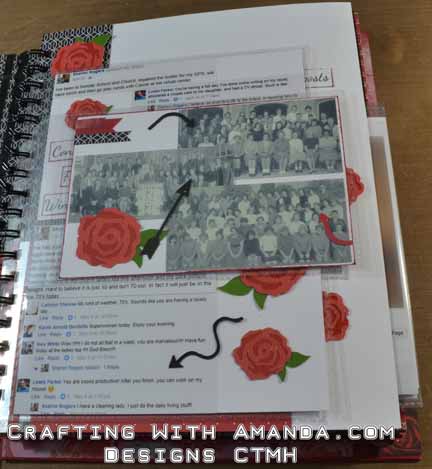
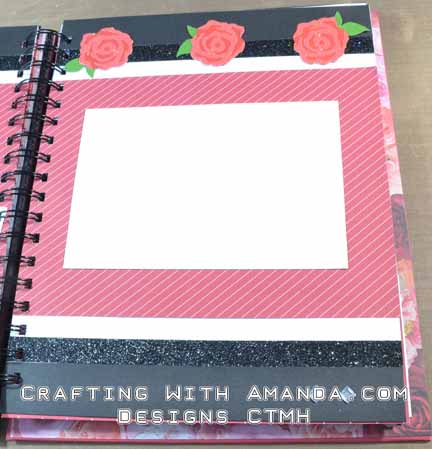
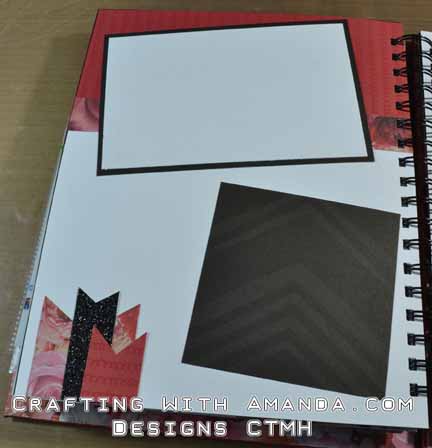
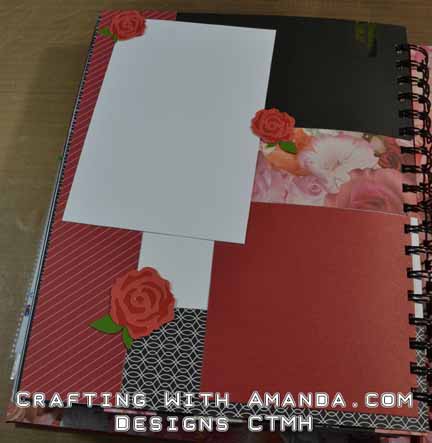
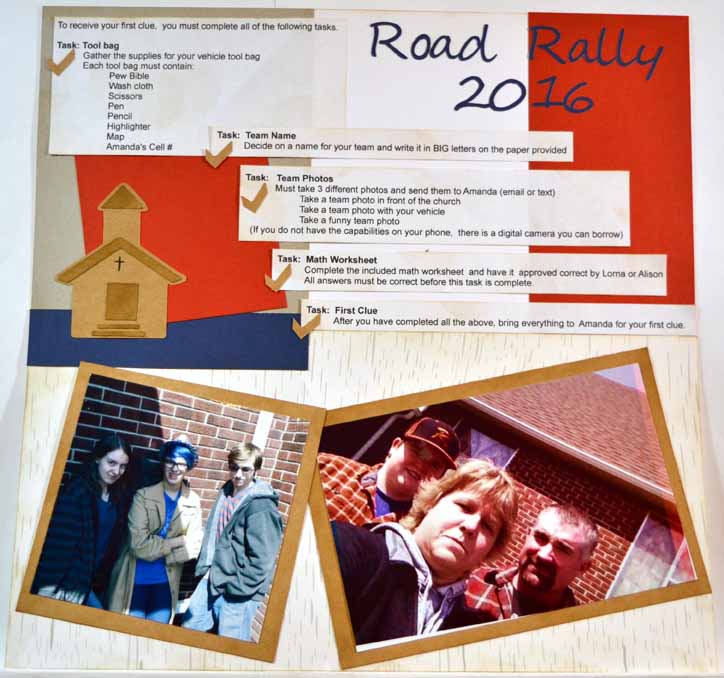
I do believe necessity is the mother of invention. I had no clue how I was going to include the next photos that were tall when all I had were vertical page protectors. As I was sitting in a room of crafting supplies I decided to see what I could find. I found the 12 x 6″ page protectors for a 12 x 12 scrapbook and decided I would sacrifice one slot and see if I could make it work. I could! And, was able to use all three slots by just cutting the first photo a half inch narrower. yeah.

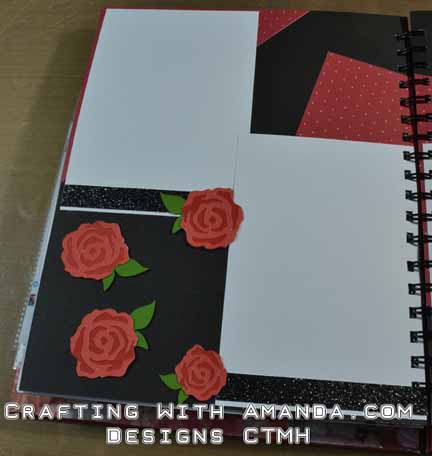
being 3 photos wide was too big for my book, so I folded the last section in and filled it up!
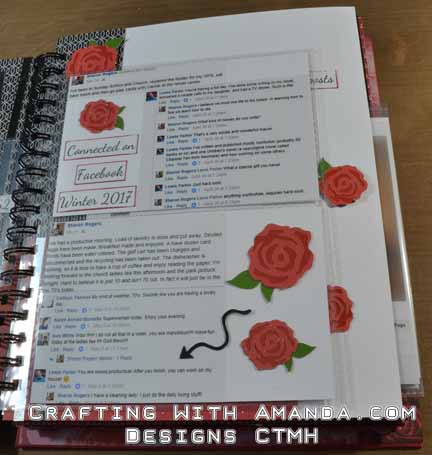
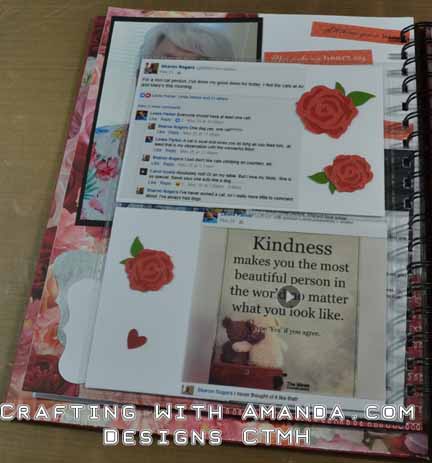
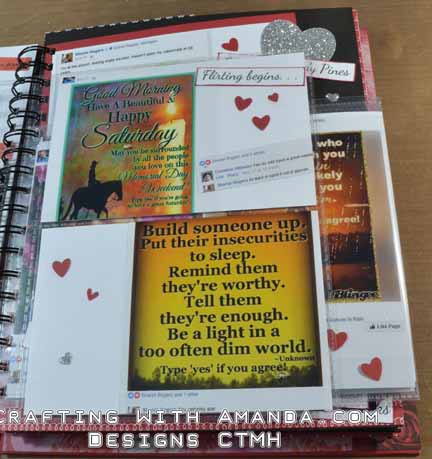
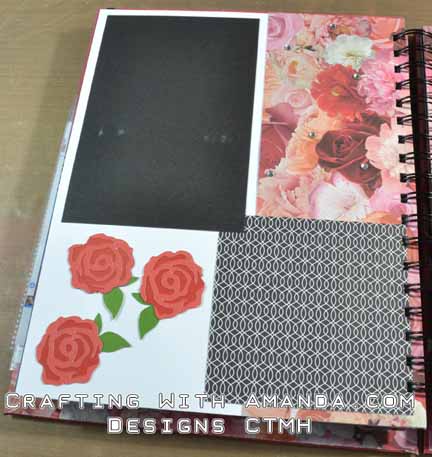
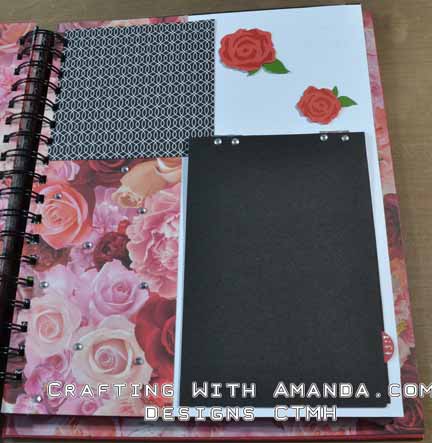
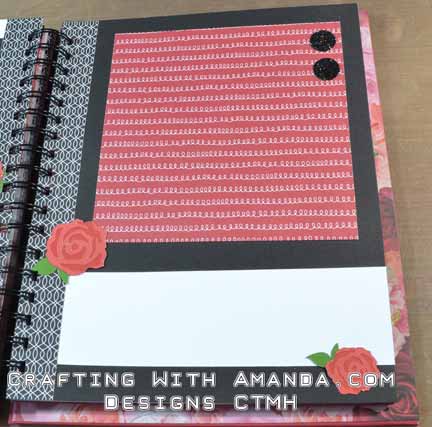
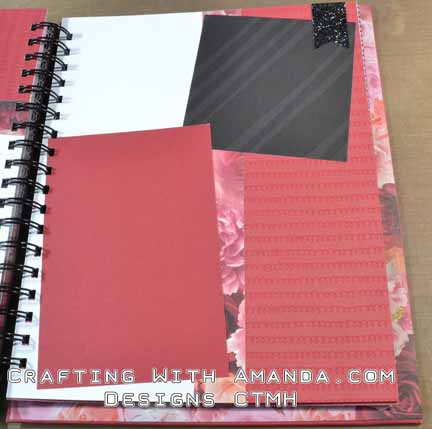
 I had to have some extra built in flaps too. Makes it more interactive right?
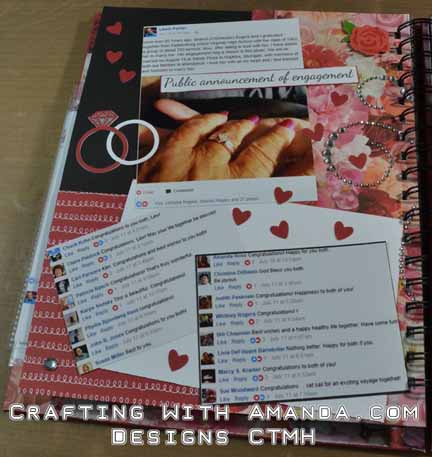
This is a far as filled it before leaving for the wedding weekend.
Happy Crafting!
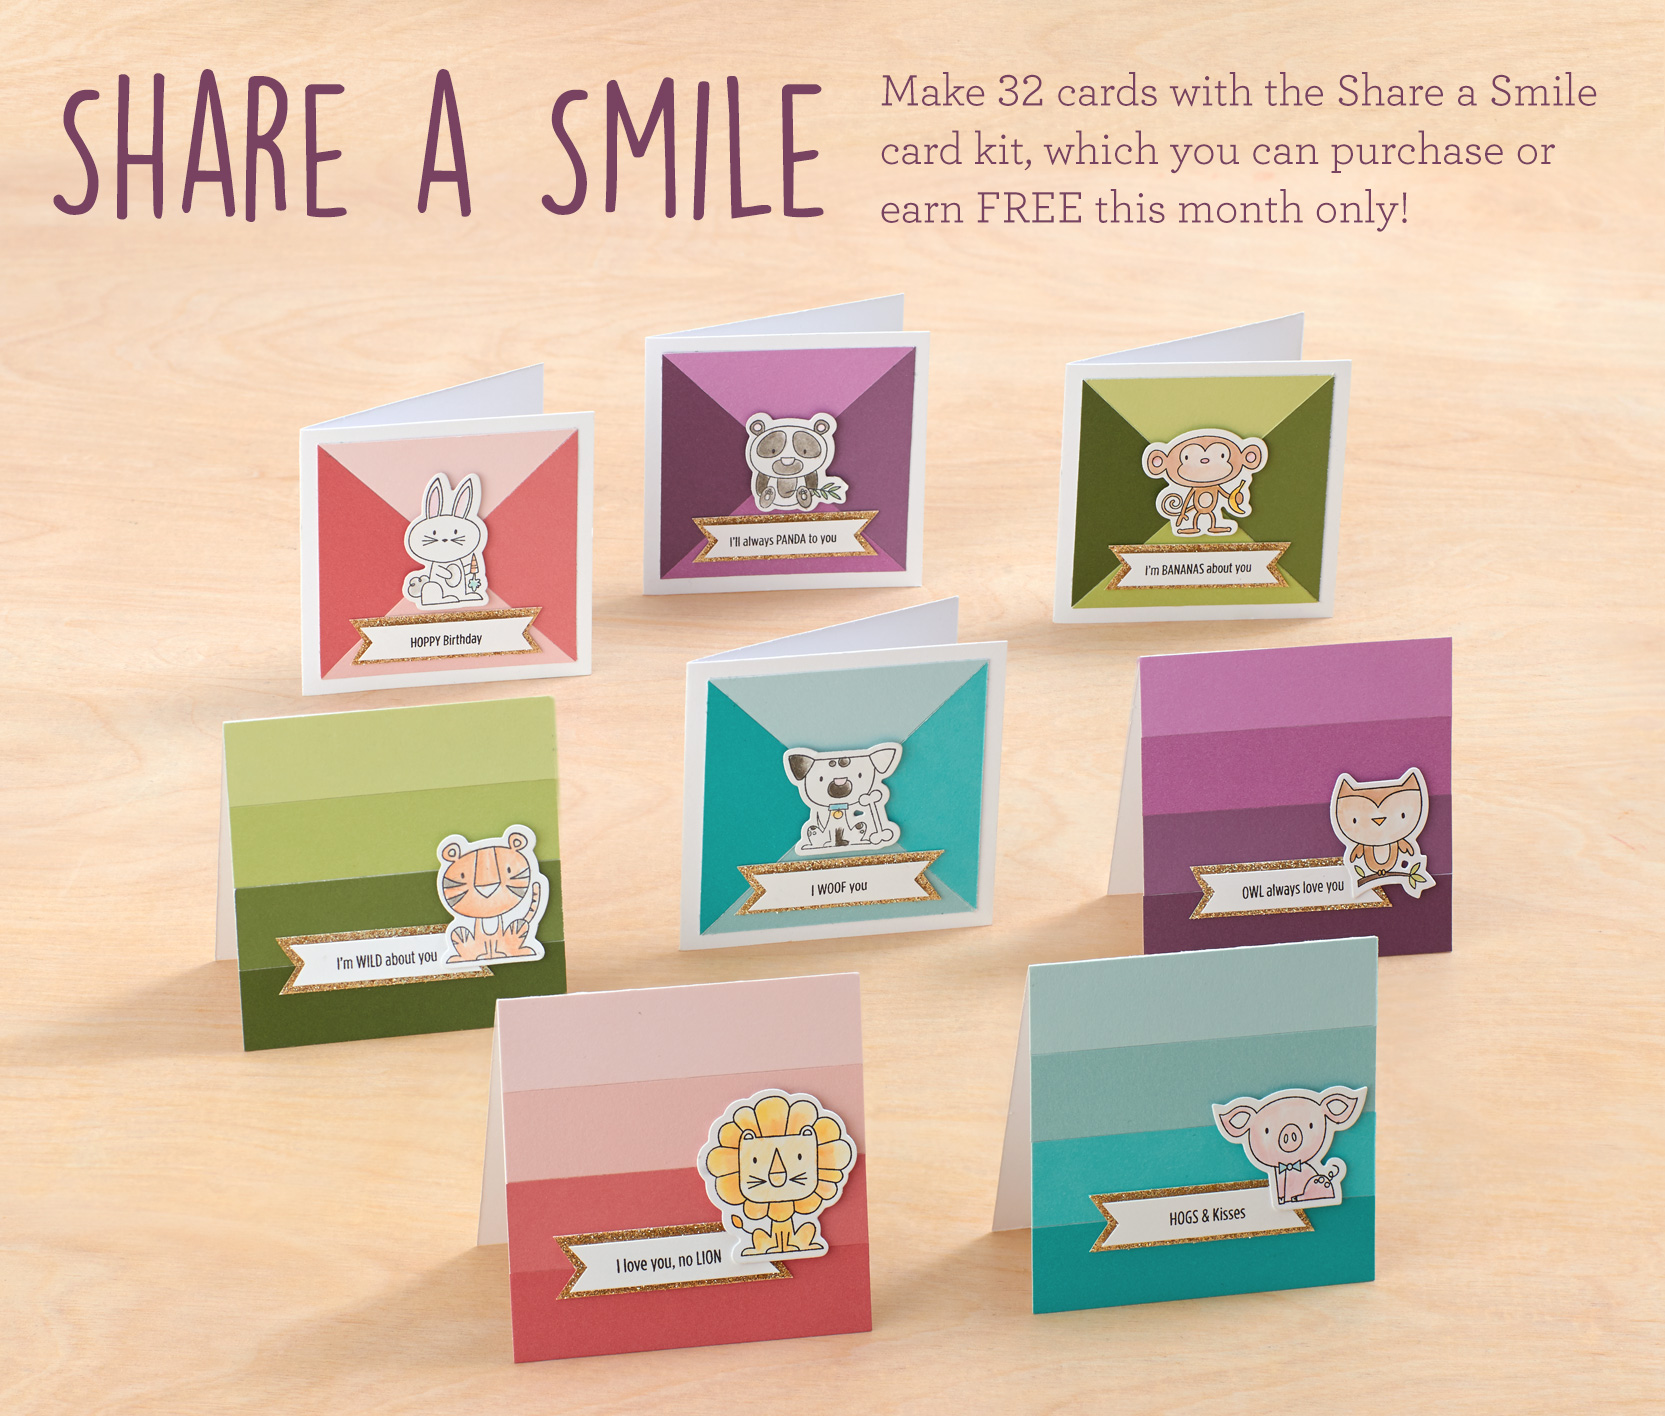
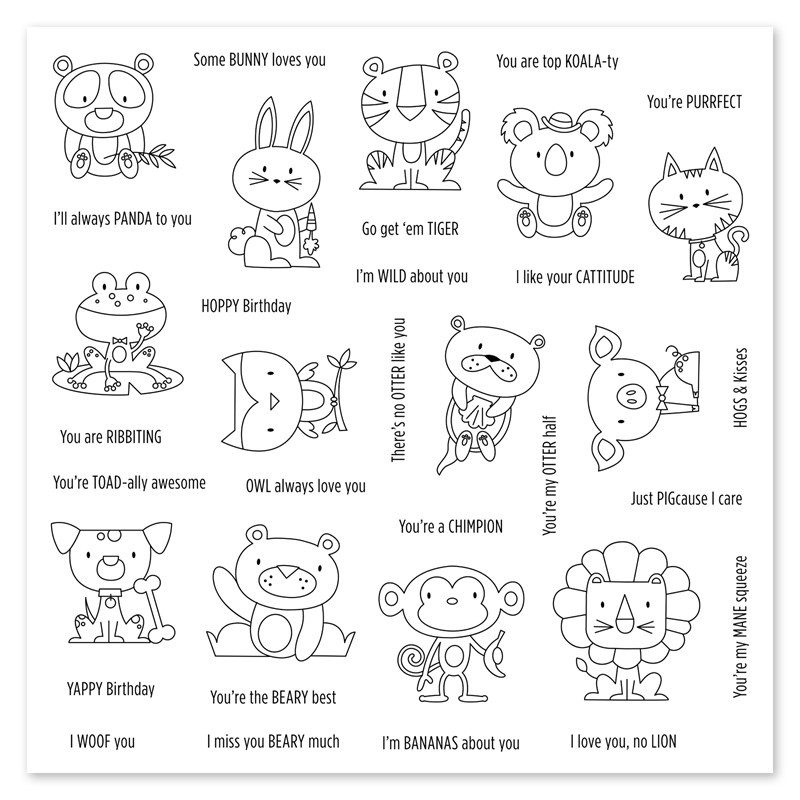 These are so cute, and during October you can purchase the thin cuts that coordinate with the stamps! Quick, fun and easy cards!
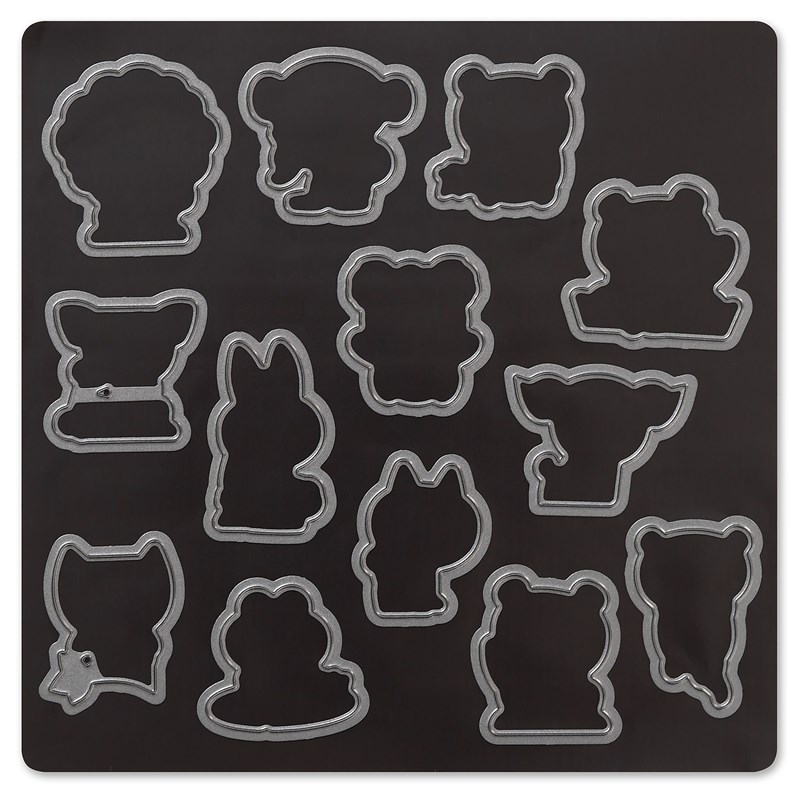
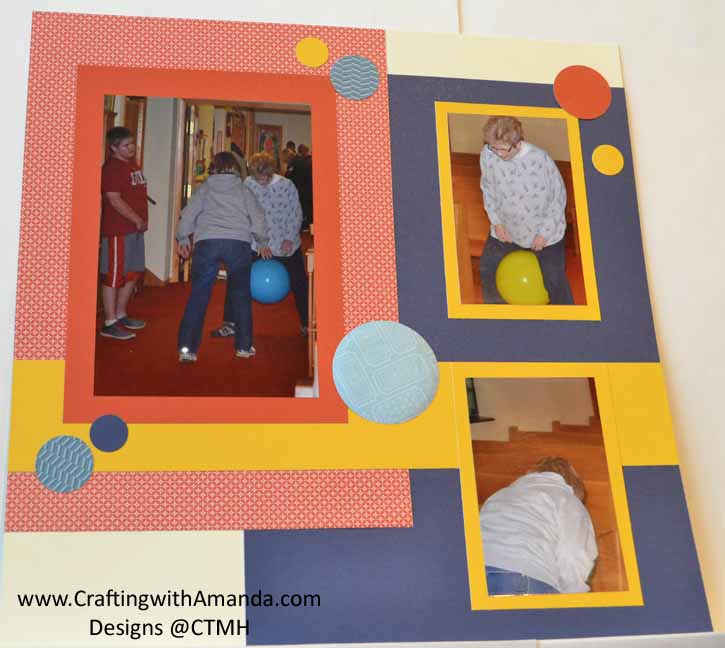

 The colors she choose work so well with her photos. I also love that this layout seems to draw my eye to the photos rather than to the papers & embellishments! Great Job Pat W!
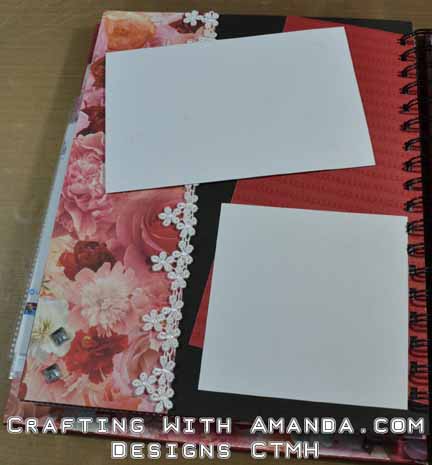


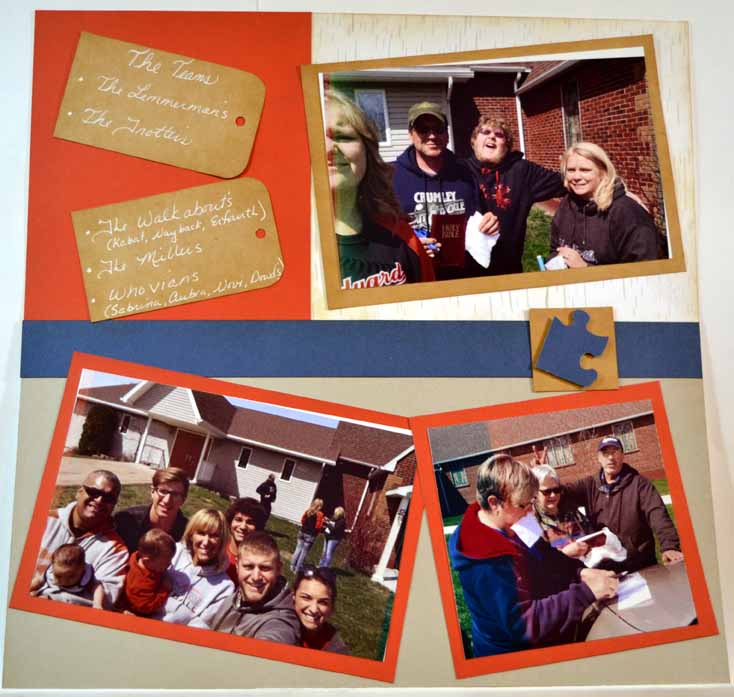
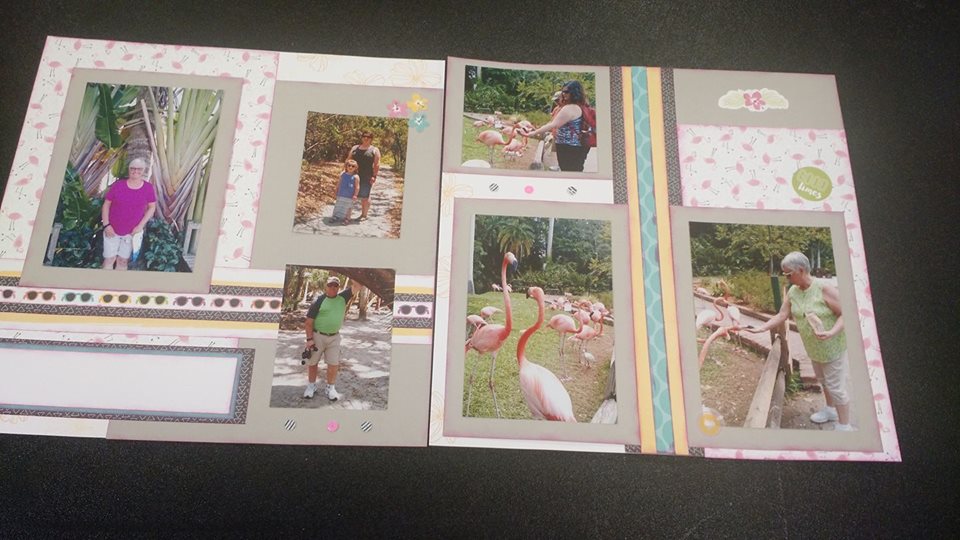
 I rotated the pages and tilted the photos to make it speak more to me. How will you make it your own.