Two more great techniques today! These will help you get some truly individual looks from the same stamp. Tissue Inking and using Sponges. (See the information at the end of this blog to learn how you could win all 35 of these technique tags in this series.)
Tissue Inking:
 You can do tissue inking in a couple different ways. One way is to dab a tissue in the ink, then dab it on the stamp. You can do this with multiple colors. Keep in mind before you stamp on your project you will want to “huff” on your stamp to re-moisten the ink.
Another way to do this is to ink the whole stamp in one lighter color, then add the darker shades with tissues in the same manner as the first method. You will also need to “huff” your stamp if you choose this method.
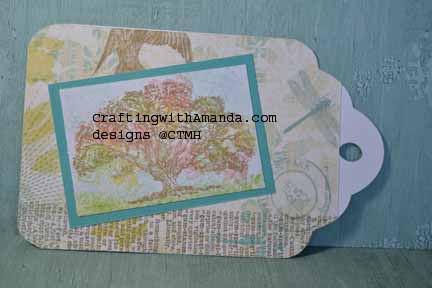
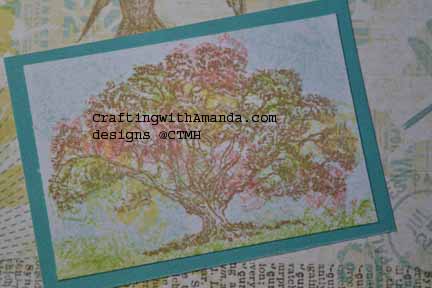 In this sample I inked the whole tree in desert sand ink, then added honey, cranberry and pear ink with a tissue. After I stamped the image, I used crinkled clear wrap to add the blue and green in the background.
Here is the tissue sample from my club night tag book. Sponges Technique:
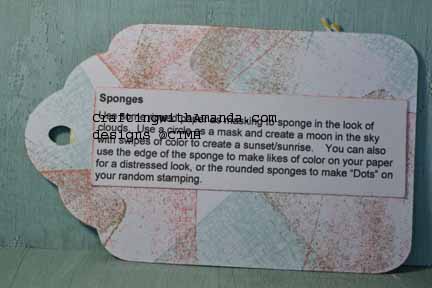
 Sponges are a great way to add color to your backgrounds, stamps, or create a polka dot effect on your projects. For this Seaside tag book sample I used sponges to color the image of the farm stamp and used them to add multiple colors to the shells & star fish stamps.
 Here is the sample from our club night project. In this one I used sponges to create colors around the floral stems and also some masking (another technique in a future post) to create a sand dune look. (Hard to see in the photo, sorry)
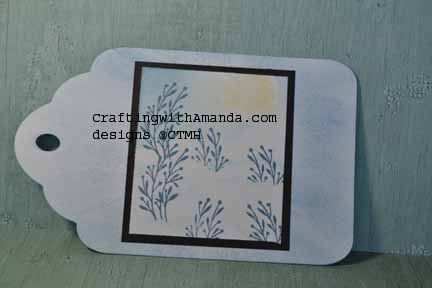
Now you might want to know how you can earn chances to win this great prize. There are several ways. Write a comment on this post. (1 entry) Share this post link on your Facebook post and let me know on my FB page that’s you’ve done it. (1 entry per share) Crafting with Amanda Like my FB page. (3 entries) If your a pinterest person, for every technique tag you pin, you receive an entry. (up to 35!) At the end of the contest I will assign each entry a number and using a random number generator will pick a winner. I will announce the winner on this blog, and then contact them to get the address where the tag book should be sent.
Here are the stamp sets I’ve used in this example, and many of the other tags that we will be looking at in the upcoming posts:
I also used Seaside papers (X7192B)
Our awesome markers were also put to use throughout this process of creating the technique tags.
If you would like a copy of my technique instructions file, leave a comment with your email and I will send it to you.
Now you might want to know how you can earn chances to win these tags. There are several ways. Write a comment on this post. (1 entry) Share this post link on your Facebook post and let me know on my FB page Crafting with Amanda that’s you’ve done it. (1 entry per share). Like my FB page. (3 entries) If you’re a pinterest person, for every technique tag you pin, you receive an entry. (up to 35!) At the end of the contest I will assign each entry a number and using a random number generator will pick a winner. I will announce the winner on this blog, and then contact them to get the address where the tag book should be sent.
If you would like a copy of my technique instructions file, leave a comment with your email and I will send it to you.
Happy Crafting and Good Luck!

Totally love using the sponging technique. My work bag has several types of sponges in it. Washing them out is easy with a touch of dish soap or shampoo and warm water. Let them dry overnight and you are ready to craft again. Lately, I have been layering sponging with random stamping for some interesting effects.