I’m trying to keep my Thursday for crafting days. It’s getting off to a rocky start,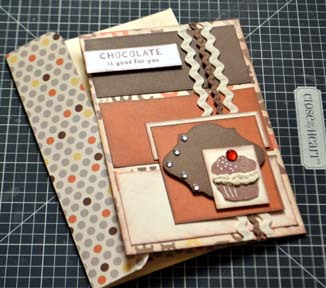 but I have managed to put together one card with the supplies to do another one quickly. Here it is!
I started with one sheet of Babycakes paper and cut a 4″x12″ strip. I made a top fold card with the letters on the outside and the dots for the inside.
I then cut 3 strips of cardstock, size 1.75″ x 3.75″, one each from Chocolate, Autumn Terracota & Colonial White. I was using a card from the Make It From The Heart Vol 2 as my inspiration.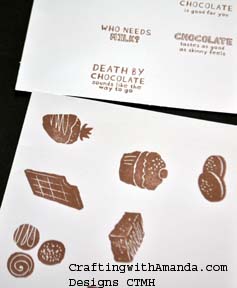
I had stamped the images from “A Chocolate Affair” (Aug Stamp of the Month that you can get free with a $50 purchase) and cut out some of the images. After deciding on the cupcake and the sentiment, I need to figure out how I wanted to use them on the card front. I cut the medallion piece using the Art Philosophy cartridge and then decided I needed the 2.5″ x 2.5″ piece of Autumn Terracotta CS to mount it on. 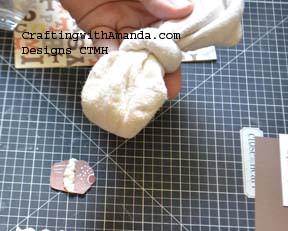 I put the cut out cupcake on a rectangle of colonial white cardstock and to help it stand out from the autumn terracotta strip I added a small piece of colonial white behind the square. The cupcake needed some dimension so I added liquid applique to the center layer and then using my heat gun puffed it to look like whip cream. The liquid applique can leave a sticky residue, so I have a baby sock filled with corn starch that I tap over the puffed liquid applique and it takes all the stickiness away.
Some of the pieces I used a sponge to put chocolate ink along the edges, but others I dragged the paper along the ink pad. You get a finer edge when you drag it verses using the sponge. I will use both techniques often.
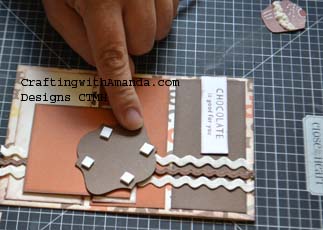
After adding both colonial white and chocolate rickrack ribbon, I placed the large square and then pop taped the medallion and cupcake to it.
 After adding the “Chocolate is good for you” sentiment with pop dots on the top left, I put 5 dots of liquid glass (my favorite adhesive) on the left edge of the medallion to secure the sparkle gems I am still trying to use up. (Side note, sometimes when things are on sale, they really aren’t worth it. I purchased a pack with 100s of unglued sparkles thinking how great it was. Only liquid glass has prevented me from throwing them away. I only purchase pre-glued gems now, and also have learned that CTMH gems the glue stays with the gem and actually will attach well to your project.)
Now we’re on the home stretch. The inside needed a base for me to write on, so I added that and the two little ends that remained from cutting my strips for the front of the card.
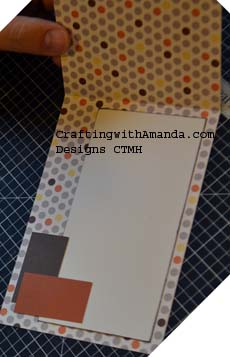 Because CTMH paper is thicker than most papers on the market, it can easily be used as a card base (or scrapbook base for that matter.)
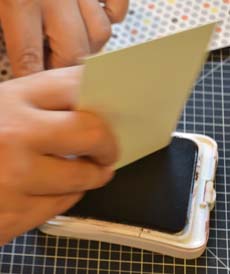
Now I just have to customize my envelope. (I don’t like it when the envelopes are too big, and I like getting three bases out of my 12×12 sheets.) So, to start I seal my envelope closed, then I cut 1/2″ off the long side (top). I attach a piece of pattern paper that I’ve scored at 1/2″ along the long edge (2″ wide x length of envelope). I glue the small 1/2″ flap to the front of the envelope and fold the rest of the paper over to the back to make the flap. I like to use a corner rounder to clip the two corners on the flap. You’ll need to use adhesive to seal the envelope before you send it.
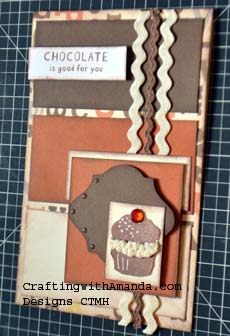
Here’s the final card and envelope.
Happy Crafting!