
The thought of getting years, decades really, of photos into albums is overwhelming and can force me into shutting my studio door and pretending they don’t exist. Instead, or after trying that for a while and it not working, I decided to “eat this whale” one bite at a time. Here’s what I did to start, and I’m still at the beginning stages of this journey.
Step one: gather the photos. Unless you are already well on this path, even after you think you’ve exhausted every possible place a photo could be, you will find more. So, gather the photos that are easiest and do a quick flip through.
Step two: create a plan. Well, create a plan, or at least a jumping off point. for me that meant looking at some photos and deciding that I wanted to sort them by events in paper folders. I needed paper folders. I got out my printer paper, score board, cutter and bone folder and created folders.
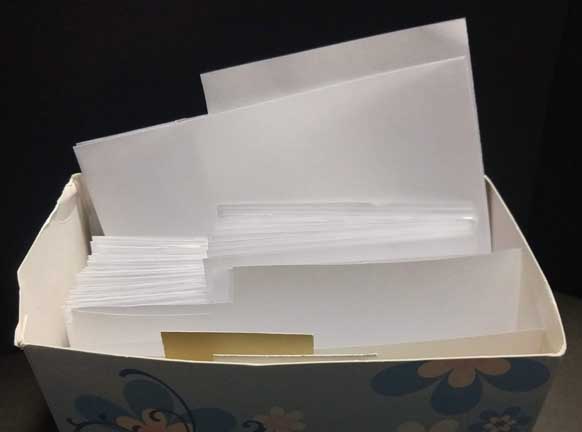
Now I had photos and folders. . . .
Step three: start sorting. That may sound funny but just start. if you have 40 photos from an event, put them in a folder, label the folder, and set them aside. If you have 1 print, put it in a folder, label it and set it aside. Once I got a few folders of photos done, themes, categories, or groups started to make themselves know. I needed a section for each child, those even broken down by age, school, activity (football, soccer, swimming, robotics) plus a family section a section for trips. . . .
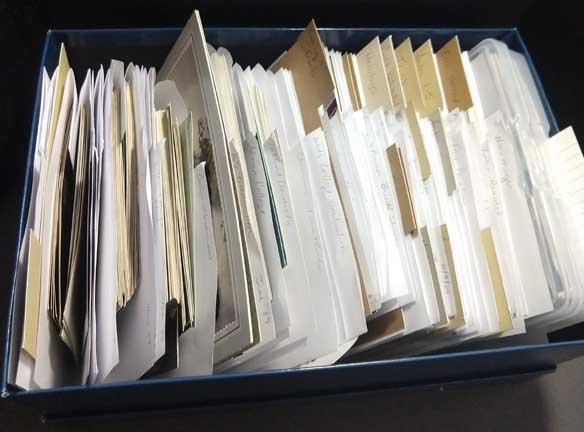
The more photos I sorted, the more categories I needed, and some categories got renamed or combined with others categories. For me I used the mantra, how would I look for this event or photo. That became the category for it.
After sorting most of the photos, I went through my boxes and created a list of the categories AND each of the photo folders contents. This has already proven to be a very good thing for me and how my brain works.
Have you hung with me? After the photo sorting, I turned my attention to the boxes of memorabilia I had gathered over the decades.

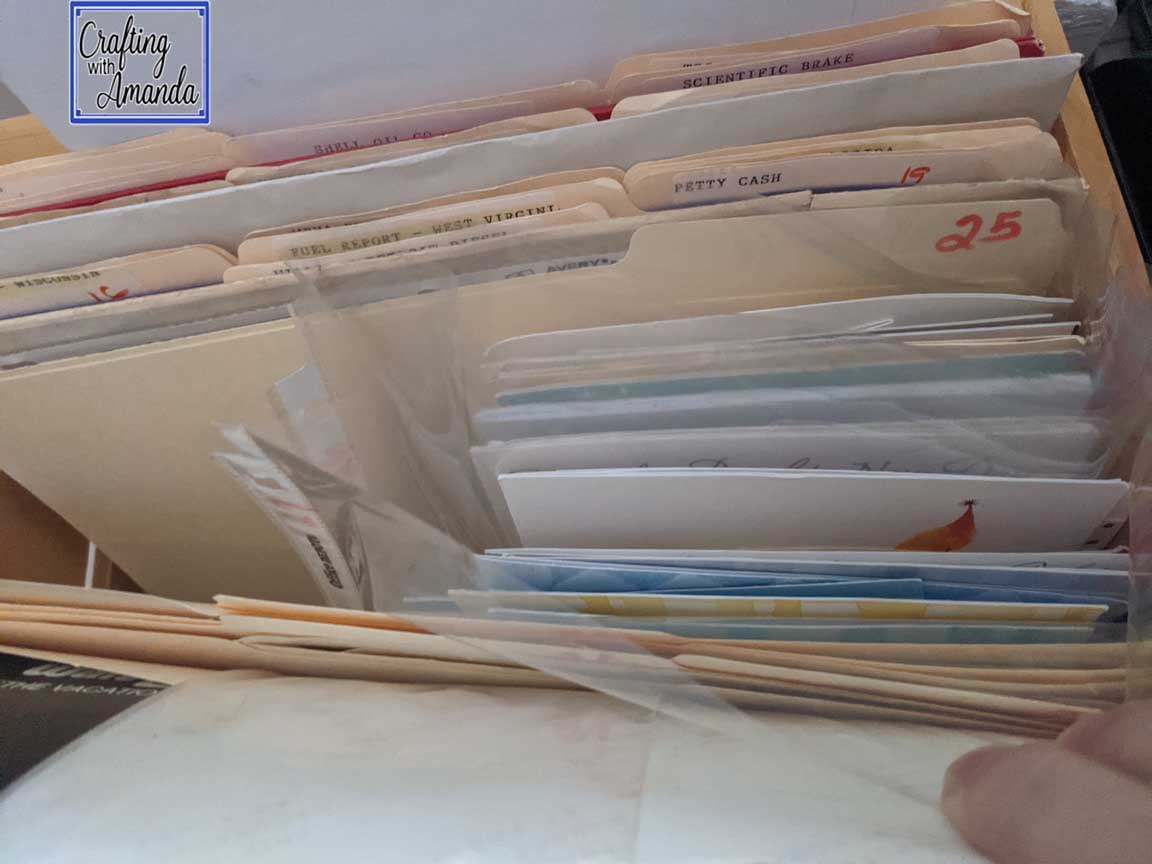
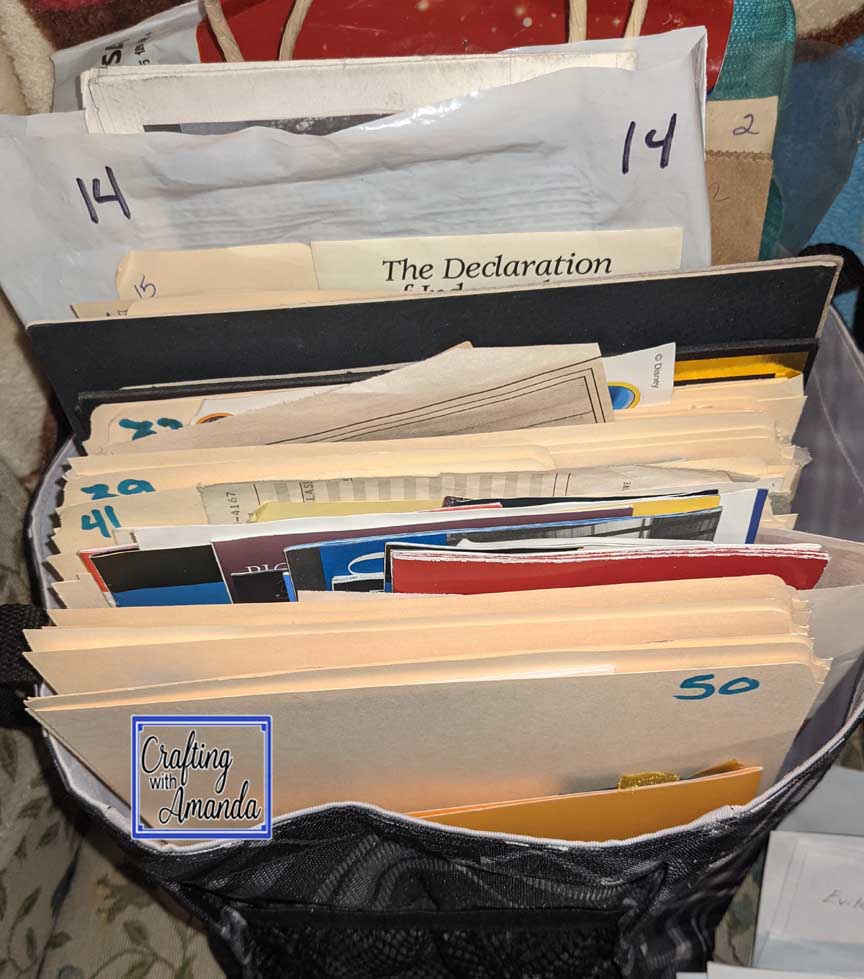
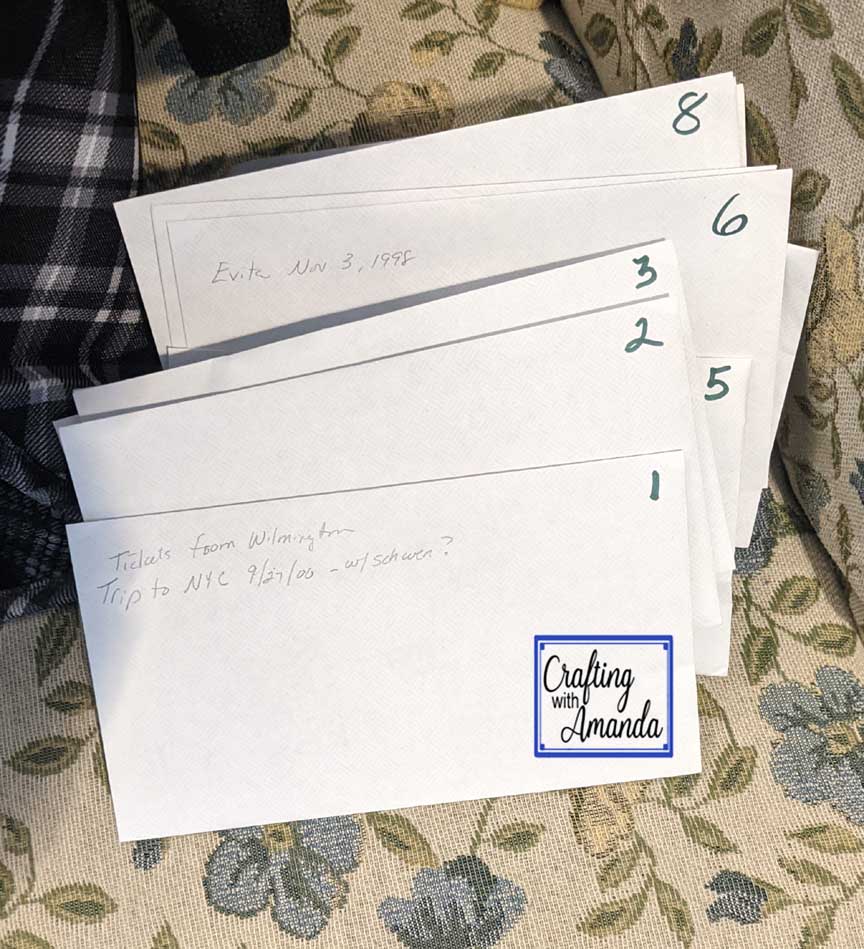
My original plan was to use file folders and sort all the papers, stubs, and doodads into those. It works well for some things, but I found I also needed smaller folders & envelopes as well as some page protectors to corral the items I had saved. To keep track of what memorabilia was in which folder, I set up a system of small (envelopes), medium (legal file folders cut in half) and large, (standard file folders). I choose a color for each group and numbered the folder or enveloped it with a number in its group’s color. Large (red), Medium (blue), envelope (green). I created a list of what was placed into the folder. Each group had it’s own list.
Remember how I told you more photos would appear as you traveled on this journey, More photos were in the memorabilia boxes and are currently sitting on top of the photo boxes waiting for me to put them into their folders and file them.
Currently, I have photos under control. I have a plan that is working for memorabilia and and I found 200+ blank layout pages ready to be put to use.
I thought if I refreshed my memory of what layout pages I have perhaps I can more easily pair the photos and the memorabilia to the blank pages. Here is a video flipping through the blank layouts. In the upcoming weeks, months, years even, I plan to use up every layout and tell our family’s stories and get them into albums where they can be enjoyed.
Ready or not, let the journey begin!
Happy Crafting!

What a wonderful step-by-step guide to organizing photos and memorabilia! Thank you for taking the time to write this all down and to share it. The thing that kept coming to my mind as I read this was the idea of “just get started”, which is sometimes the most difficult step. This tutorial makes that first step seem easy and it provides a process to keep the ball rolling. Loved looking through your beautiful scrapbook layouts in the video!
I think I kept saying “Just get started” as that is what I told myself. Start and see where leads. I am still finding more photos & memorabilia to sort, but now I have a system in place I feel like I can manage them.