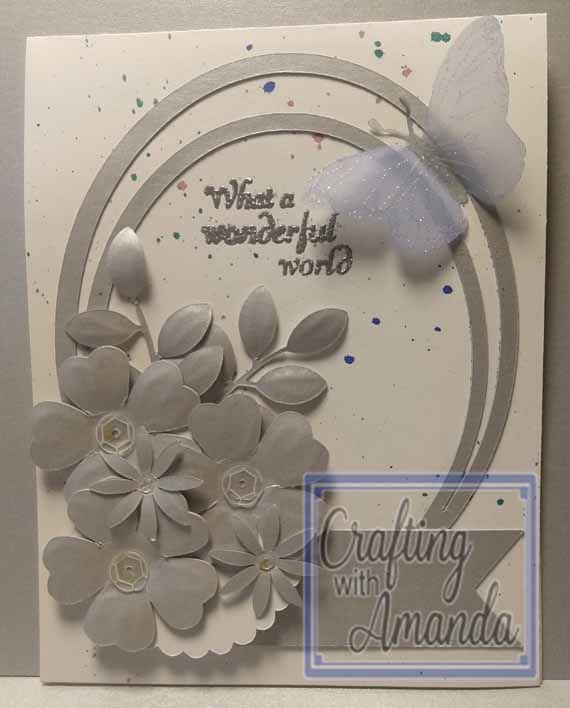
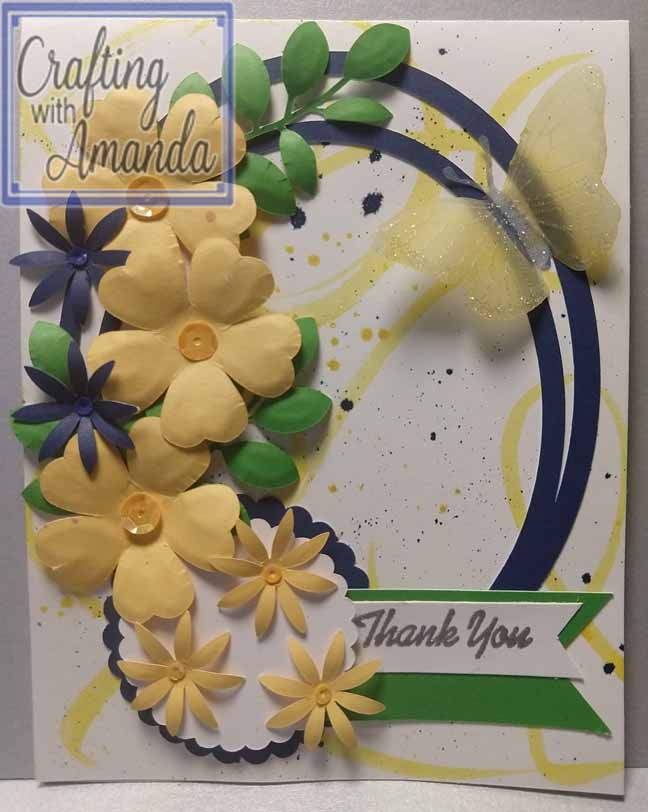
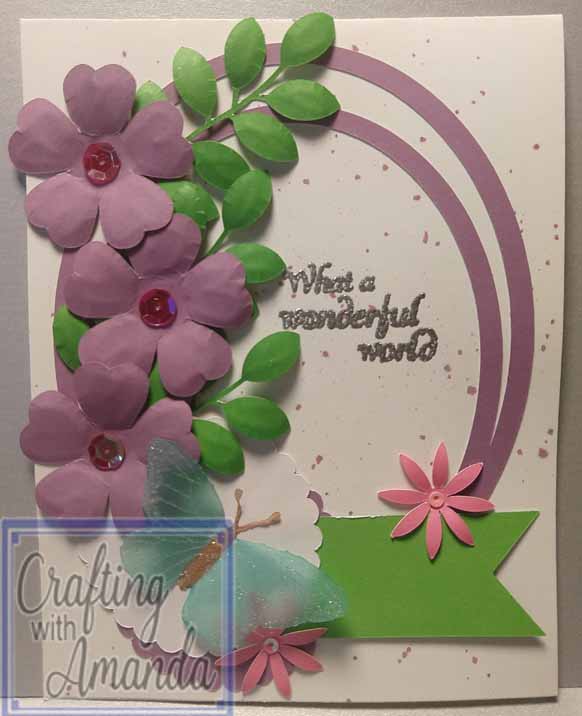
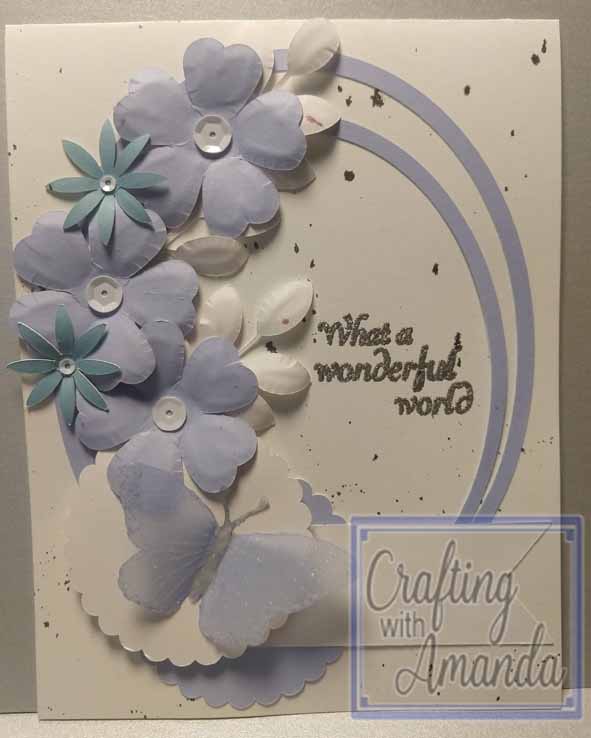
With all the noise and activity in the house from the workers, I’ve been struggling to focus and be creative. I’ve dabbled with this and forced myself to glue flowers to the front of cards, but wasn’t feeling it until yesterday.
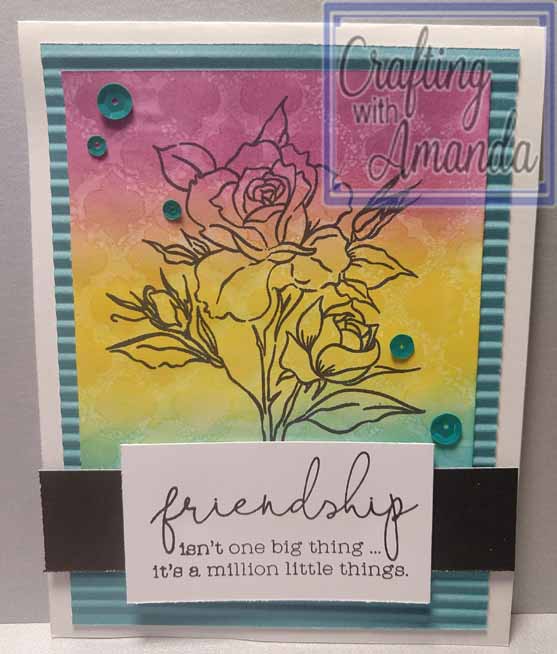
Distress Oxides, Stencil & A Million Little Things (D1925)
I had tried learning more about the distress oxides ink and made some little samples on different papers with different products. Today when sleep eluded me, I decided I was going to do SOMETHING with them. a quick glance on pinterest and I had some inspiration.
This is the card that inspired mine.
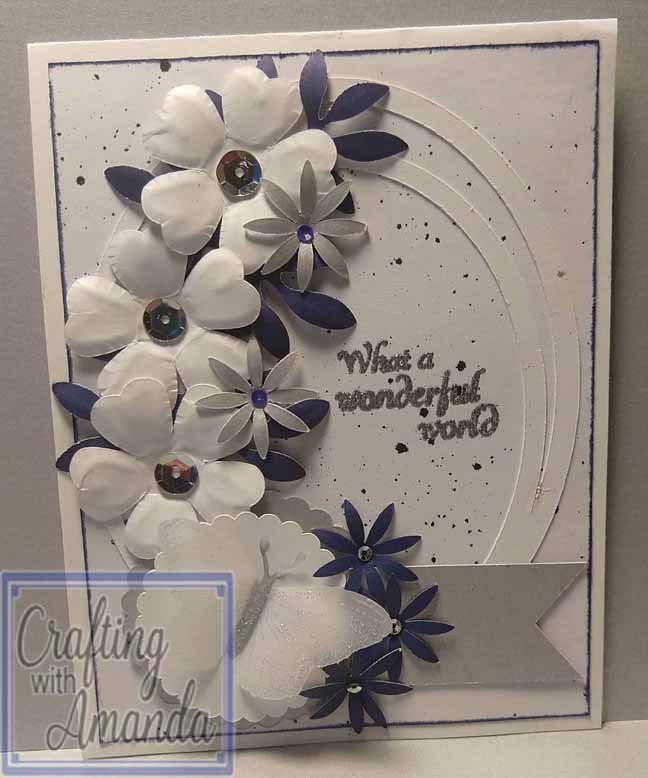
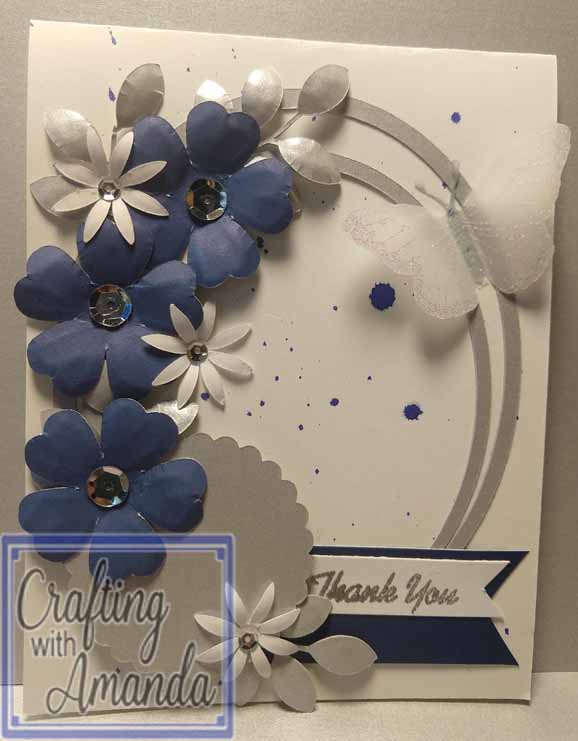
My craft desk has been strewn with pieces parts of of various projects, current and from years ago. I had decided I wanted to use some things up in the employ of cards for happy mail.
At first I was distracted by interruptions, the thoughts in my head and the colors of the flowers on my desk. I gave myself permission to discard any piece that was blocking me from creating. It’s funny. I removed dark flowers and leaves that had been punched from orange cardstock. Once those were no longer in my way, I was able to create. . . .
Most of these pieces were leftovers from our August Club Night cards. I added some silver and white pieces and the blockade gave way and I was able to create!
If you have the Art Philosophy Image Set, you should be able to cut out your own card pieces. Here is the link.
Also there is a video for some of the techniques used in creating it here.
There are still more pieces on my craft table. I’m going to see what I can do with them! Happy Crafting!
After a year and a half of not scrapbooking any of our photos, I finally finished 4 pages in one day! I felt like I was a novice at first and it took me a long time to get back into the swing of it, but I’m happy with the results.
Not having access to all my supplies and tools has made me dig a little deeper into my bag of techniques. On this layout, I started with one of our how to pattern books a group of photos, and a pack of paper that worked with the colors in the photos. From there I added some homemade stencils, used some flip flaps, and just had some fun.
There is a video of me walking through the creation of these pages if you want to see more of what I did.
This is
a fairly lengthy post with some explanation of what’s been happening
in my world over the last 2 years. If you are more interested in
crafty posts, stay tuned as I have a list of 13 crafty blog ideas
that I will be writing and posting soon!
In the adventure that is our life, we are currently residing in chaos in Glendale, California. How did we get from farm life in a little town, Pop 1300, in Michigan’s upper peninsula to the largest county in California? It took several plane rides, a FULL moving truck, a car hauler, and a little pixie dust.
My husband received a job offer from the company he had previously been doing on and off-contract work. The farm wasn’t allowing us to have much family time and physically we were suffering. After much talk, consideration, and prayer, we decided to accept the job. We did one last harvest in July (2019) then boarded a plane the 2nd Sunday in August and moved into a house we had found to rent.
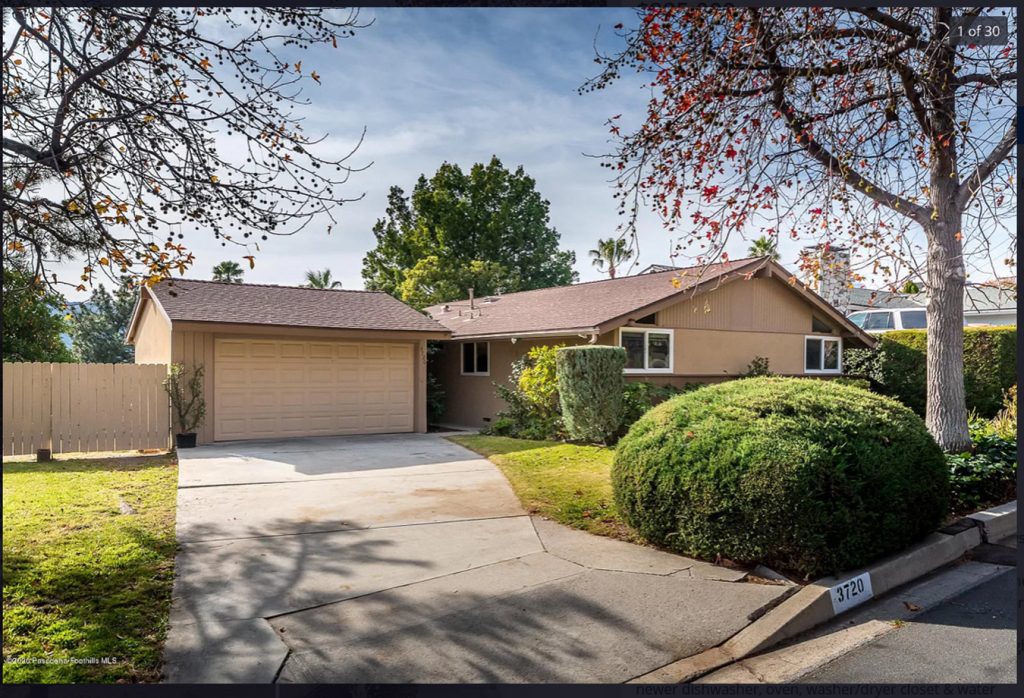
We decided that the area we picked to rent was a great area for our family so we began the search for our next home. This California market is a seller’s market and we were blessed to have the guidance of the best real estate agent we have ever worked with. She took me around to see several houses, educated us on the ins and outs of location, location, location. (Seriously 2 blocks one way or another made a HUGE difference.)
We hit the housing lottery and our bid was accepted on a home in January 2020. Escrow, close, termite termination, hired contractors for kitchen, bath, floor remodeling, asbestos & lead removal all happened in a 3 week period then Corona hit. Hubby was furloughed which lead us to decide to move out of the rental house and occupy our now, tore up the new house.
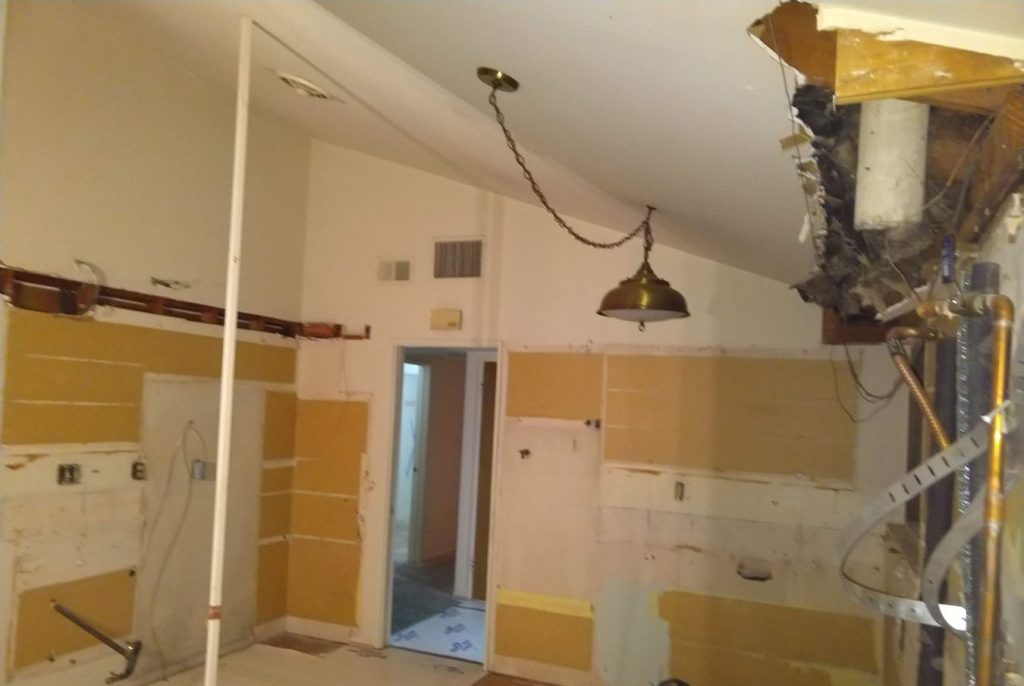
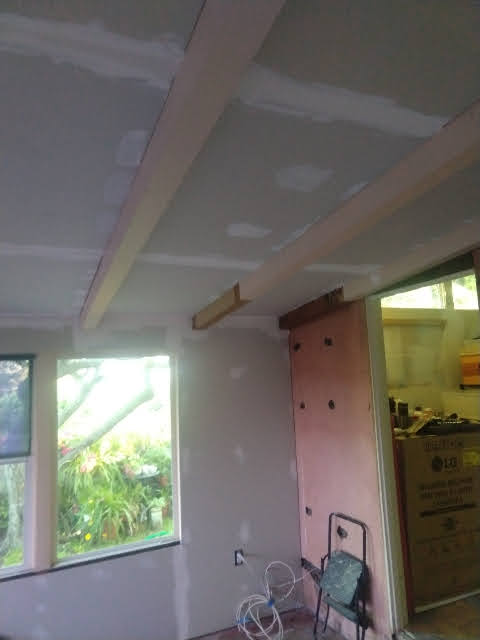
The contractor was very quick and had the demolition started the first Monday after we signed the contract for the work.
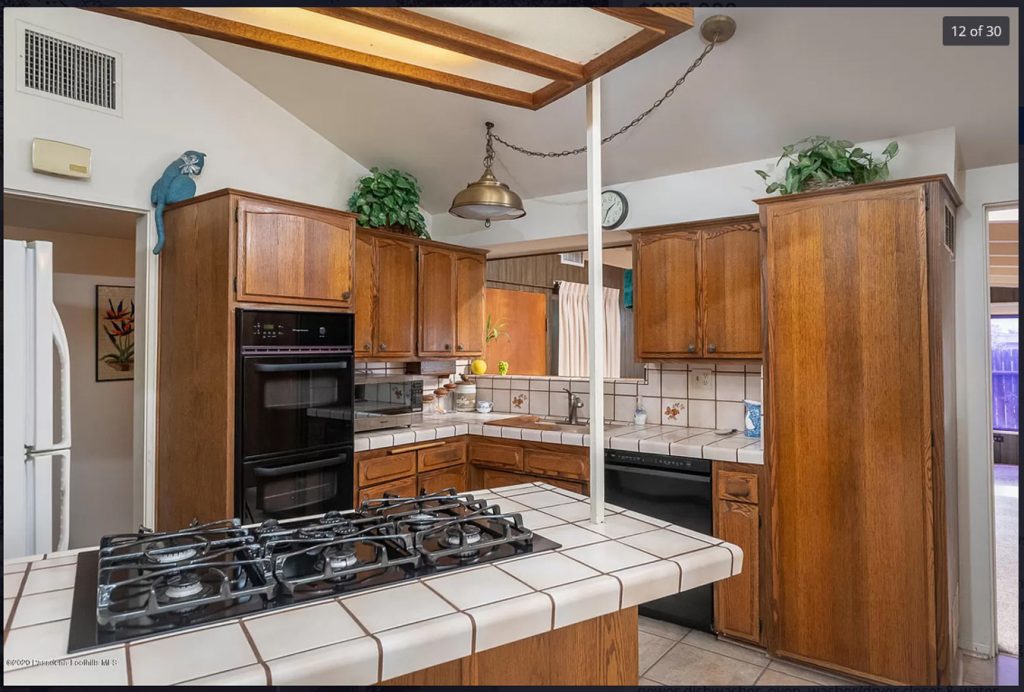
This is the kitchen as it was when we purchased the house. Fully functional a bit dated.
This is what it looked like after the demolition. We currently have more holes in the walls with some electrical/pipes added and others removed.
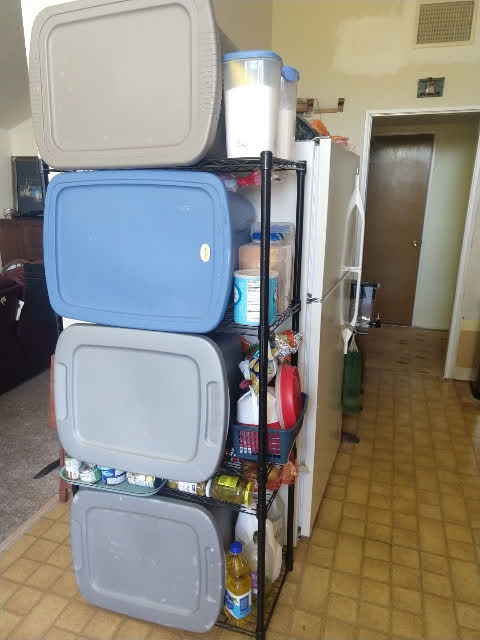
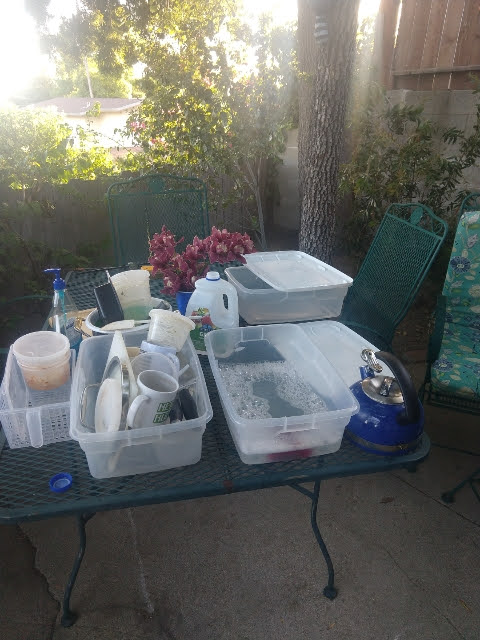
I devised a system for our pantry and using an electric camping burner, microwave, and grill we have managed to have some lovely meals. Our washing station isn’t my favorite,
but I can’t complain about the view or the weather. With only one working sink in the bathroom that was not touched, we have a bottle system and try to keep them full for when we need them.
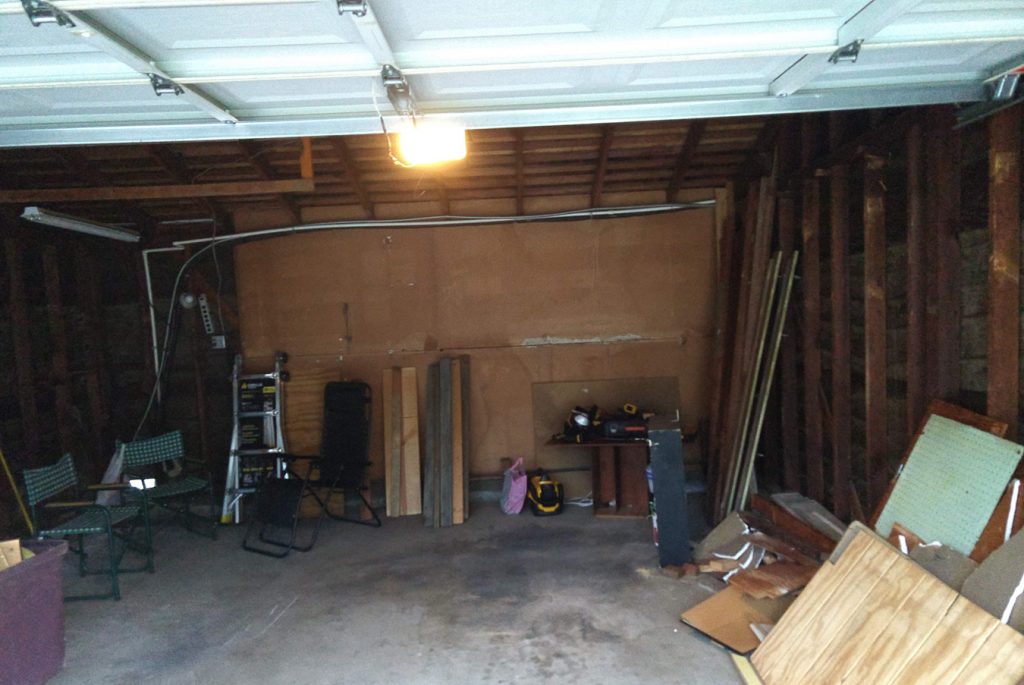
Before we moved into the house, before the furlough news in our state of happy bliss, we were able to work on making some loft areas in the garage and brighten up the place. I currently can’t see much of the walls, floor, or lofts, but I am looking forward to seeing it again, and in the meantime I have photos.
(I forgot to take a before photo, this is after we removed all the piecemeal shelves including a sheet of drywall hung with wire from the ceiling)
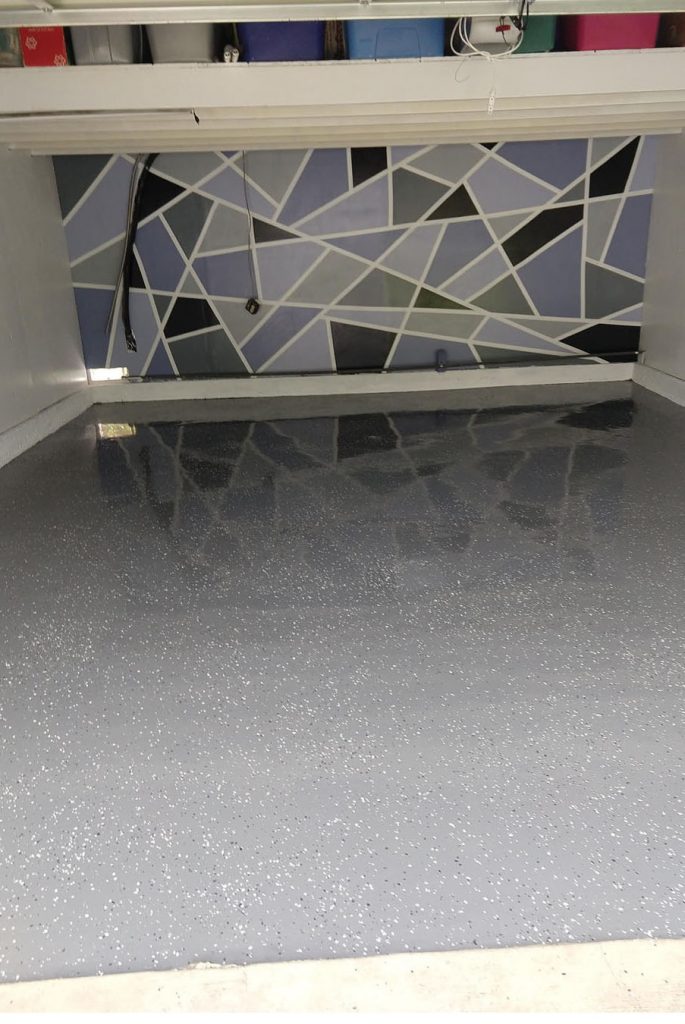
Because of COVID-19, our eldest came out and finished his first year of full-time college at the rental house with us. This meant the kids and I could make the mosaic in the garage for my husband as this will be his workshop & a place to park a car.
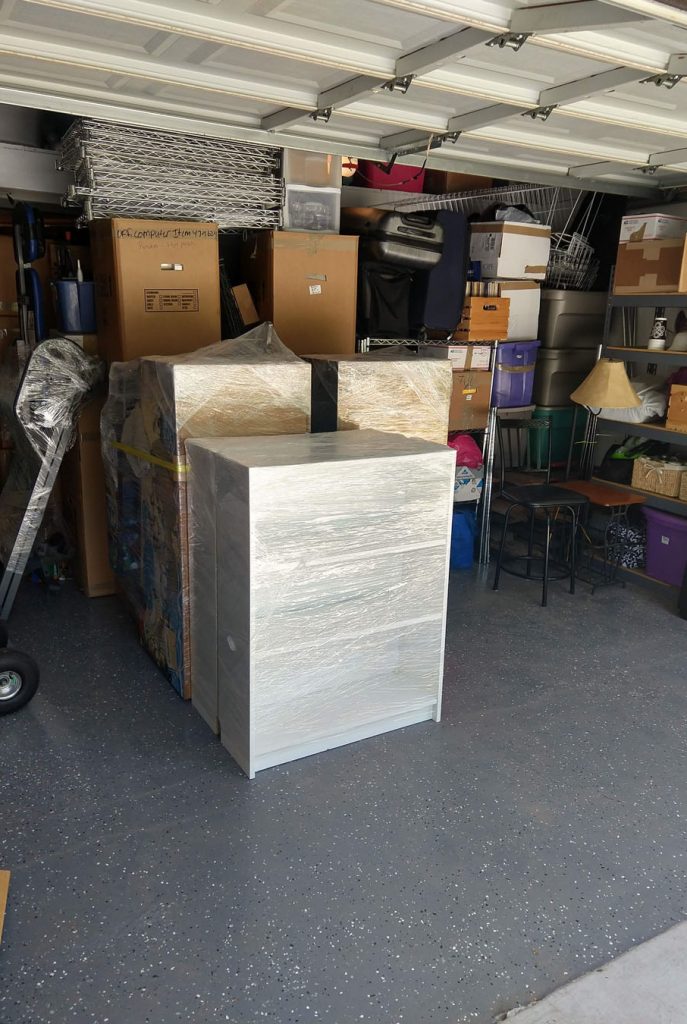
Top of this photo shows the larger loft filled with Christmas totes & other totes we don’t need access too except a couple of times a year. I love the reflection of the mosaic on the floor!This is about halfway through the movers adding furniture. we managed to save access to the tools along the left edge (sideways squeeze) and the overflow of kitchen & bathroom items on the shelves along the right edge. The floor you see in this photo is not visible today.
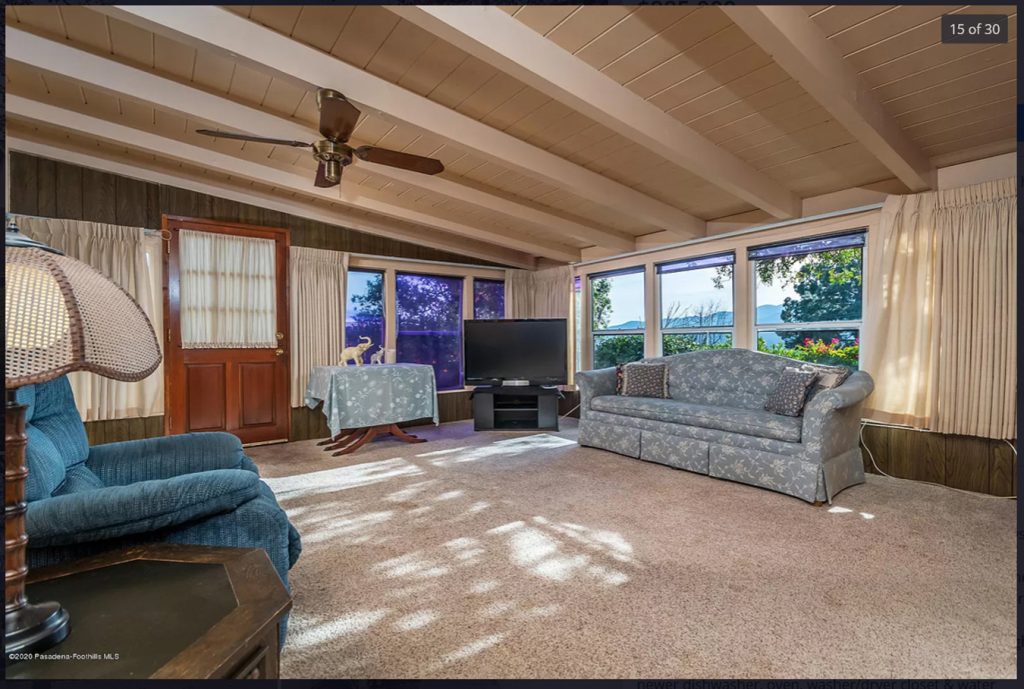
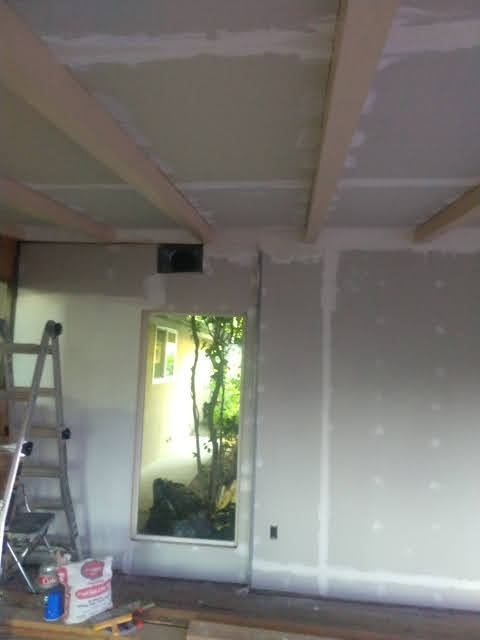
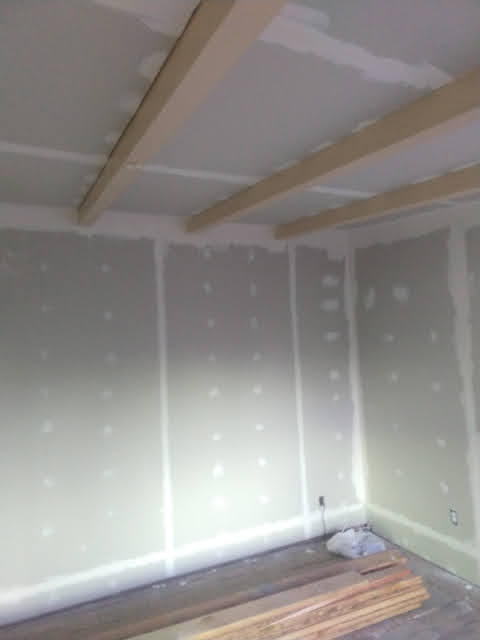
In making priorities over which projects we wanted to be done by the contractor, darn budgets, and which ones we would do, we left the family room as a project for us to tackle. After we settled in a bit to a routine of school for our youngest, learning how best to make coffee, new grocery store, finding recipes that worked in our current “camp kitchen,” we began to talk about the family room. In true Ross fashion, we tore up the floor, ripped off the old brown paneling, and dove in with both feet on our project. This is the before photo from when we purchased the house, and the current photo.
This is how the family room looked when we purchased the house.
Northwest corner (kitchen to the left)
Northeast corner
Southeast corner
Southwest corner (kitchen to the right)
We have since been able to finish the drywall mud-ding and have the primer on the walls and ceiling. This progress has been slow as my husband did get recalled back from furlough. (halleluiah!)
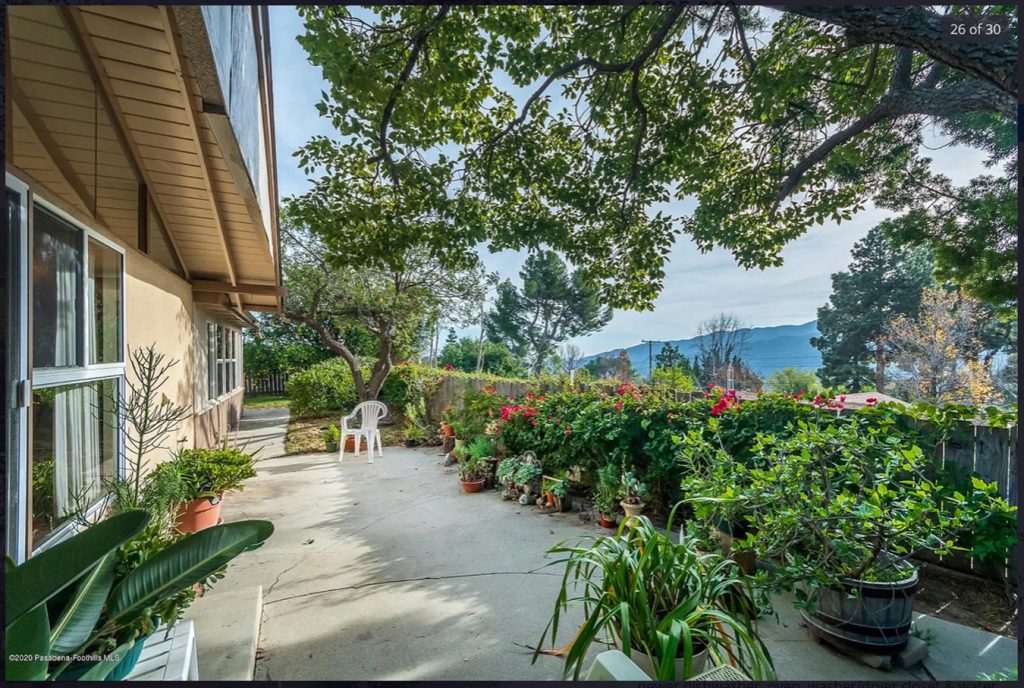
All and all we are blessed and try to focus on what we have, the good in our world, and the fact that we are all together, healthy and safe. Besides who can be uncheered when we have a view like this out our back door!
I have
a list of future blog posts and am trying to make crafting time each
day. I would love it if you keep a good thought for our current
chaos and that it has an end sooner rather than later.
If you have any suggestions for what projects, techniques, or blog subjects I should write about, please let me know!
I’ve never been a rah, rah kind of gal, and run pretty level through life. I tend to roll with the punches good and bad. All that being said, I truly am excited for what I am seeing in this new catalog from Close to My Heart! Just the cover is filled with some cool out of the box projects to create and the colors are fresh!
If you haven’t seen one yet, you can view it on line, and if you order CTMH will send you one with your order for FREE!
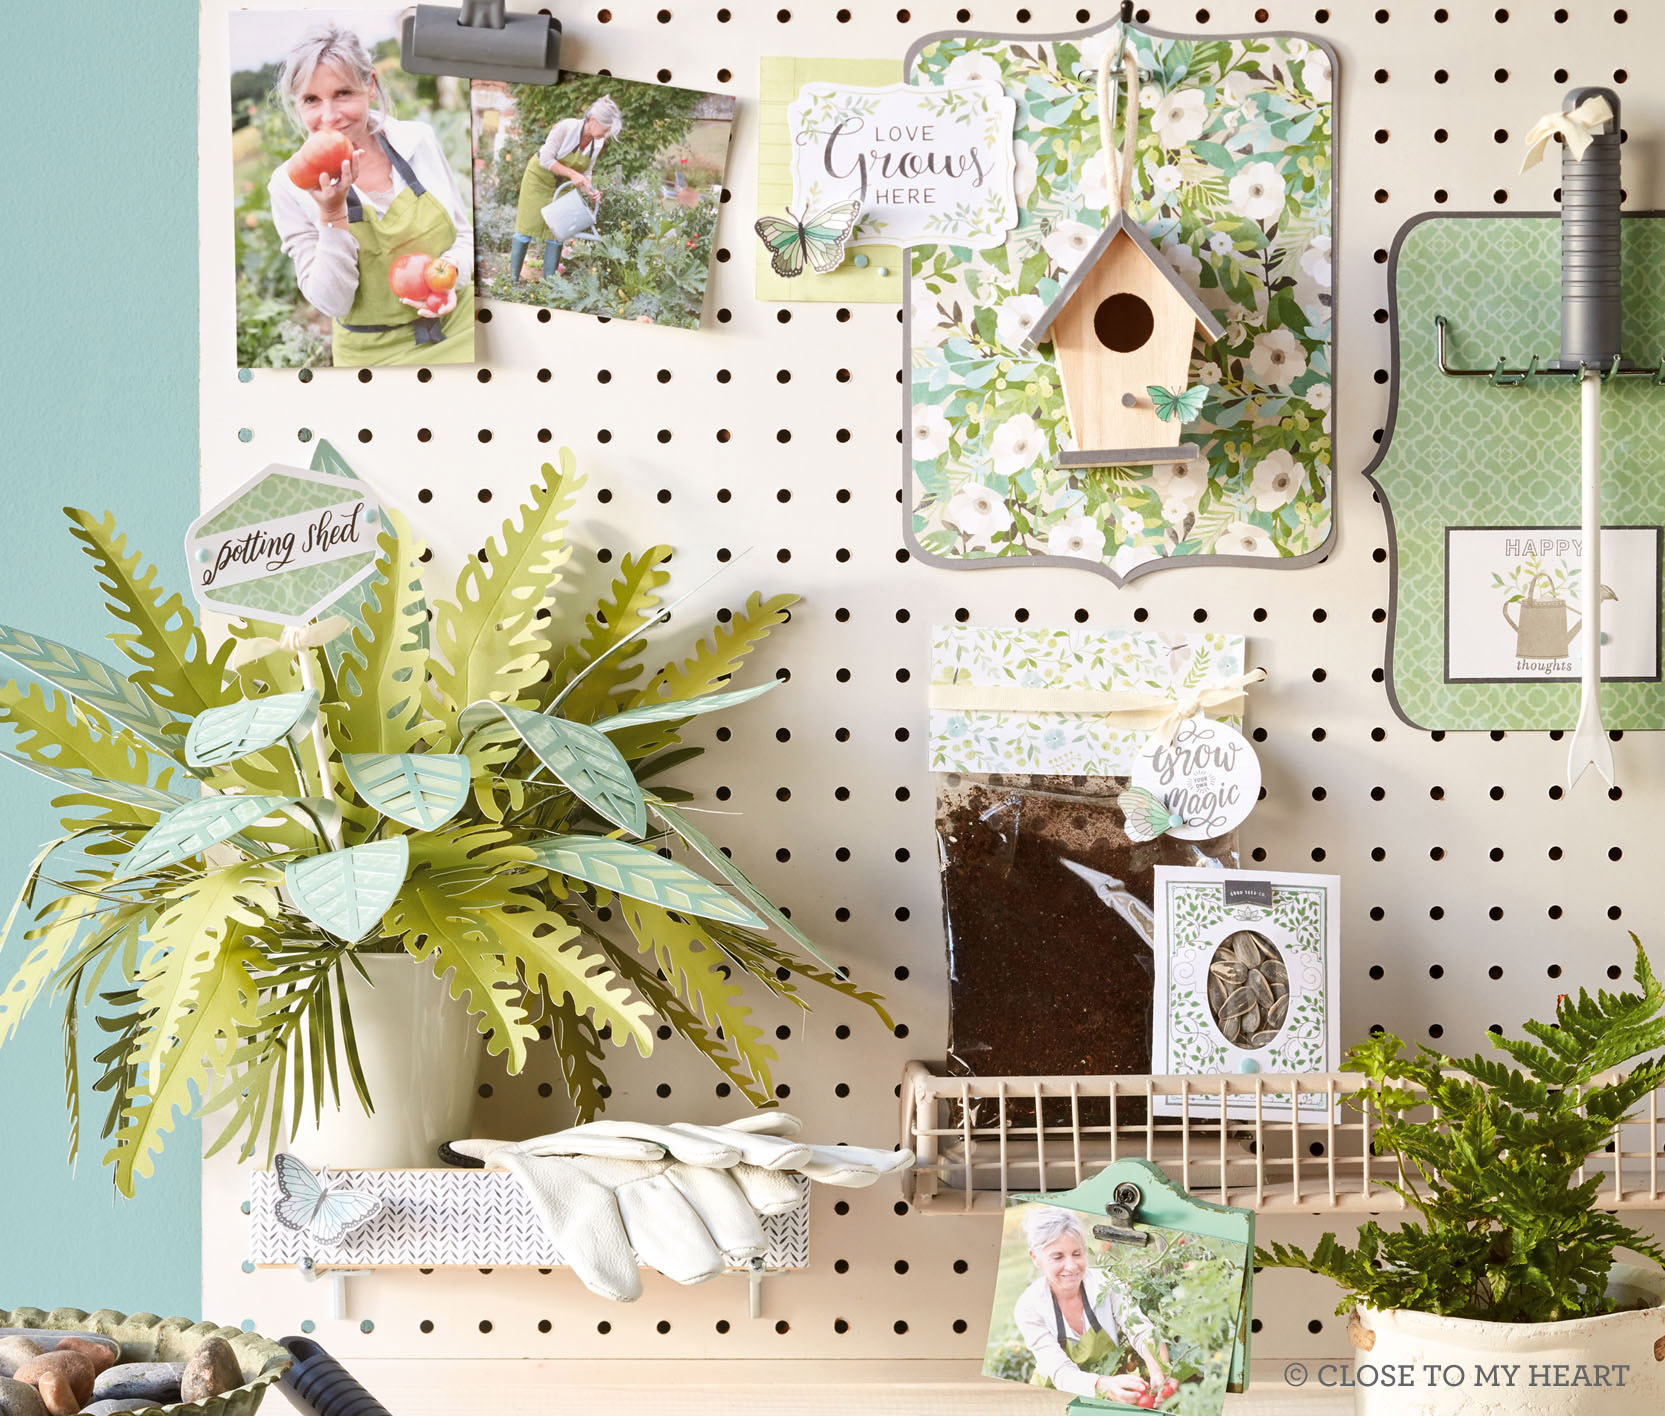
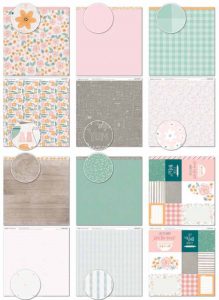
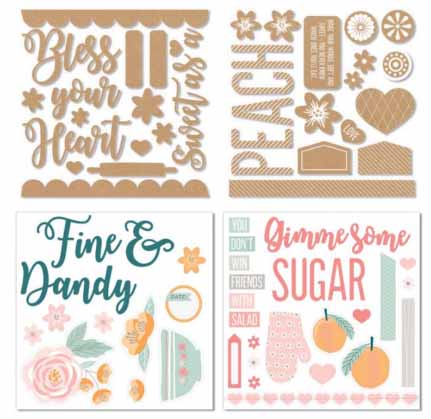
Just to entice you to look, here’s the new paper packs. (There are new workshops with each of them and new thin cuts and great stamps of the month too!)Chelsea Gardens
I’ve been a butterfly lover for many years, so Chelsea Garden speaks to that and my LOVE of blue! Win/win
I’m thinking it might be fun to make some scrapbook pages highlighting some of our family favorite recipes. Good for memories of everyday life and might make cooking suppers easier if I make the recipes in the next few weeks.
December FLEW by. Between Community Chorus concerts and rehearsals, music rehearsals for church, family needs (many doctor appointments and an outpatient surgery for one) and preparing for Christmas some things had to “give.” The house and the blog were the two that “gave” the most. The house is slowly returning to tame, so now if the time to bring the blog back into repair.
Way back in September our monthly group started learning/relearning some fun folds for cards. Thankfully at that time I did some research and prepared for the next few months of projects. Now it is time to share with you those instruction sheets & cards.
Basic Z fold cards.
I use Pinterest and good ol’ Google for researching different card folds & such. I then compiled a list and tried to start with the basic ones, and, as we continue down this road build into more advance folding cards.
We started with “Fun Fold,” “Z fold” and “Double Z.” I also gave everyone a blank notebook and some tips for modifying it so we could all create a place for all our samples and notes of all these great cards in one place. I will have more on that in another post.
Just so you can catch up, here is my sheet of instructions for the Fun, Z & Double Z folds.
Soon I’ll post my completed Christmas card for 2017. It too utilizes one of our recent folding techniques.
 Just the cover is filled with some cool out of the box projects to create and the colors are fresh!
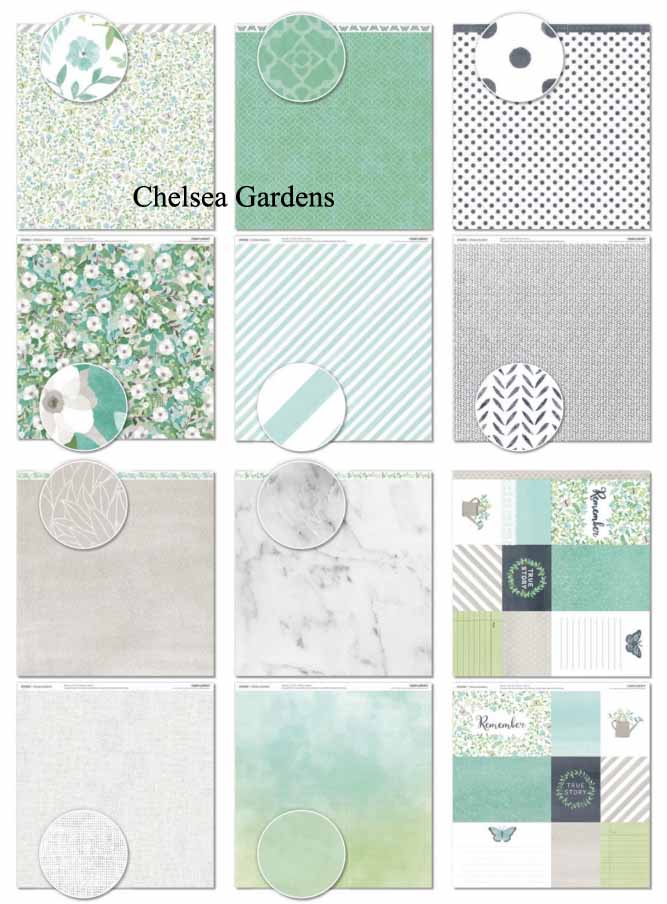
 Chelsea Gardens

 Basic Z fold cards.
 Happy Crafting!