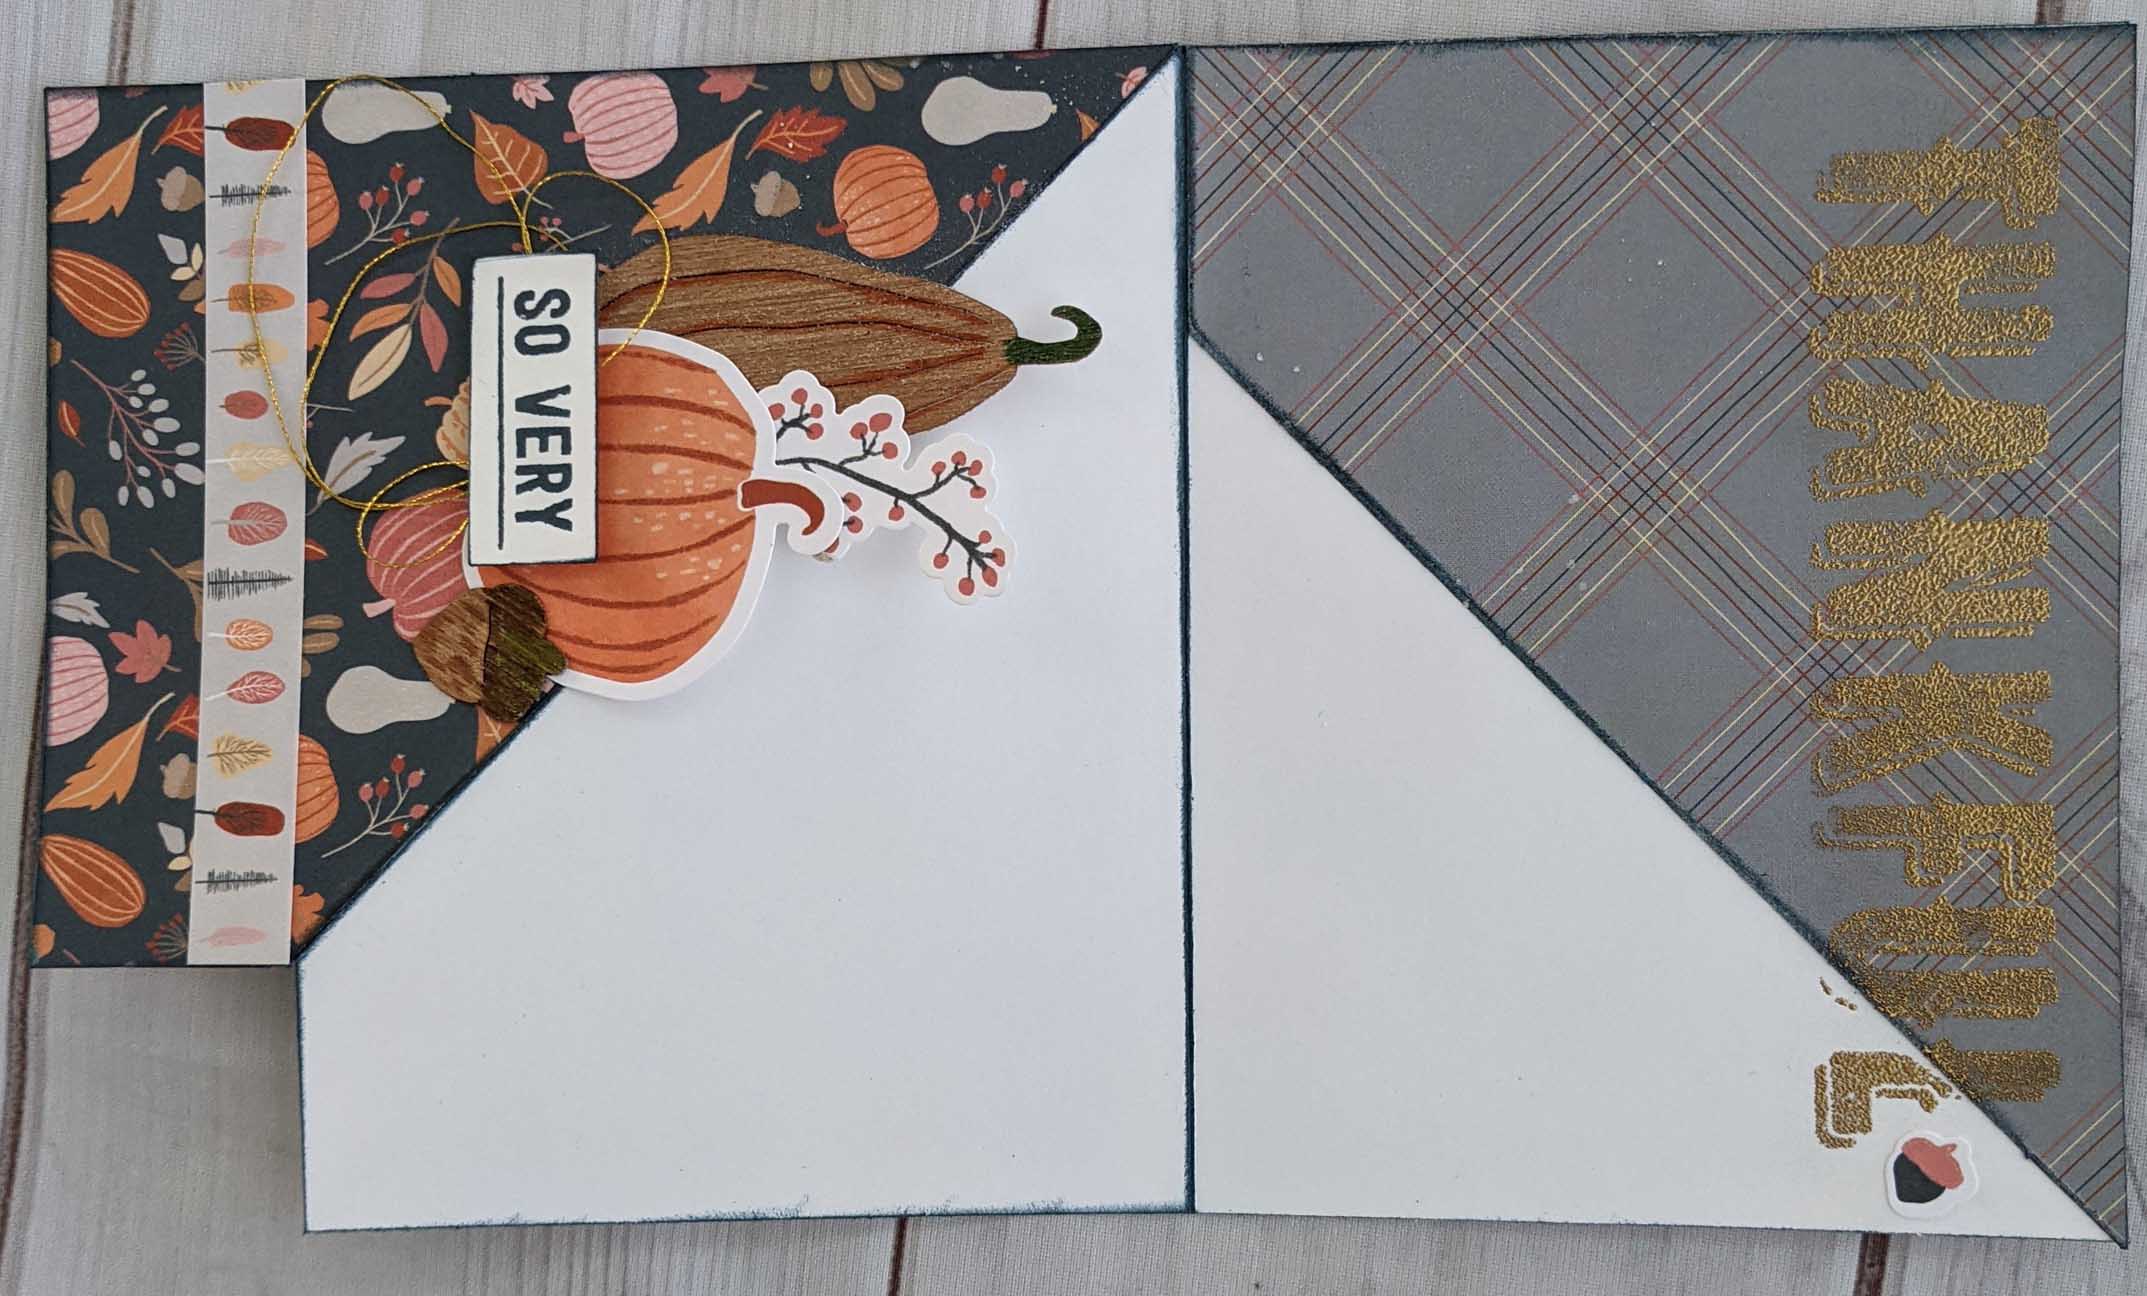
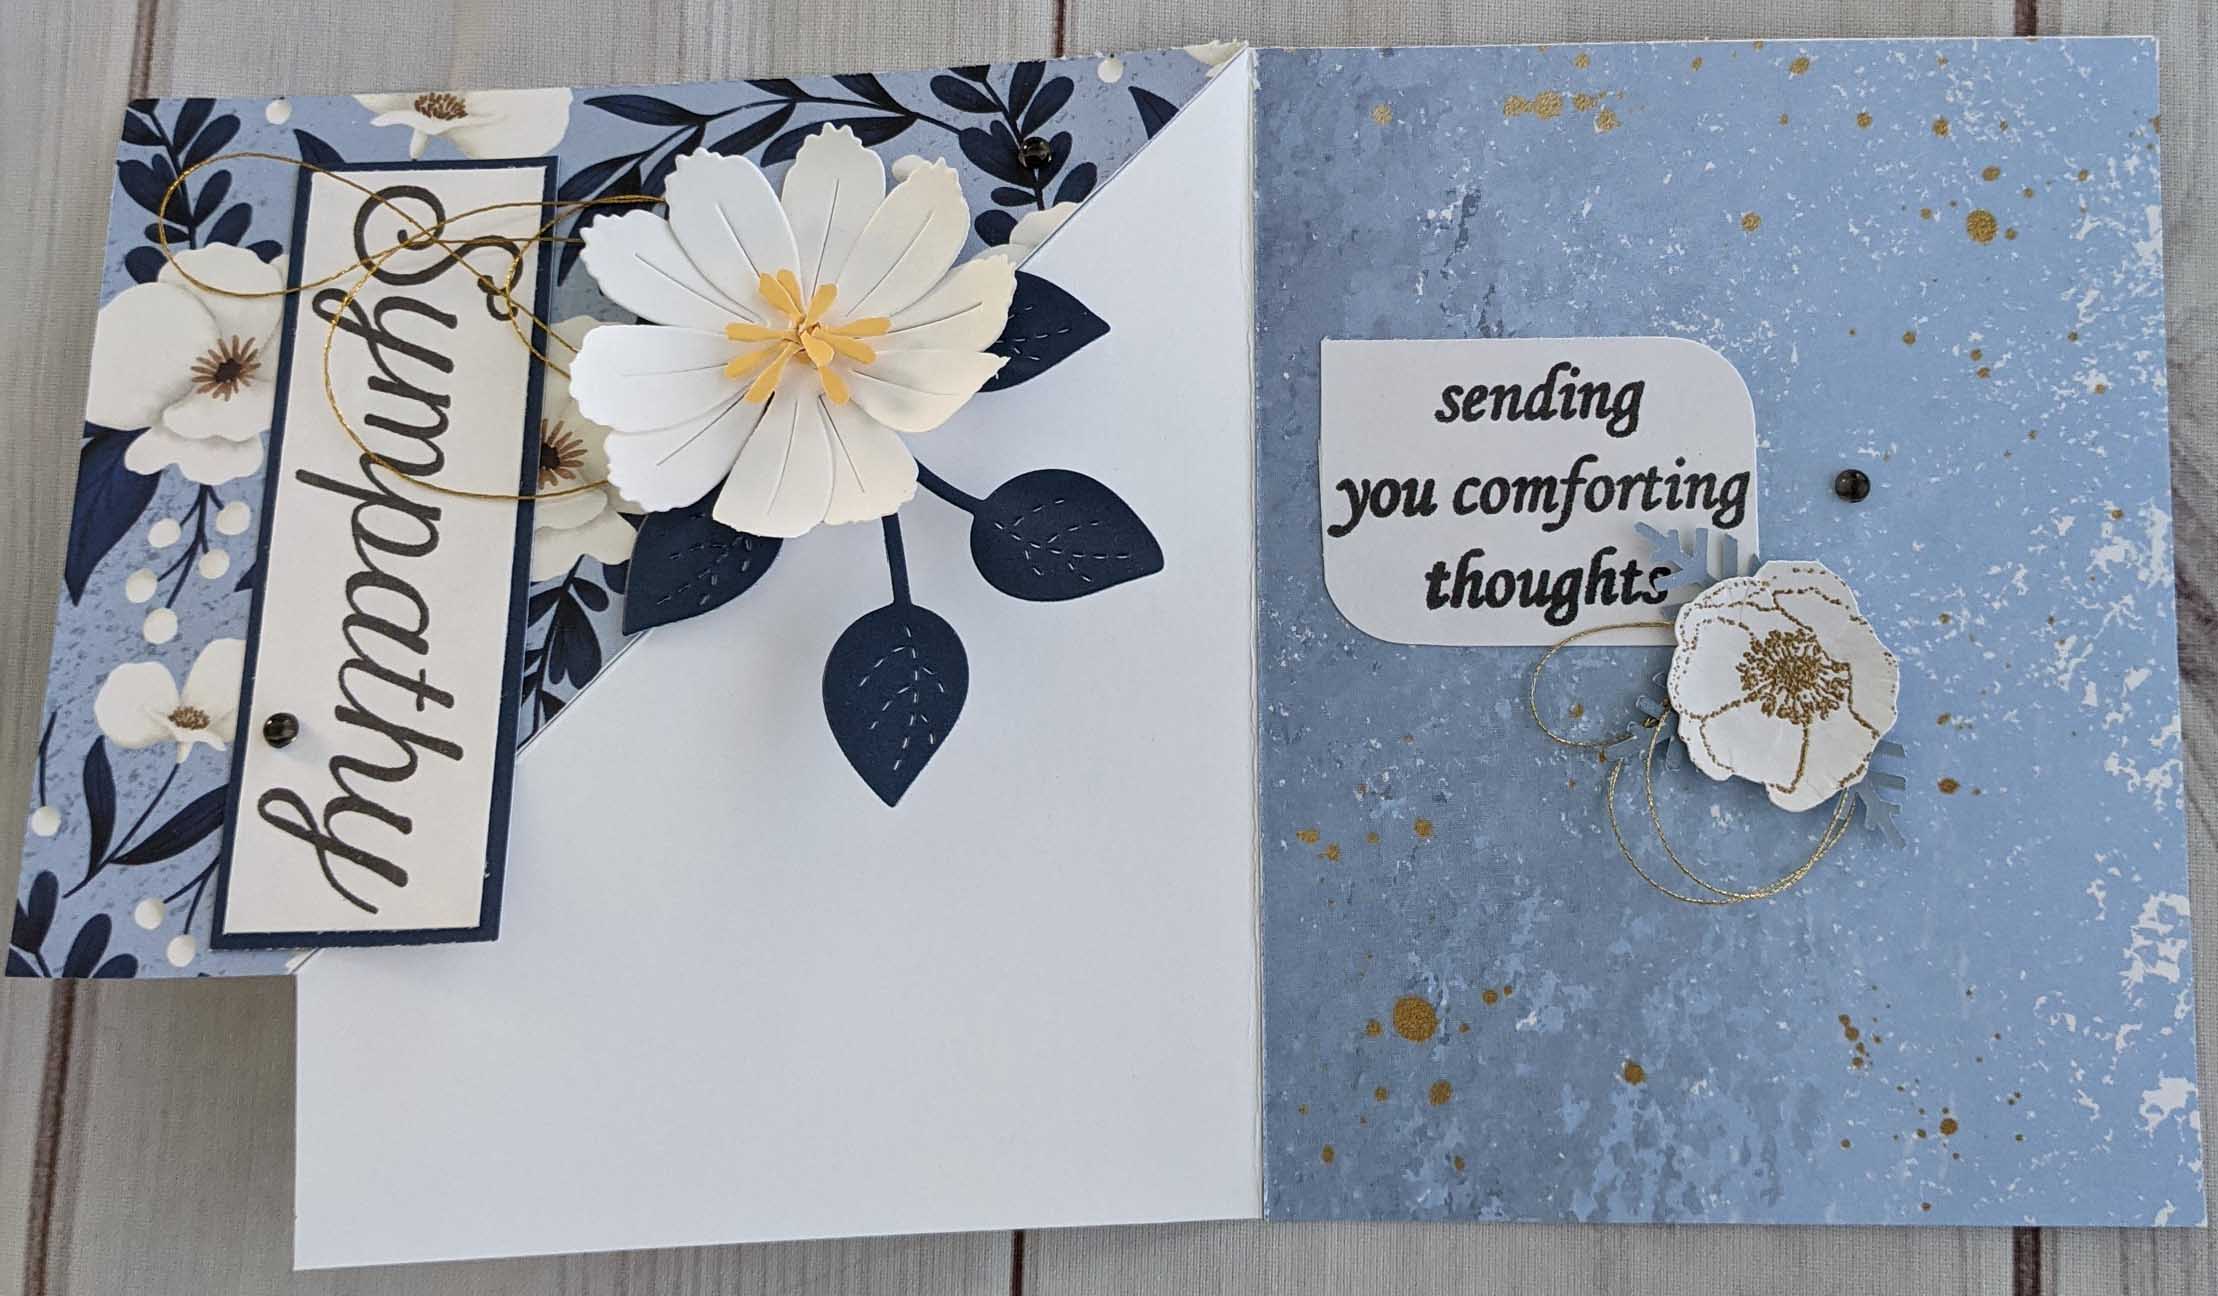
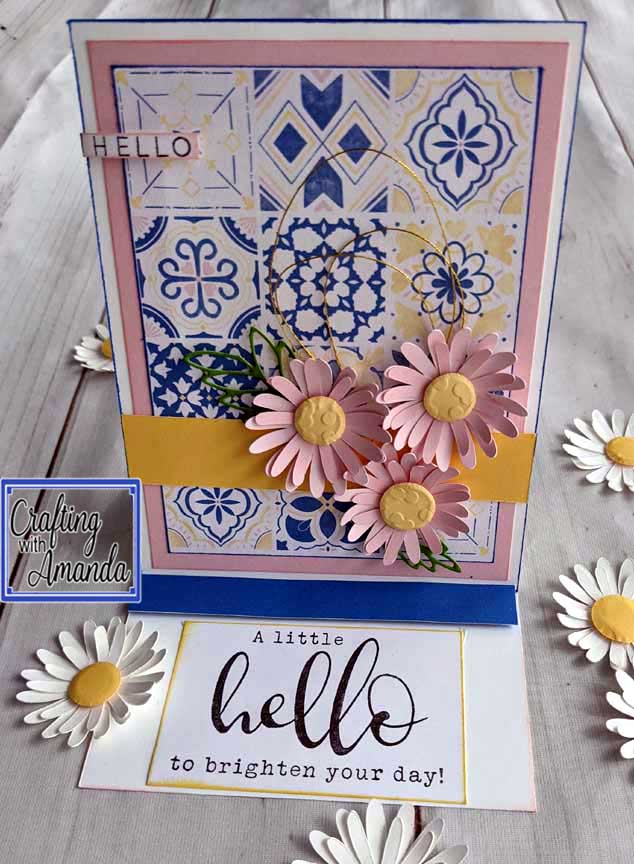
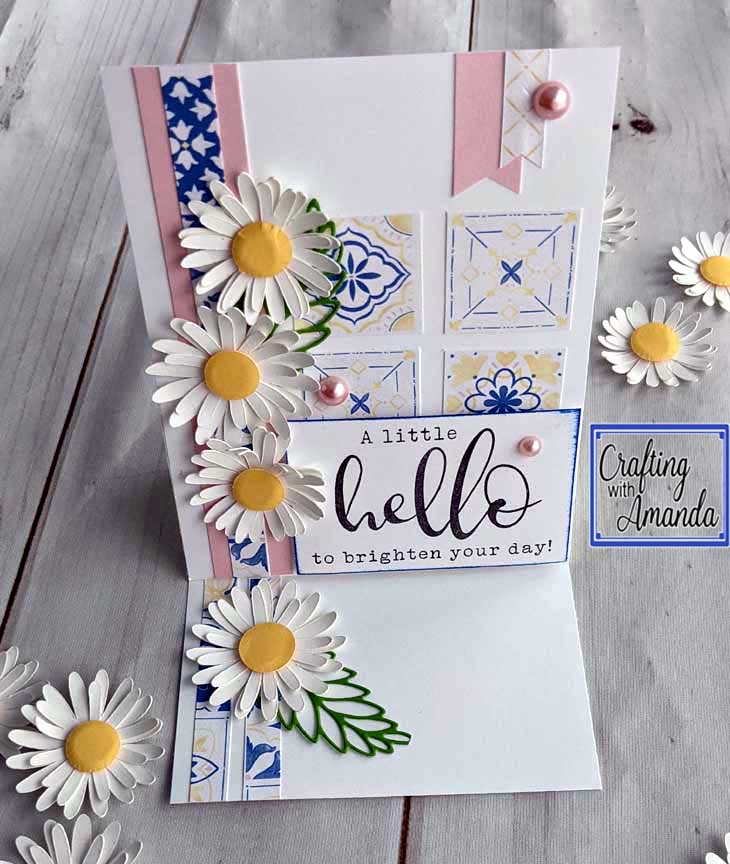
This fun fold card is so easy and seems to pack a wow with minimal effort. (Kind of like your family’s favorite recipes that are easy to make!)
Bendi Fold Cold
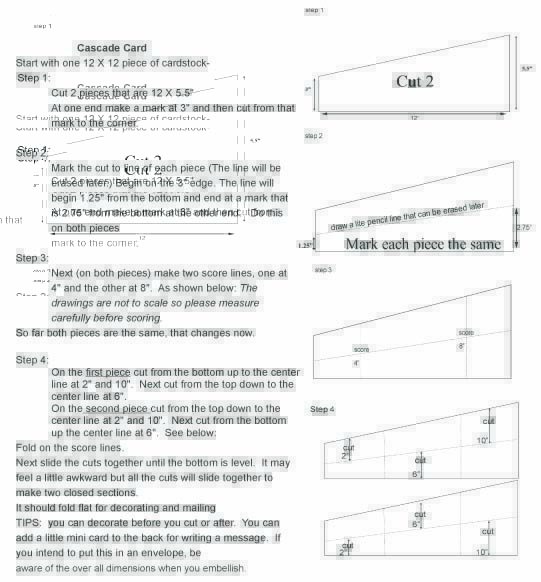
Step 1
Cut your 5 1 /2″ x 8 ½” piece of cardstock at 4 1/4″.
You will have 2 panels measuring 4 1/4″ x 5 1/2″.
Step 2
Cut one of the panels (4 1/4″ x 5 1/2″) at 2 ½” tall.
Step 3
You will have 1 piece of cardstock for the base and you will have 2 pieces of cardstock for the swinging flaps.
Step 4
Score 1/2″ on each end of the swinging flaps.
Step 5
Trace a line with a pencil at 1/4″ on the opposite side of the scored line of each flap on those lines hand-free cut 2 notches.
Step 6
Trace a line with a pencil on the base piece of cardstock at 4″ from the edge.
Trace a second line on the left swinging flap at 2″ from the edge.
Mark with a pencil on top of those lines where you will make the slits for the notches to be inserted.
Cut the slits with Hobby Blade.
Step 7
Erase all your pencil marks and lines.
Add double-sided tape to the end of the flaps, on the scored side.
Step 8
Tape the flaps to the base.
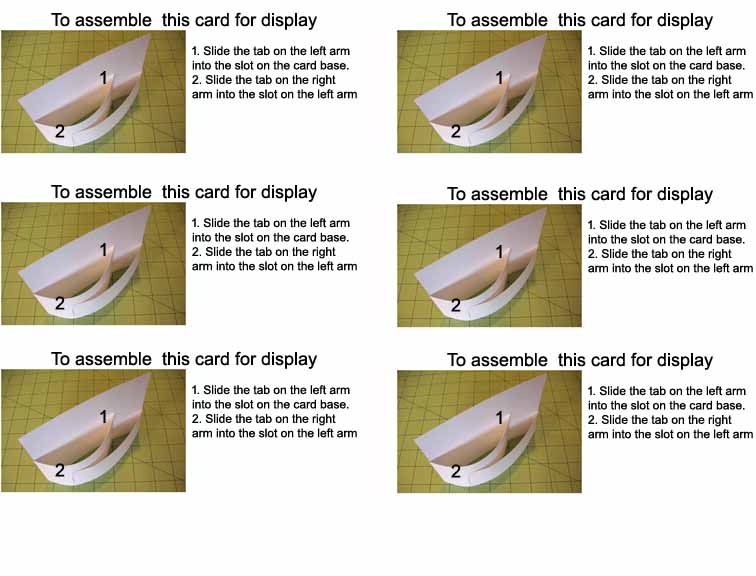
Step 9
Insert notches on slits. Make any adjustments.
Step 10
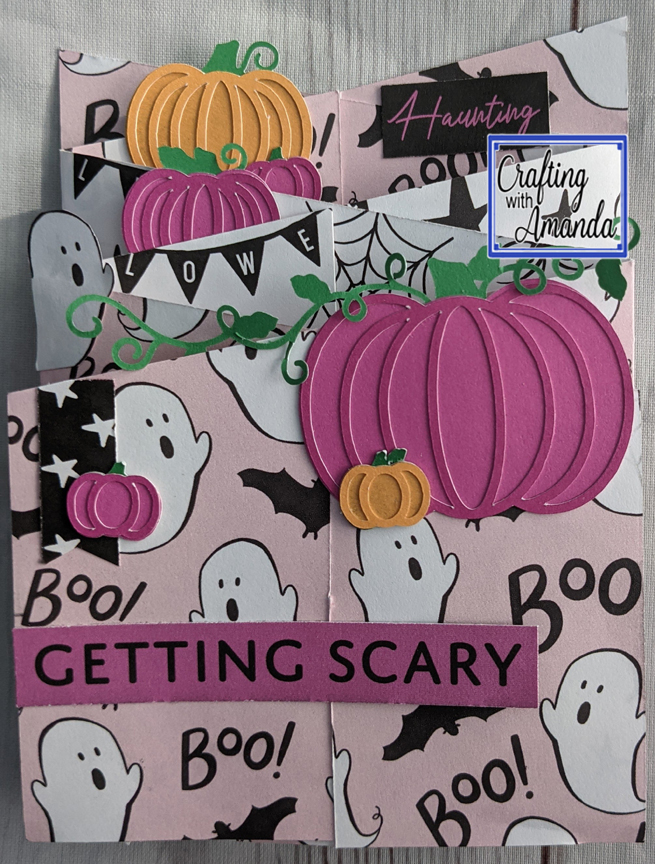
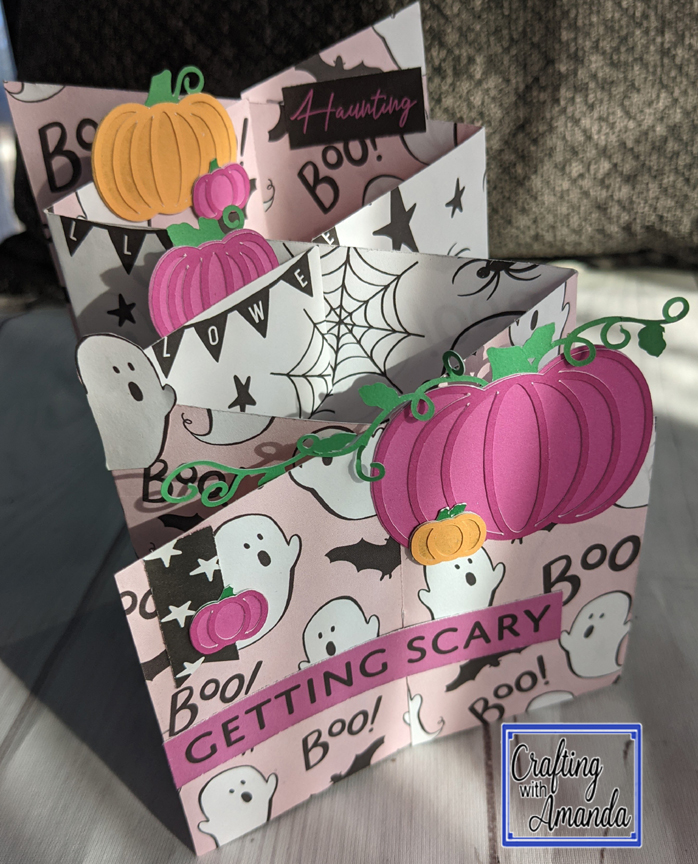
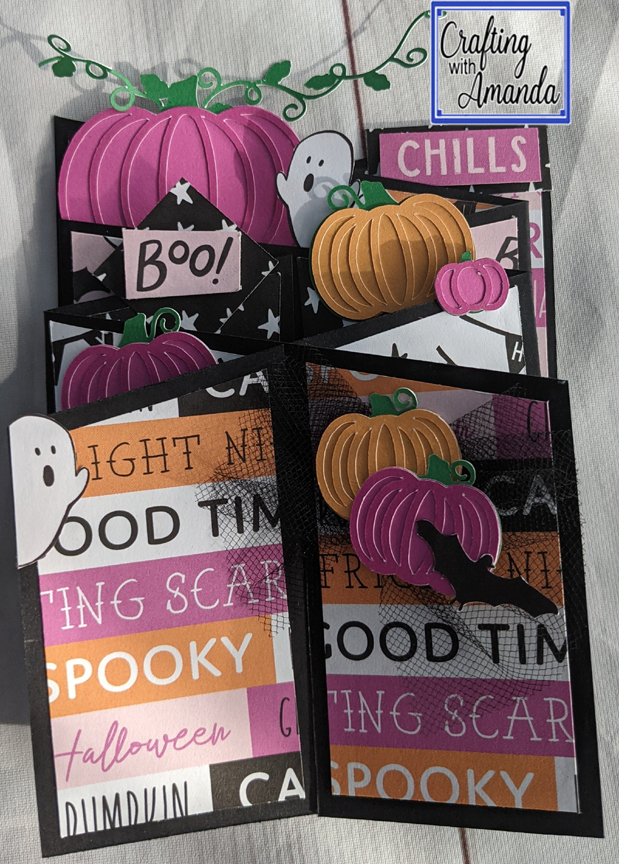
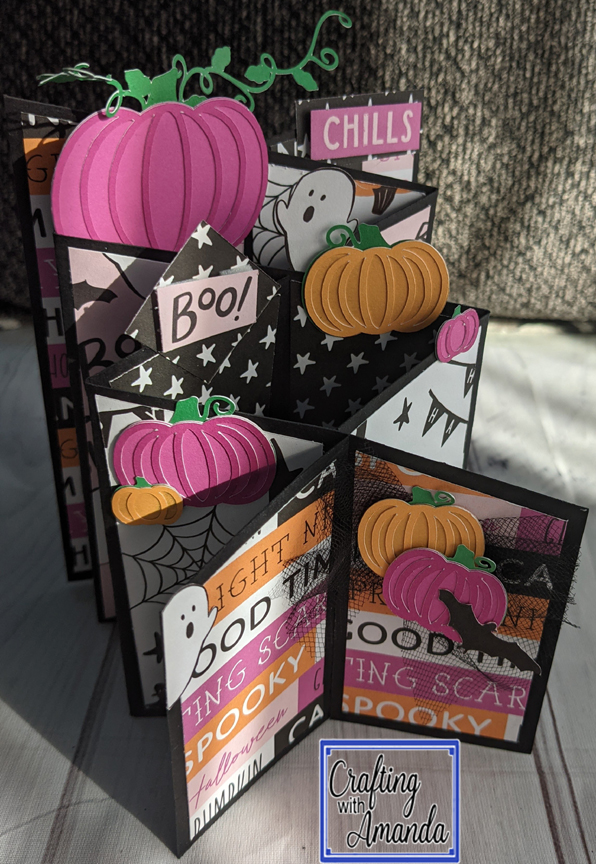
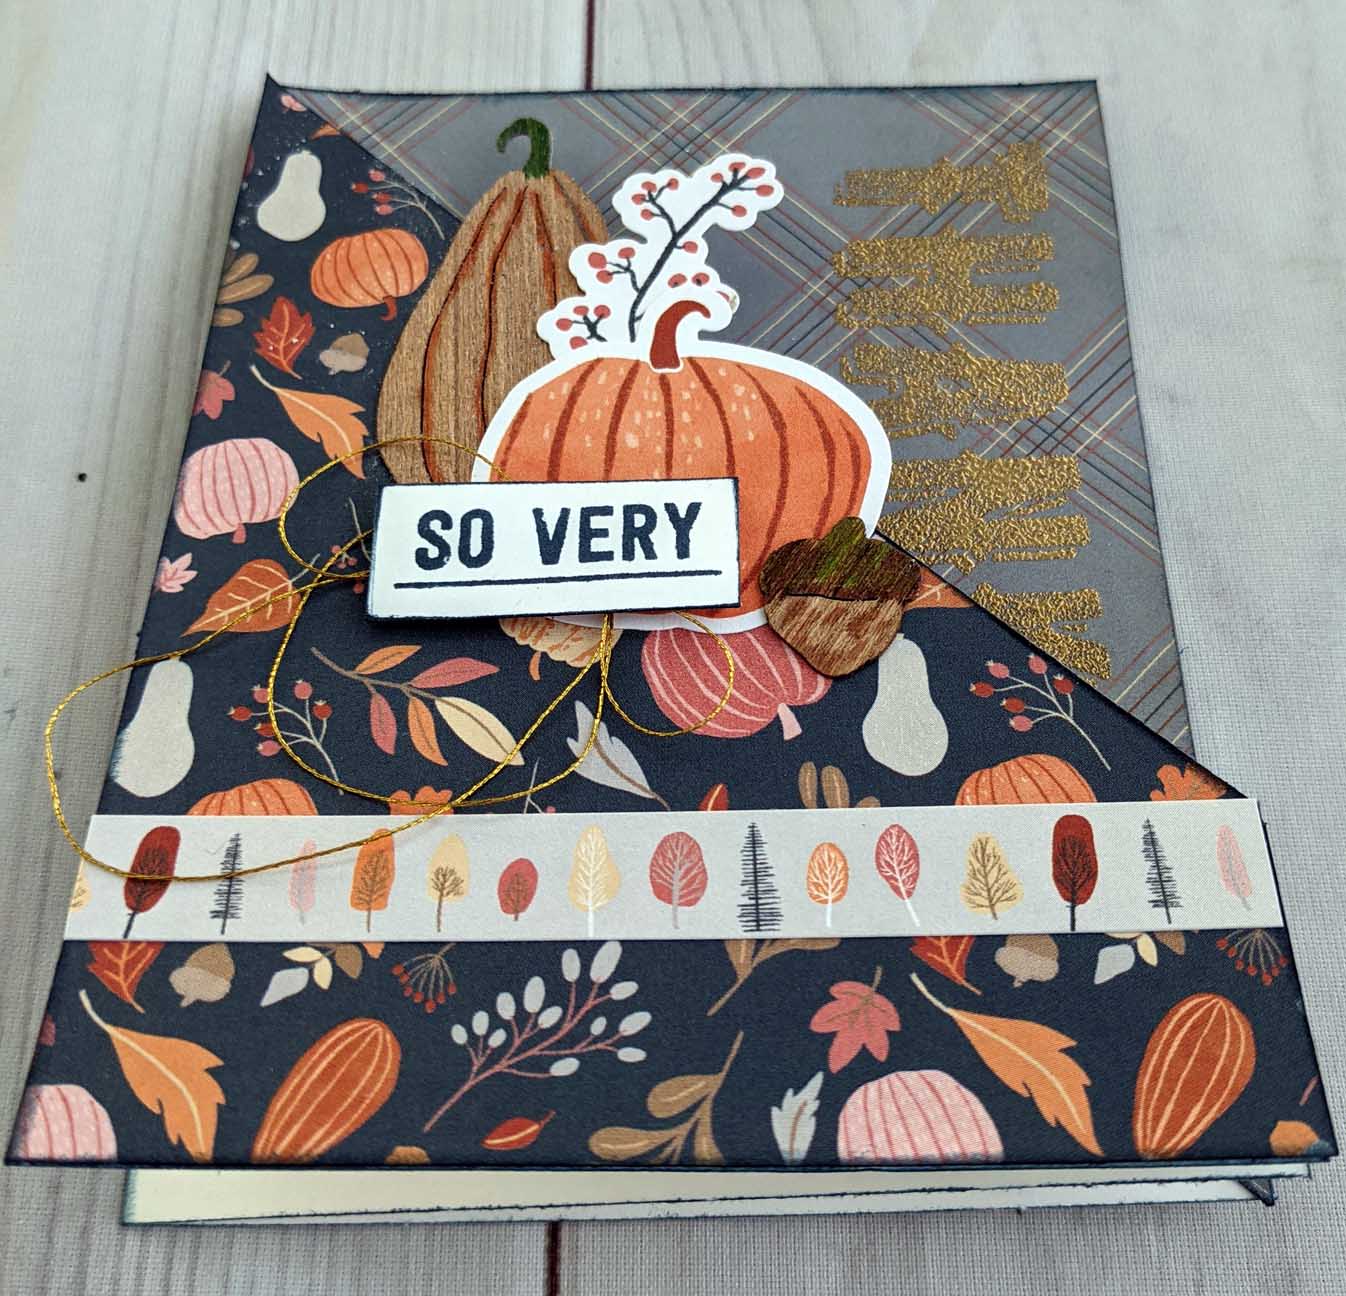
Decorate
TIPS: Before decorating, you can trim the front flaps into waves or slopes
I have created a small slip to add to the cards so the receiver will know how to set it up. You can find that file here if you want to use it (or at least borrow the wording).
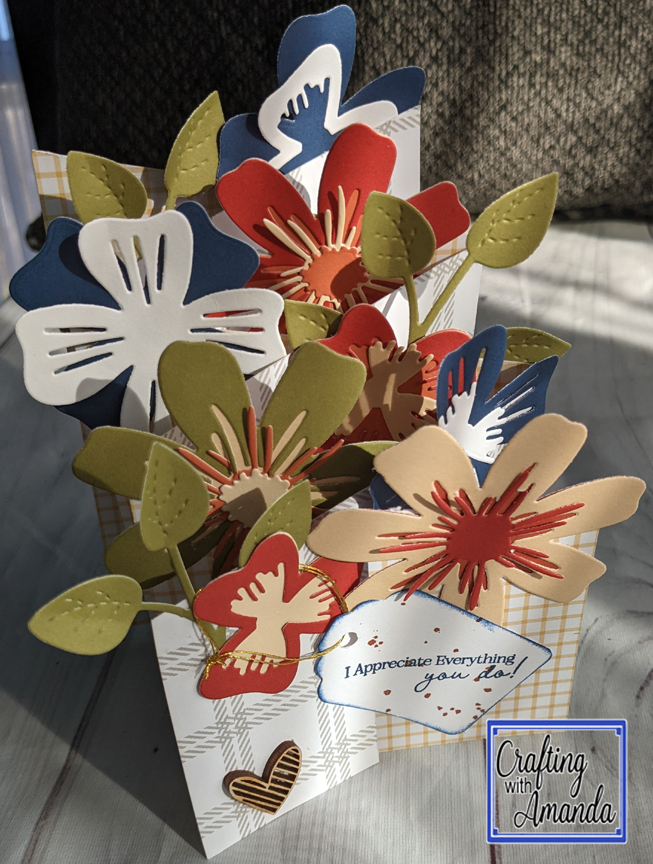
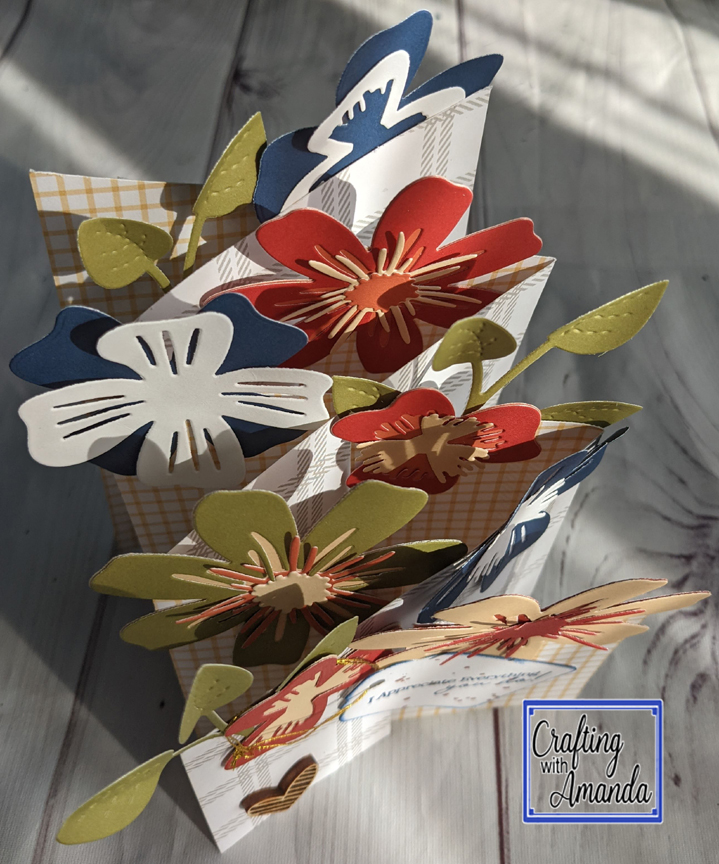
This card with the roses shows that you can cut the arms into different shapes (look at the right side). Then with some fun Cricut or Thin cuts you can decorate it as the occasion fits.
Here is a process video to show you how you can create your own.
Hope you find some crafting time!


