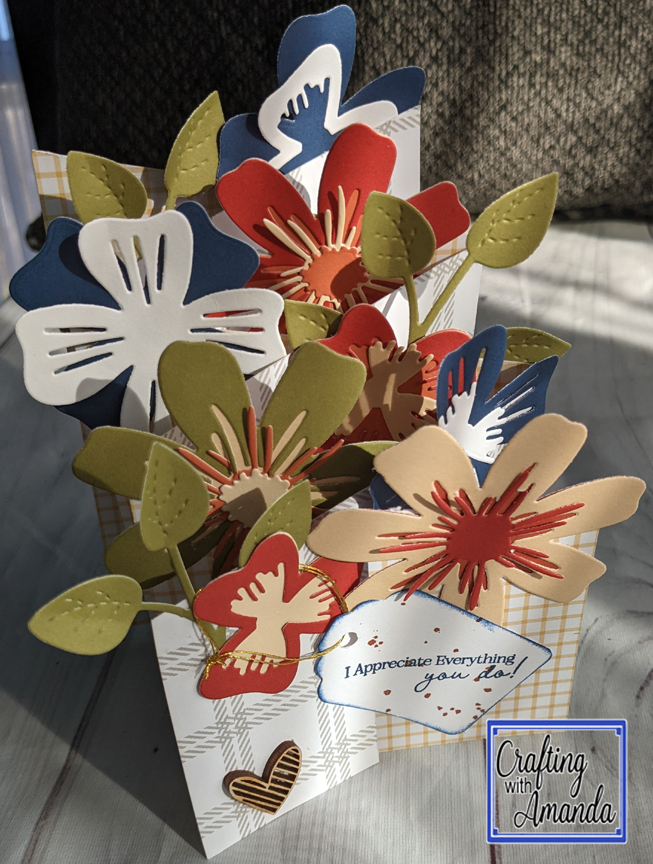
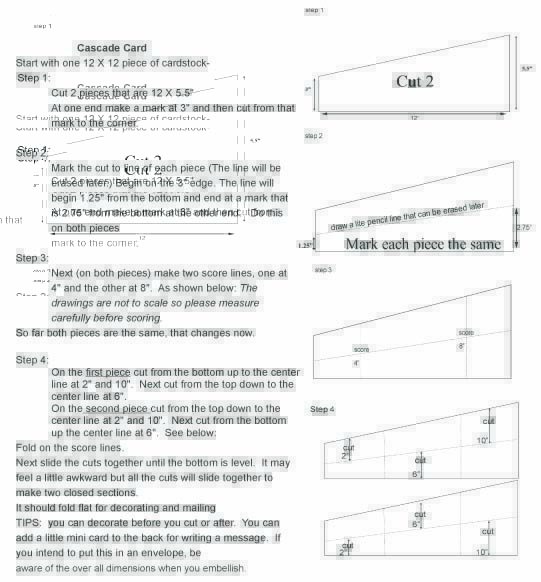
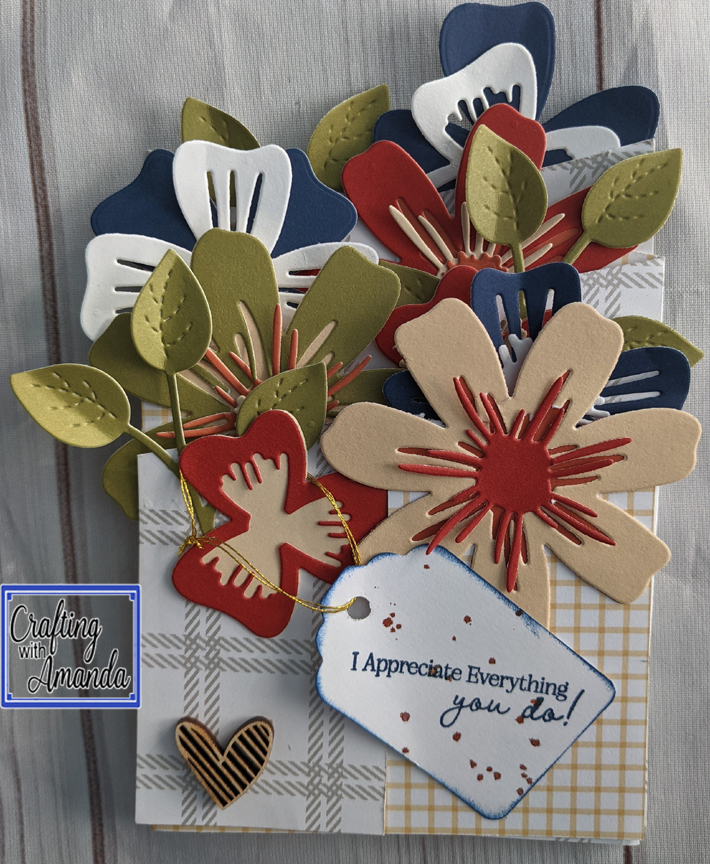
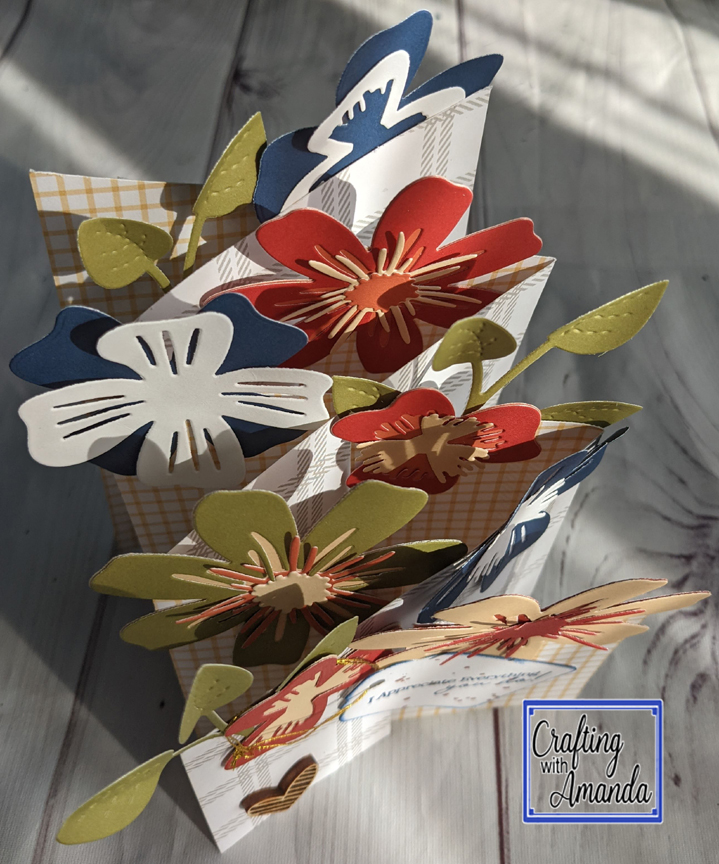
Cascade fold is a great fun fold that packs a WOW & allows you to send a piece of artwork in the mail.
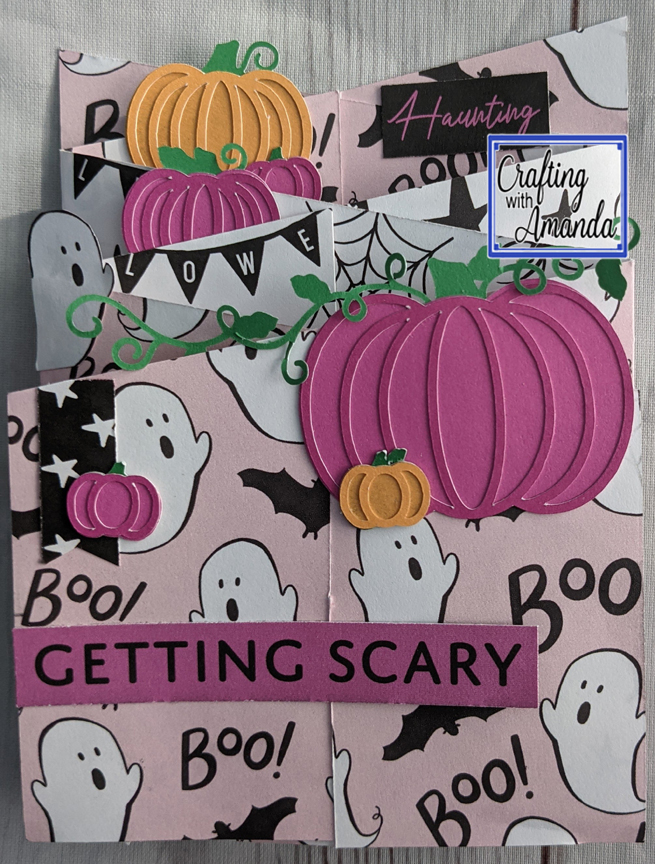
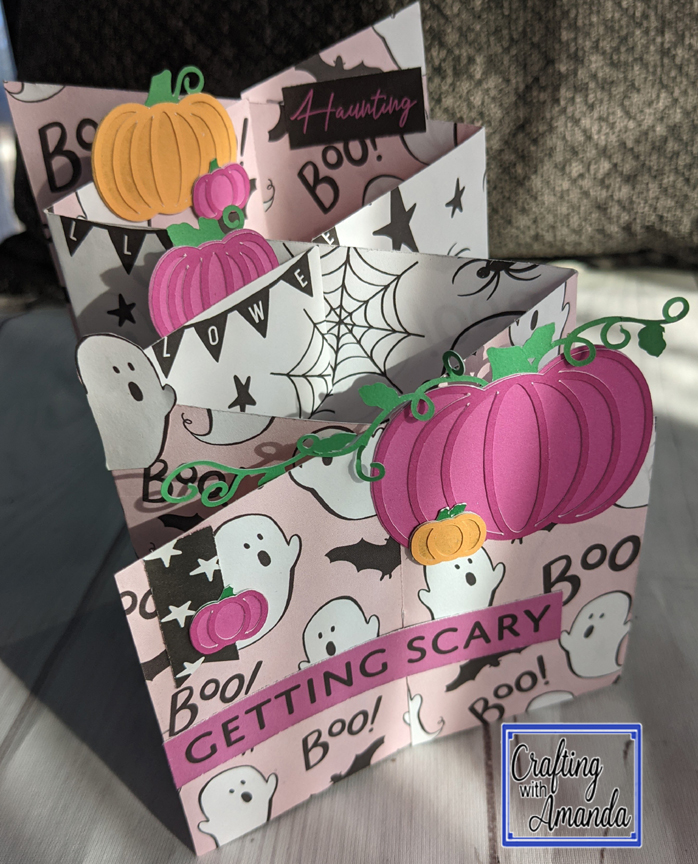
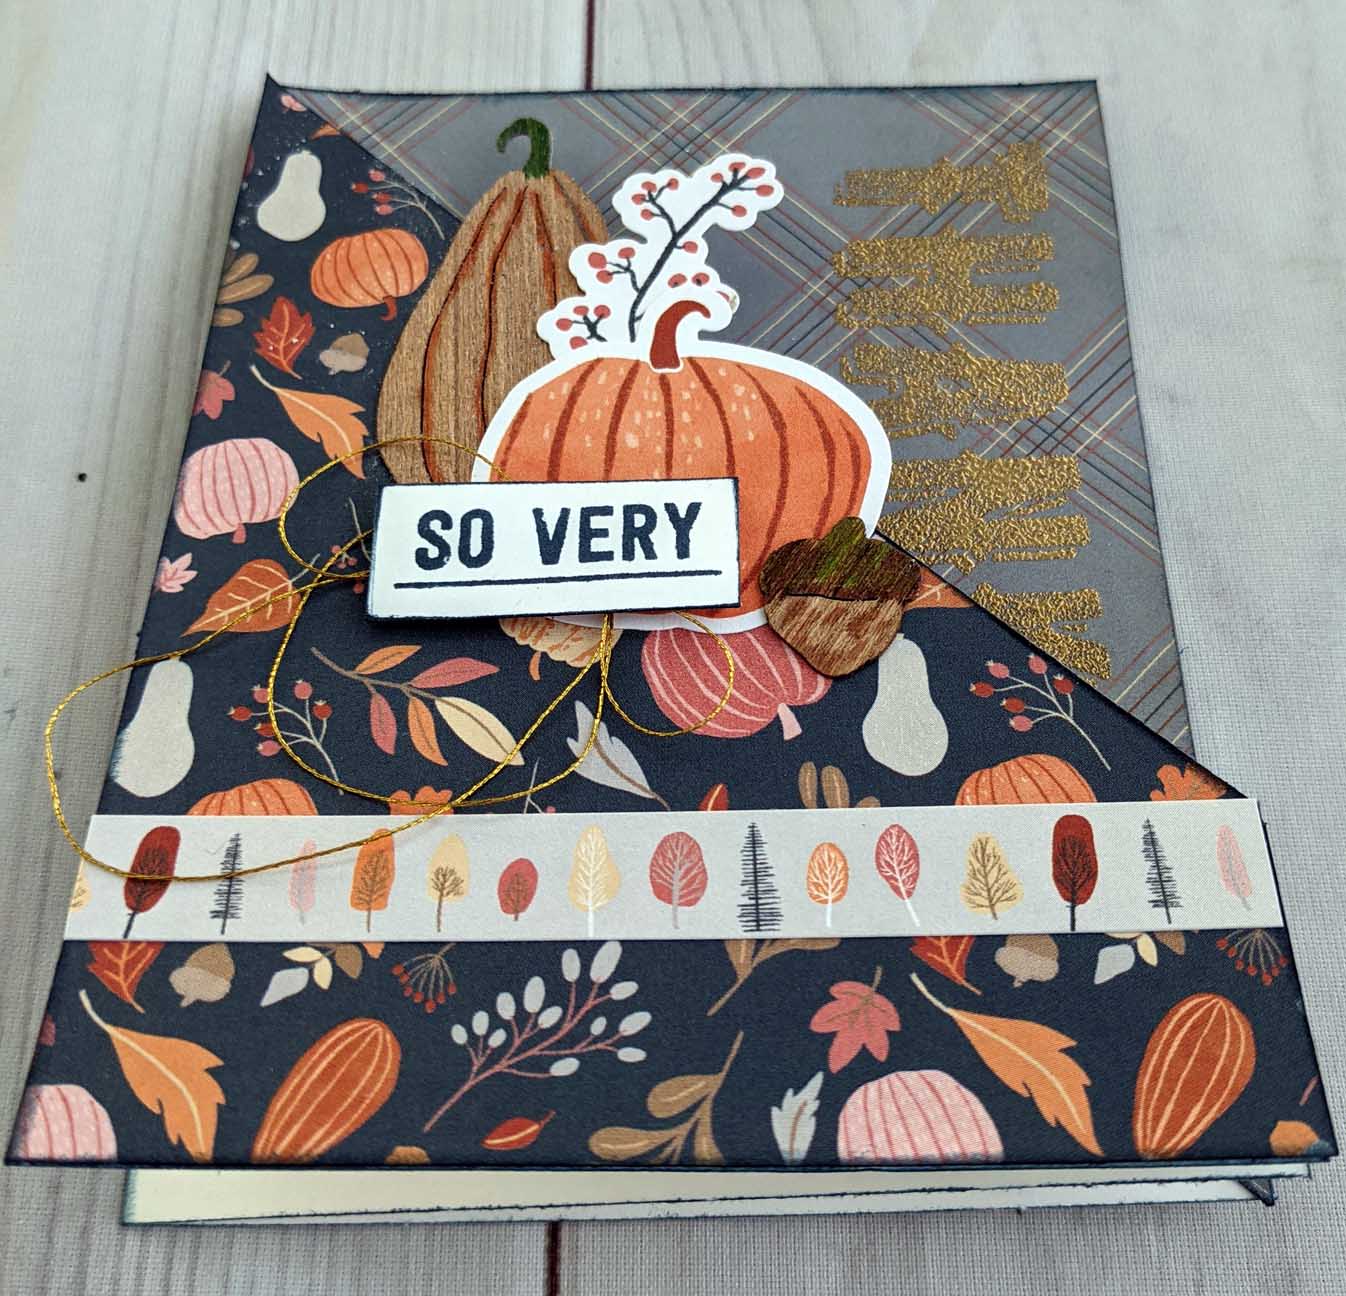
I had some Boo Crew papers & pumpkins that were leftover from a LO on my craft desk, so I decided to make my “Learning” card from those papers.
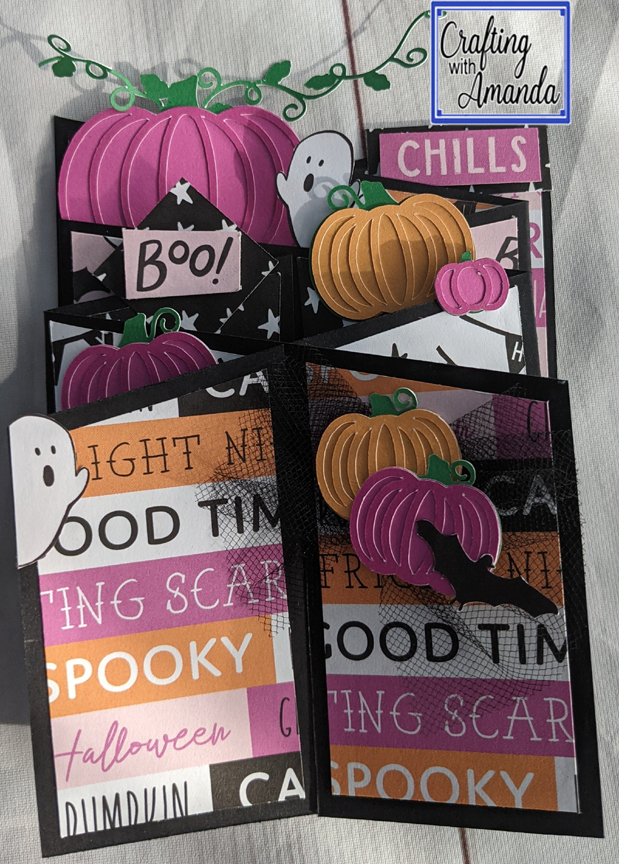
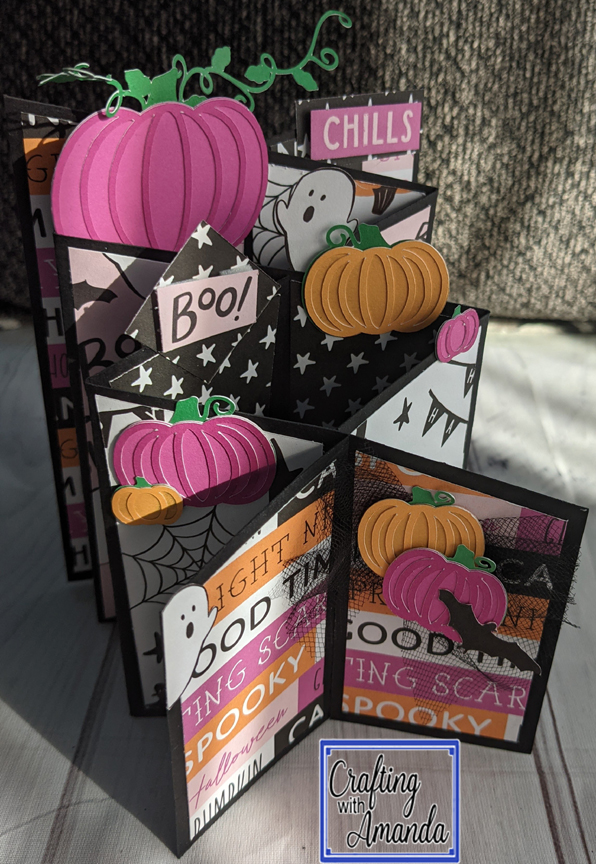
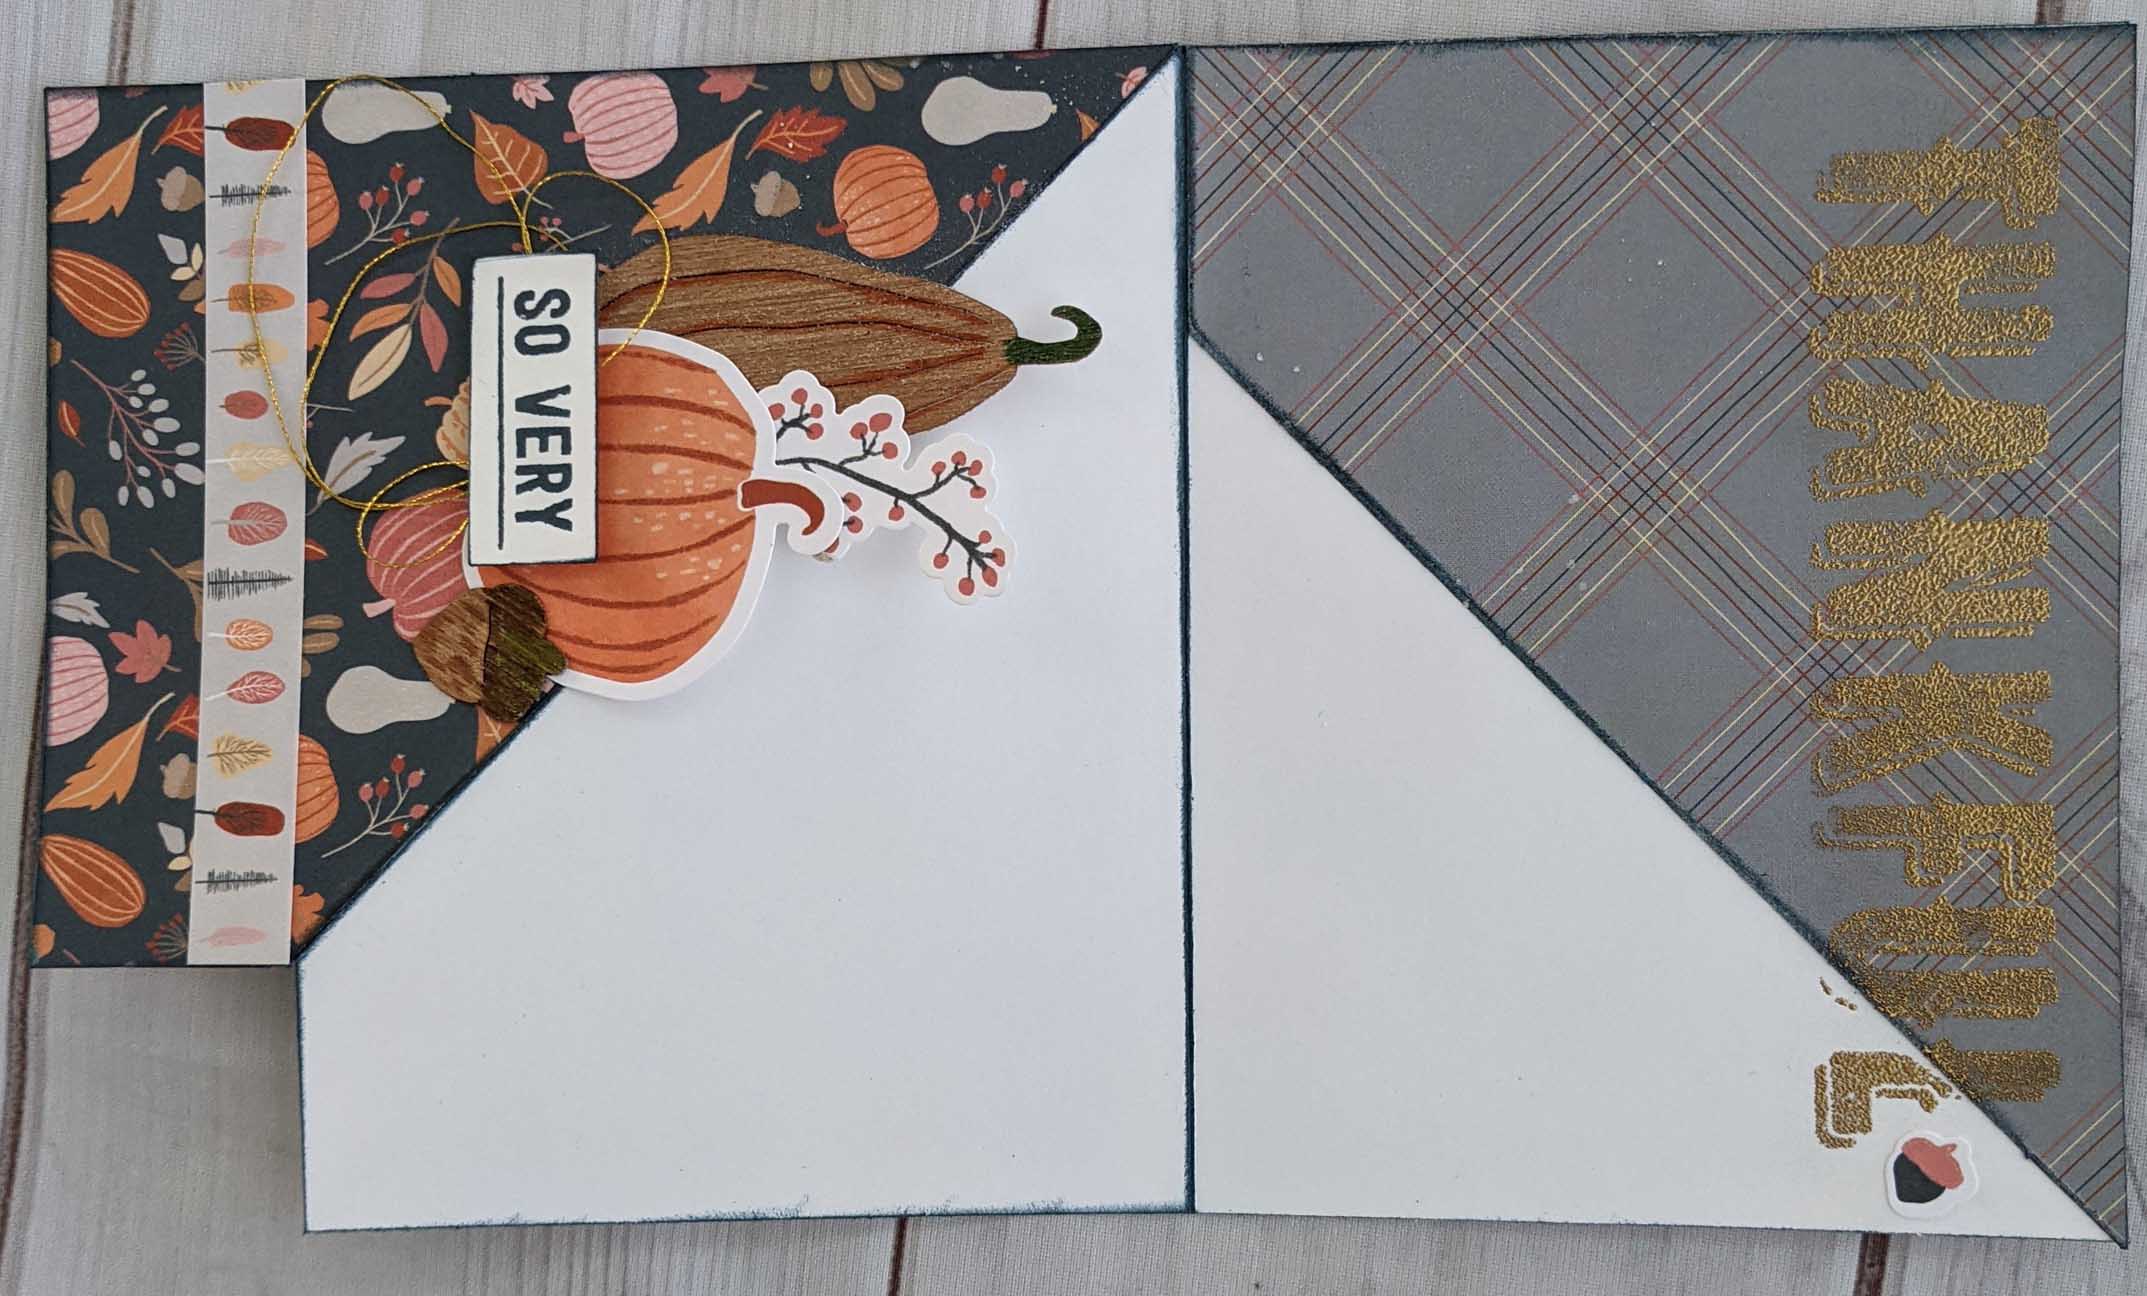
I decided I wanted to kick things up a notch and did a black base cascade and attached pattern papers to the front & back of the different areas. I think this is a favorite. (It does take much more time.)
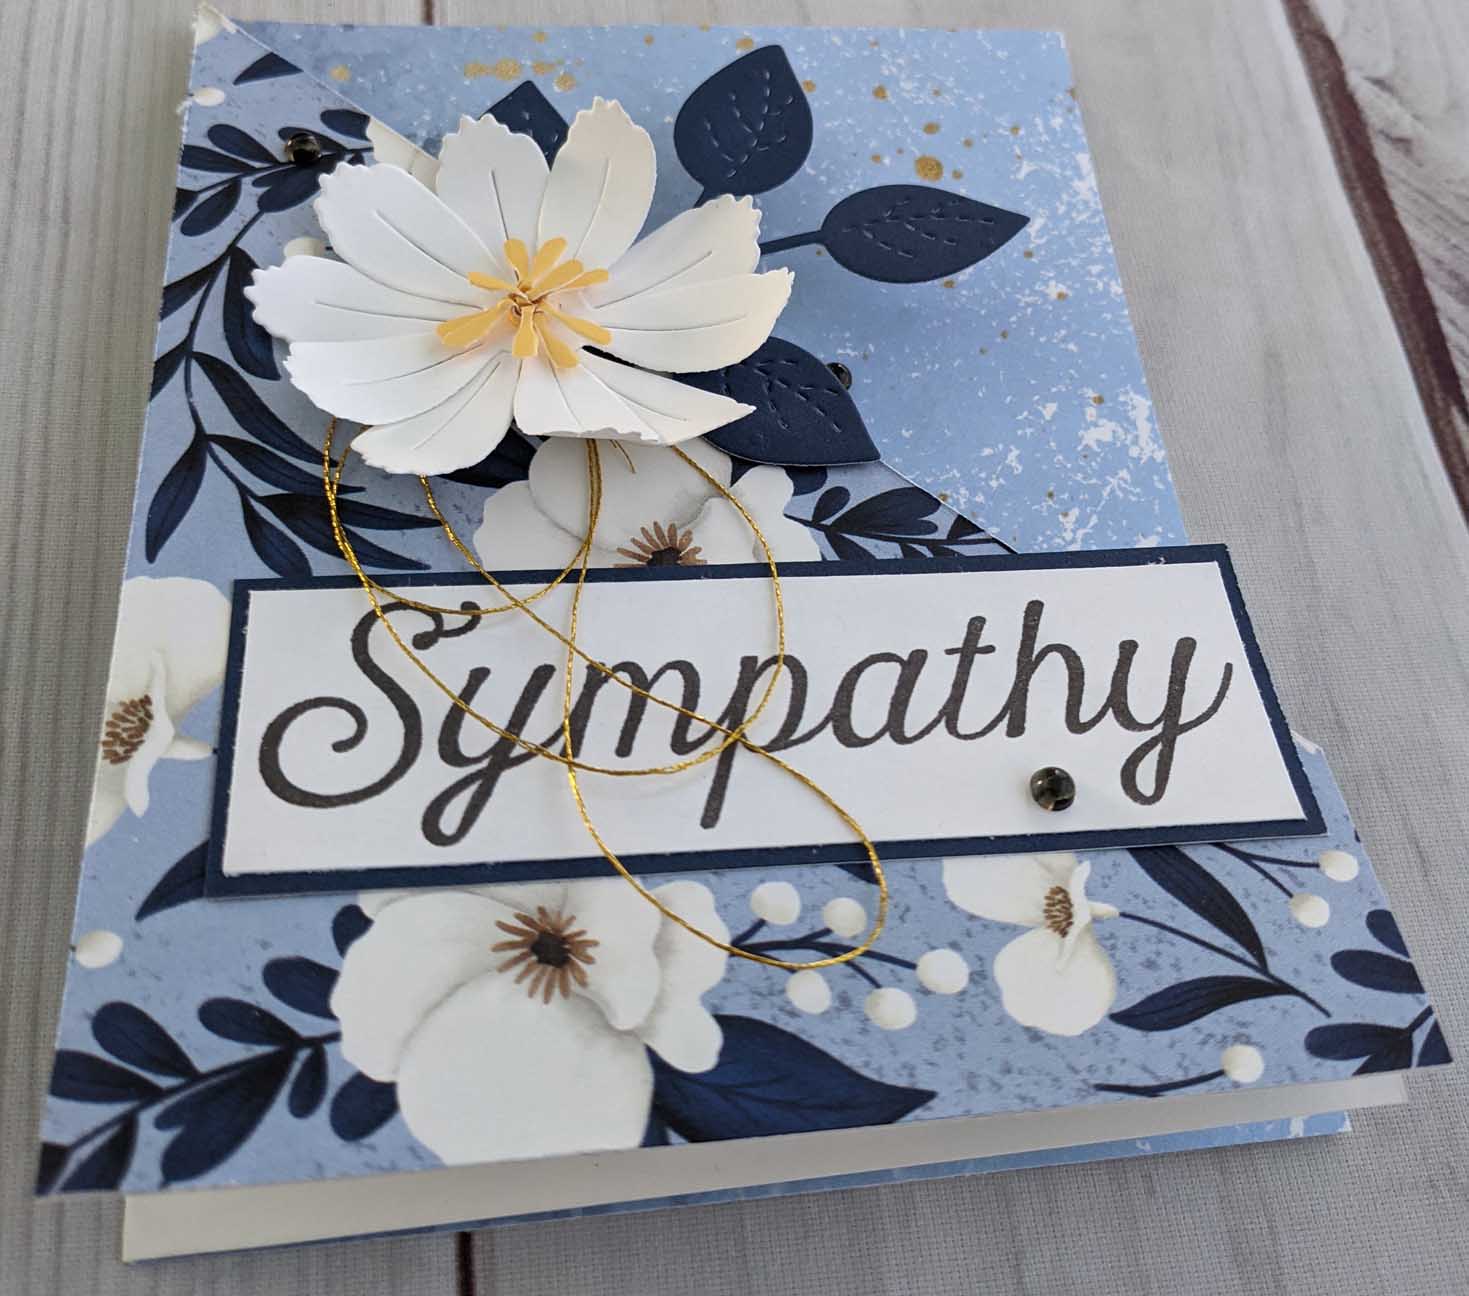
The papers this month come from the CTMH Love Story Toffee collection & the retired CTMH Aurora Collection. (A few people got pieces from the July/Aug Mix-in papers)
What I created with the Aurora papersPleat turned upsidedown
***The first score line (1/2″) is missing from the image below
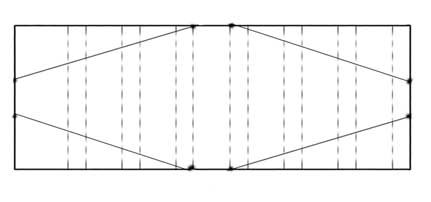
Double Pleated Fancy Fold
Start with a 11” x 5.25” piece of paper
Measure and mark the short edges of the paper (6” tall ) at 2.5 and 3.5”.
Measure and mark the long edges at 5” and 6″.
Score the paper horizontally at .5, 1.5, 2, 3, 3.5, 4.5, 5, 6, 6.5, 7.5, 8, 9, 9.5 and 10.5″.
Align the pencil marks along a paper trimming blade and cut to create a diamond shape.
Pleat the paper by making accordion folds along the score lines. Begin with the first .5″ score and fold to the center.
Rotate the paper and make pleat folds to the center.
I didn’t like making these cards in the past because it always seemed like a struggle to decorate the front. Then, as I was creating my sample to familiarize myself with the fold I had an ah-ha moment. If I cut a 5 1/2 ” square of the pattern paper, cut it in half, and then trim the corner just like I did with the card, I would have the pieces I needed to decorate the angled parts of this card!
Here is a process video showing you how to create this card (Which I do consider a fun fold now)
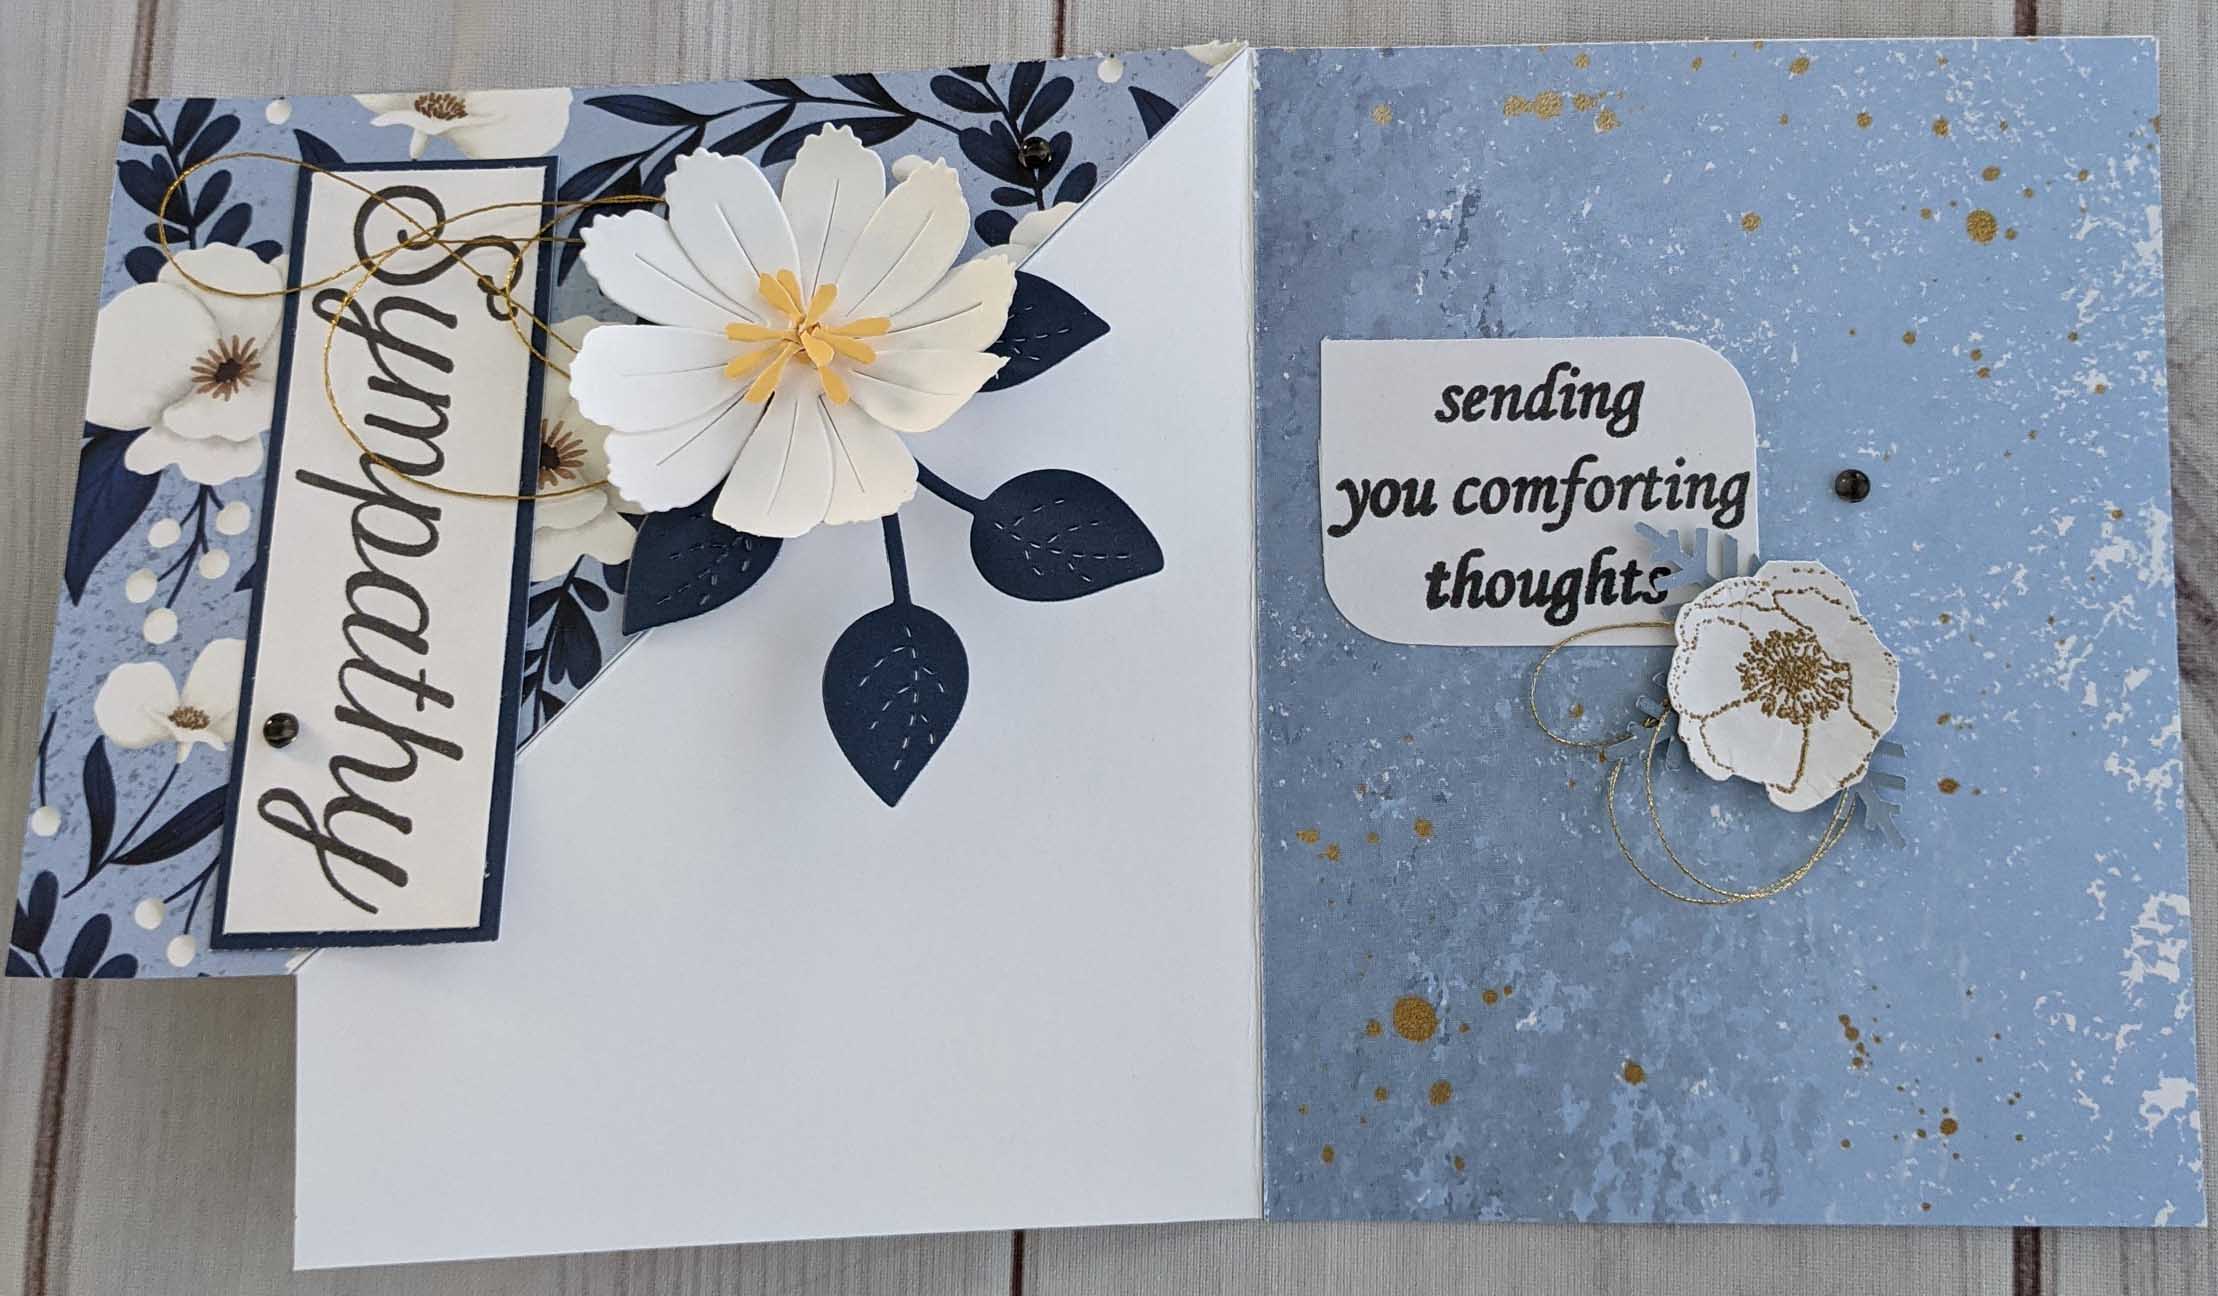
Diagonal Trifold Card
Start with a piece of cardstock 9 ¾” x 5 ½”
Score at 5 ½”
Fold the corner of the 5 ½ x 5 ½ section in half diagonally.
With the corner folded down, trim the card to 4 ¼’ width (you should only be removing a small corner of the folded square and matching the width with the “back” of the card base)
Cut a 5 ¼” x 4” (or smaller if you want) for the “Inside” If you cut a 5 1/2 ” square and cut it in half, you will have the correct angles for decorating your card frong.
This card is a bonus card I made with all the scraps.
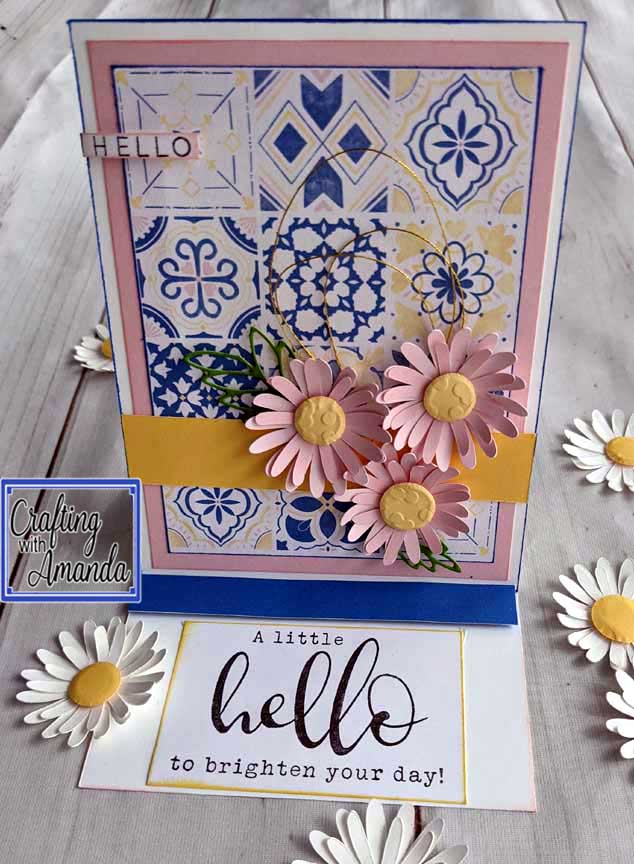
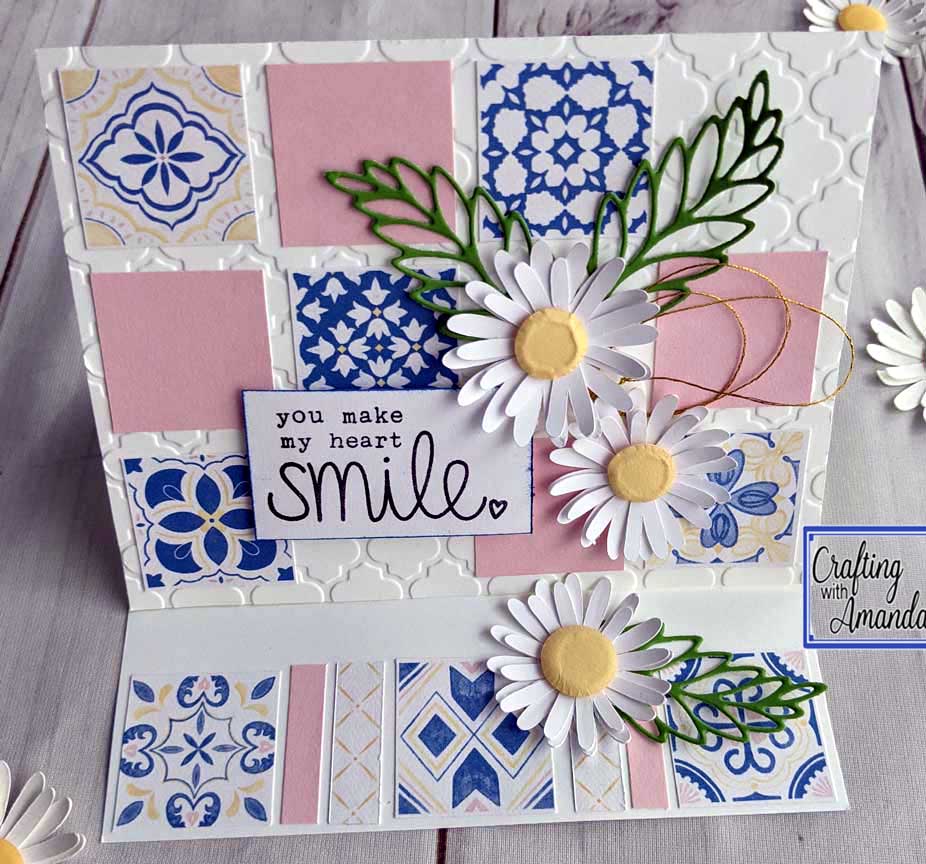
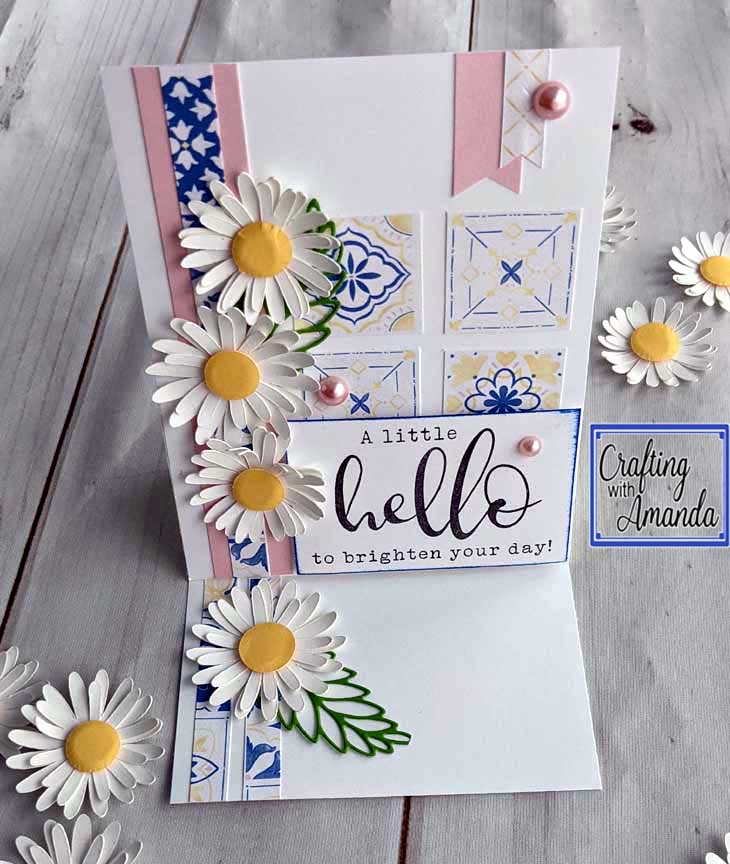
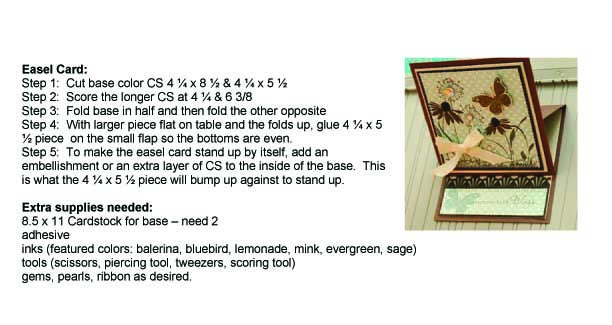
This easel card is so simple. In easy terms that work for ALL card sizes, here you go. For a portrait easel, your base is 4 1/4 x 8 1/2. You fold it in have, then fold one half in half again. The front of your card is 4 1/4 x 5 1/2 and you decorate it like any card front and you attach it to the bottom fold of the front of your folded base.
For the landscape card, your base is 5 1/2 x 8 1/2. Fold it in half, then fold the front in half again. Decorate your card front (4 1/4 x 5 1/2) as you want, then attach the card front to the bottom half of the front of the card.
The only only “trick” is to create some barrier for the card front to rest again when it’s stood up.
This week’s fun fold is just a workhorse. You can configure it to work exactly with the dimensions of your images, shapes & sentiments as well as use up tons of scraps.