Archives for CraftyAmanda

Library Auction Pages – Second helping

I forgot to mention this the other library Auction post, but if you want to see the layout in more detail, you should be able to click on the photo and it will give you the full size version of it.  Then use your “back” button to continue viewing the rest of the blog.
Here are a few more pages for your crafting inspirations.
FYLeft FYRight
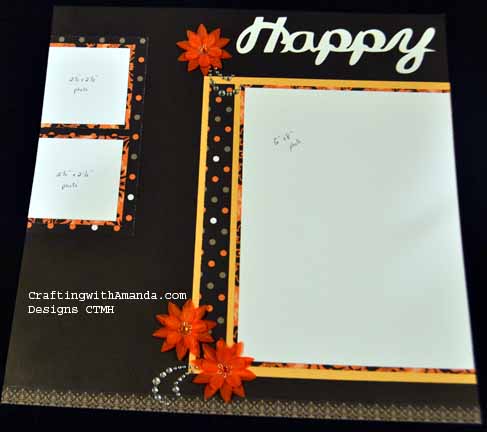
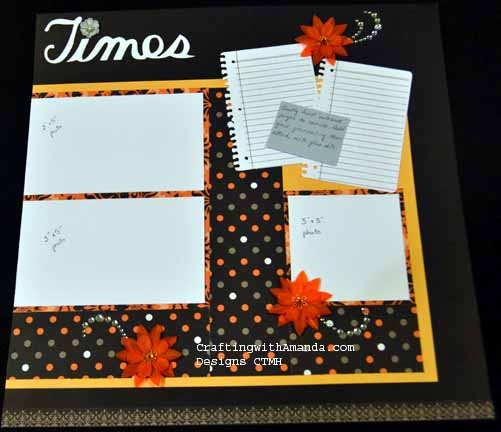
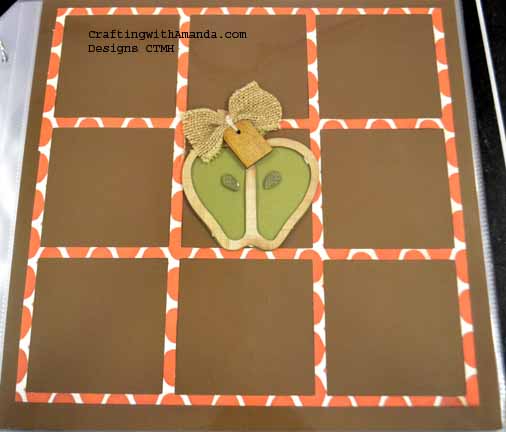
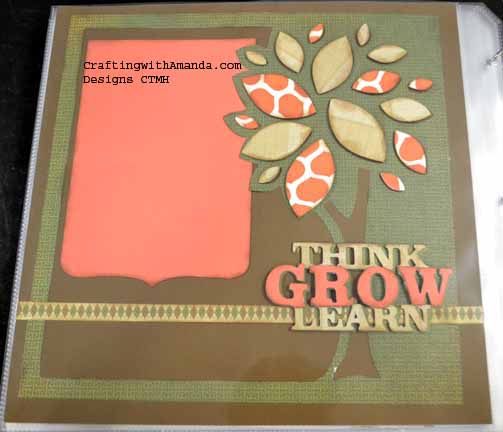
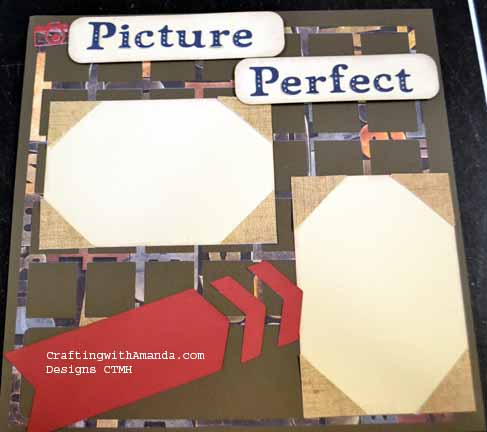
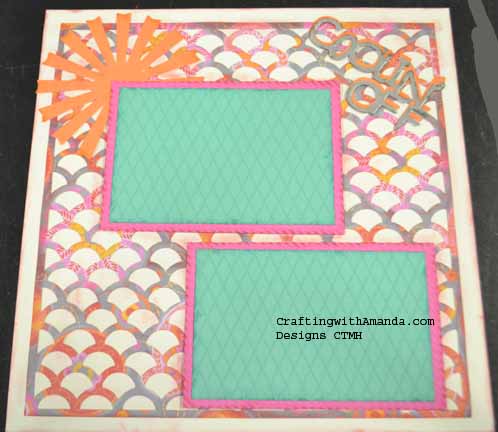
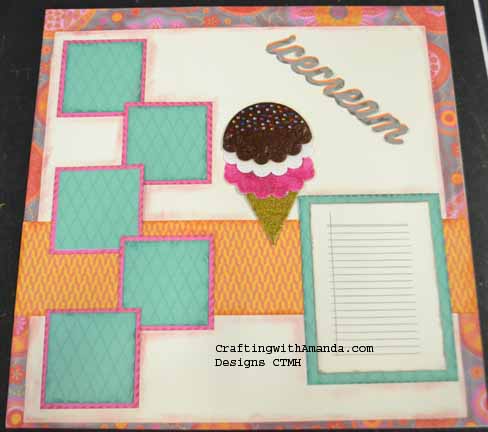
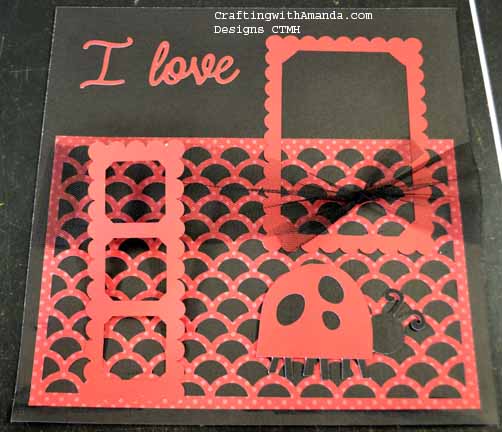
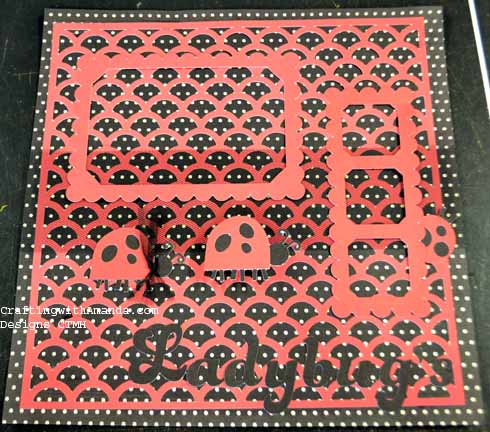
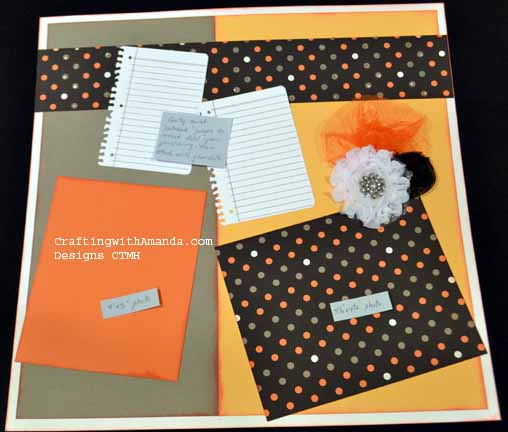
You might not see it right away, but both of these layouts were cut using the same instructions.  It still amazes me how much paper and embellishment choices (along with title and placement) really change the looks of a page.

SchKBWWRight

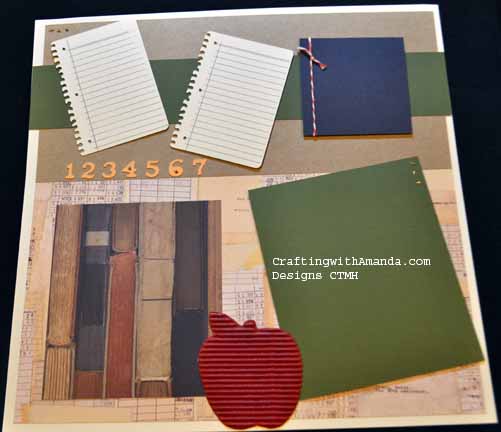
If you haven’t figured it out yet, since I know, or atleast have a really good idea what photos I will be putting on these pages, I can be more specific with my embellishments!SchKBWWLeft


ITZLeft
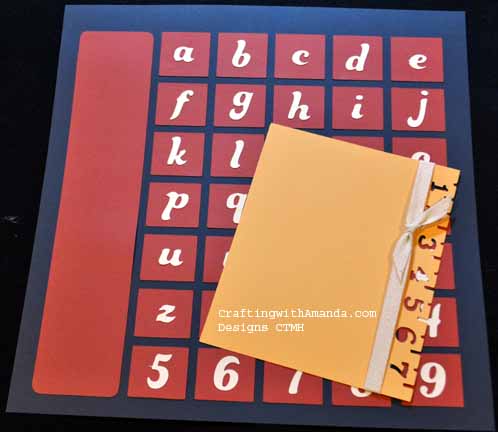
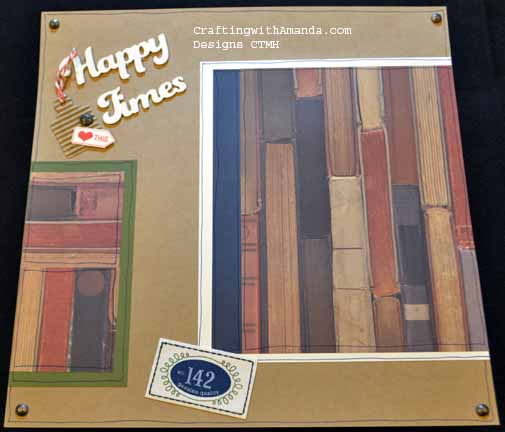
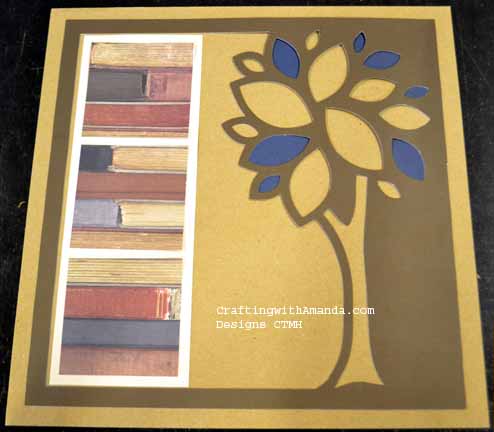
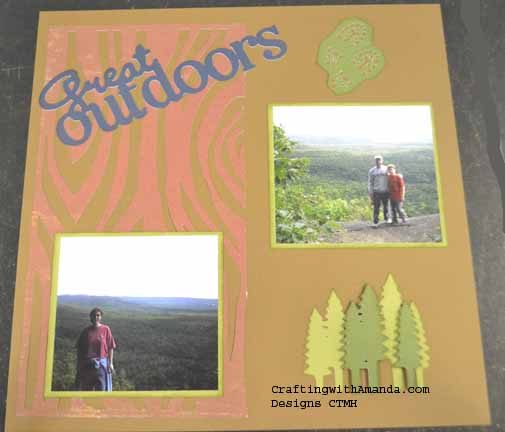
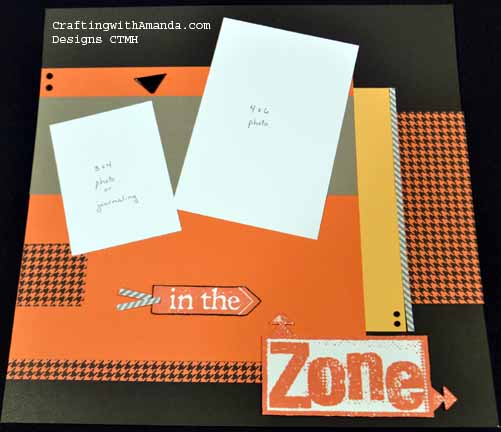
Here is the left side of the “In the Zone Layout.”  Where you see the white cardstock, it represents my recommended photo placement.  I think this will look great when the white is removed and some sport action shots are taking that space!

ITZRight

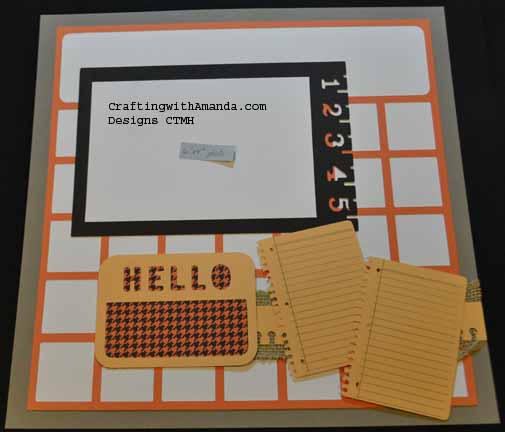
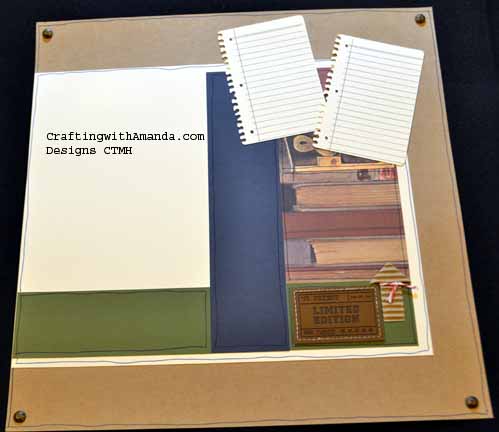
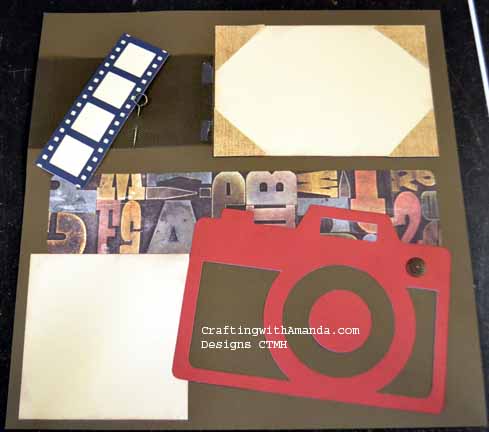
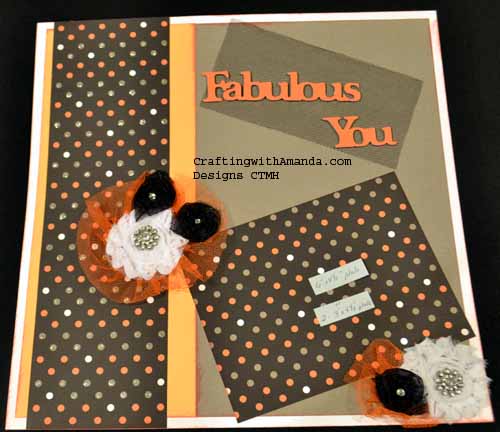
Now, once again these layouts use the same pattern, but instead of paper for everything, I used some burlap ribbon.  I also changed my title to the learning zone as I will be filling this with school pictures for my own albums.

SchTLZLeft

SchTLZRight
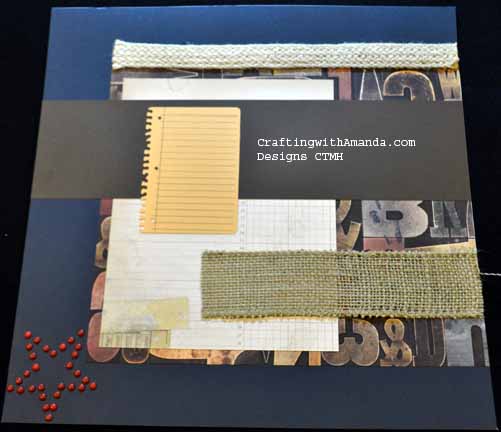
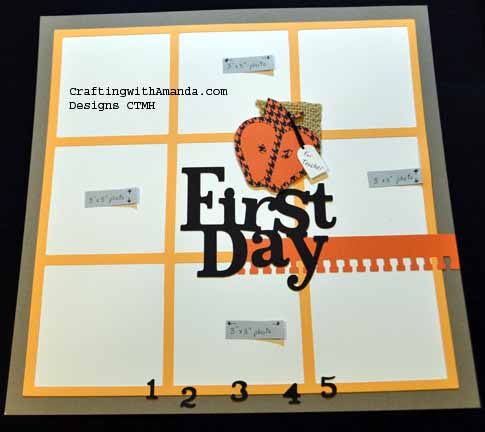
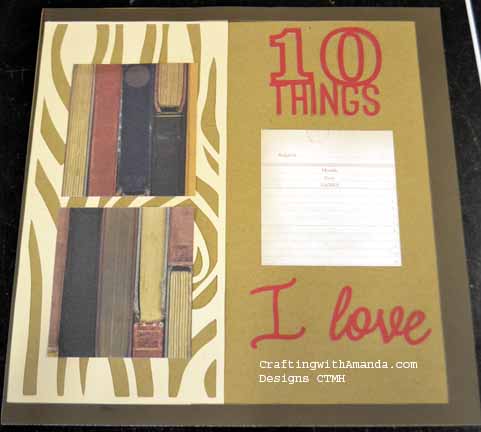
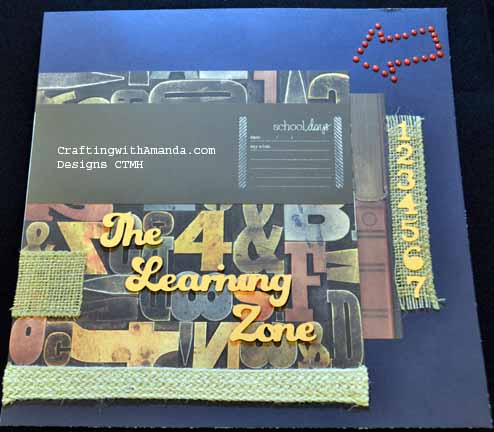
Did you see ALL the cranberry brads I used to create the arrow and star?   (I used cardstock cut out on the Cricut Artbooking and poked holes around the outside edge, then filled each of the holes with brads.)

Hopefully I’ll get some more photos edited this week.
We are coming back from a great weekend celebrating our Nephews wedding, so I haven’t been able to do any computer work for the last few days.  We are staying home for a quiet Thanksgiving and perhaps I’ll get some more “work” done then?!

Happy Crafting!

Library Auction Scrapbook pages – Introduction

Hi Everyone,

Our local library is located in our school and serves as both a community and a school library.  Every year that I’ve lived here, they’ve held a silent auction to raise money for the library.  In the past I’ve participated by donated a decorated tree (won an unexpected prize for that) and homemade cards.  Some of the items donated have included homemade canned goods, craft items, gift certificates for local businesses, quilts and a variety of knick knacks.  I have felt nudged to do something, so this fall when CTMH put the Spellbound papers on sale I decided to do a scrapbook.  Our school’s colors are Orange and Black, so this seemed like a great fit.

Now that you know the history, here is a look at some of the pages.  Many of these pages were created from the workshops for the current papers.  I would do my sample pages, but on the day of the workshop when we would walk through cutting all the pages, I would use Spellbound papers and cut for this scrapbook.  I’ve enjoyed this project so much, I’ve started another one with the retired Scholastic papers for personal use.  There are a few pages that are unique to each book, and the Scholastic layouts aren’t all finished.  I just cut 3 more layouts at the Huntington Workshop this week.   (And yes, I will post the Huntington Layouts soon.)

The covers are very similar and are actually  the “negative” cuts from another layout.  They were cut using the Artbooking Cartridge.

Cover SchCoverI rotated the “calendar” counterclockwise and provided capital  & lowercase letters so the students name can be listed in the rectangle on the left.  On the words-lettersSpellbound pages, the  white cs represents where a photo would go.  The instructions that will go with the book will explain that.  As I am good with photo editing, I left a spot for an odd size (4.5 x 6.5) photo to go on the crème brulee mat.  Here’s a peak at the letters and words that I am including with the scrapbook “kit.”

I’ve also included some extra “journaling” pages incase they need more or make a mistake.

Now you’ll see the “Calendar” page that I paired with the “first day” page.  We have many students that ride the bus, so I included many spaces for photos.

FDLeft FDRight


By matting my “calendar” frame on white daisy it helped it pop.  I haven’t done this page from the scholastic papers yet, but I’m thinking I’ll stamp school images in the squares.  Maybe even sneak in a photo or two.

HTLeftHTRight

These two layouts are from the same Make It From Your Heart Layout, but with the different colors and the use of Kraft paper as a background, I think it’s hard to see it right away.  I added hand drawn lines around all the different pieces on the scholastic layouts.  Gives it a hand stitched feel.  Love the durable studs!

More pages to come.  Happy Crafting!


SchHTLeft SchHTRight


Artbooking: Cross Cartridge Collaboration Video

Well,  I finished a great 25 page album for our local library silent auction.  I used the retired Spellbound papers, as our school’s colors are Orange & Black.  It’s has taken a great deal of my time, and I want to do it justice when I talk about the different details on this blog.  So, while I am editing the photos and getting them ready for you to see, I thought I would give you another installation of the Close To My Heart’s Artbooking series.   I used this cartridge quiet a bit in the library auction item, so it ties all together!

Happy Crafting!

Artbooking Challenge Part 2 & a teaser

Hi Everyone.

I have 6 more pages for you to look at today.   These are the last ones from the cropping weekend I hosted in October.  As a reminder, I gifted everyone a full pack of paper, we had several Artbooking Cartridges available to borrow, and I challenged them to create a layout using one of the artbooking buttons (or combine a couple).  Many of these gals are cricut users, but more for the one off cuts.  The artbooking cartridge is all scaled for them so they can pick the size if the finished product they want to create and all the embellishments and “accessories” items will be scaled to that number.

So first up is Erica.  She is a CTMH consultant in a community 20 miles north and she did this layout for one of her gathering projects.

EA Right EA Left

I love the fresh look of these pages.  Erica said she used the “ugly” paper from a constant campaign pack, but I don’t see the ugly.  Do you?

JB right

JB leftNext I want to show you Jan’s Layouts.  She used the same tree layout from Artbooking, but broke it up differently.  She also paired it with a different right hand page.  I love the book pattern paper and knowing Jan, it’s one of the 10 things she loves!

LH leftLH rightOur last pages are from  Lorna.  She struggled with this challenge and did a bit of stewing, but in the end create these great pages!


So three more layouts from the Artbooking cartridge.  I just love the versatility of it and the ease of having your embellishments/accents come together so quickly and without having to guess at what size would work!

Huntington Workshop is tomorrow and I hope to get some photos of that beautiful paper pack up along with the rest of the Sarita workshop layouts!

Happy Crafting!


Artbooking Challenge Part1

Hi Everyone,

I’m back and ready to show off some of the work I’ve been doing, but more exciting some of the work my crafting gals have been doing!
At our weekend retreat I normally do a couple of different projects.  This time the scrapbooking project was to use the new CTMH Cricut Artbooking cartridge and create a layout (or card if they are exclusive card makers).  I’m still working on editing all the photos, but as I’ve been so busy  and haven’t posted anything, I thought I would give you a few to look at now. PW left PW right


Pat W used the Dotty of You paper and created this great layout to showcase her granddaughter (who is so photogenic) eating ice cream.  She didn’t have the photos with her for the weekend, but I can easily see how well this layout is going to look once she adds them.

Next we have Joanne

JS left JS right


She didn’t use mats for where her photos are to go, but you can see the 2 “film strip” pieces work well with the photo mats she choose.  I have each of the crafters a paper pack that included some bling.  Joanne used the black tulle like a ribbon around a package.   Love the little “bugs!”

The next crafter doesn’t own a 12″ cricut yet, so she had to think outside the box to come up with this lovely layout.

MB leftMB right


Marybeth did a great job with picking colors to work with her photos!  Love the stand of trees too.  Some were shadowed behind the others.
I bet you’re looking forward to seeing the next batch of pages that were done.  Love the artbooking cartridge with it’s versatility, but also with it’s ease to create beautiful layouts (and cards) quickly!

Happy Crafting.