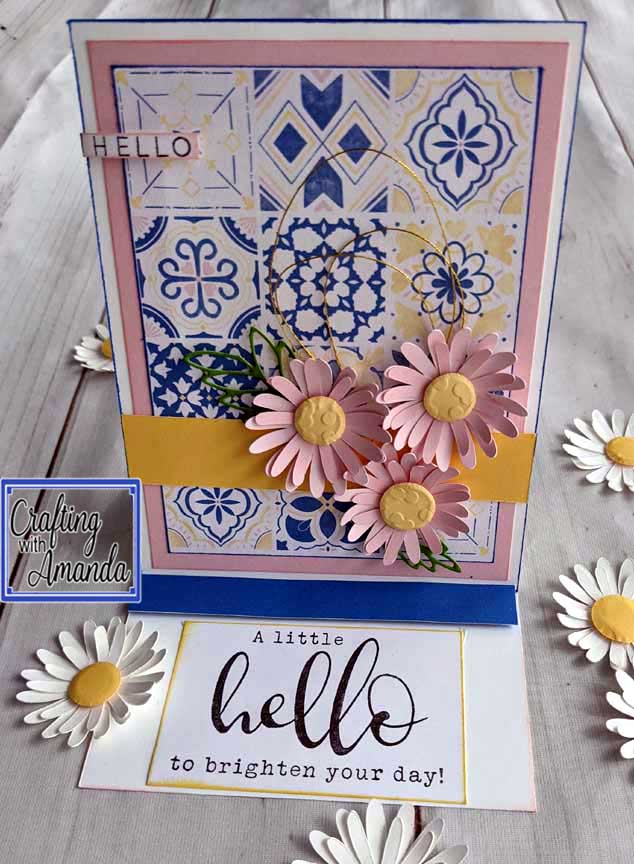
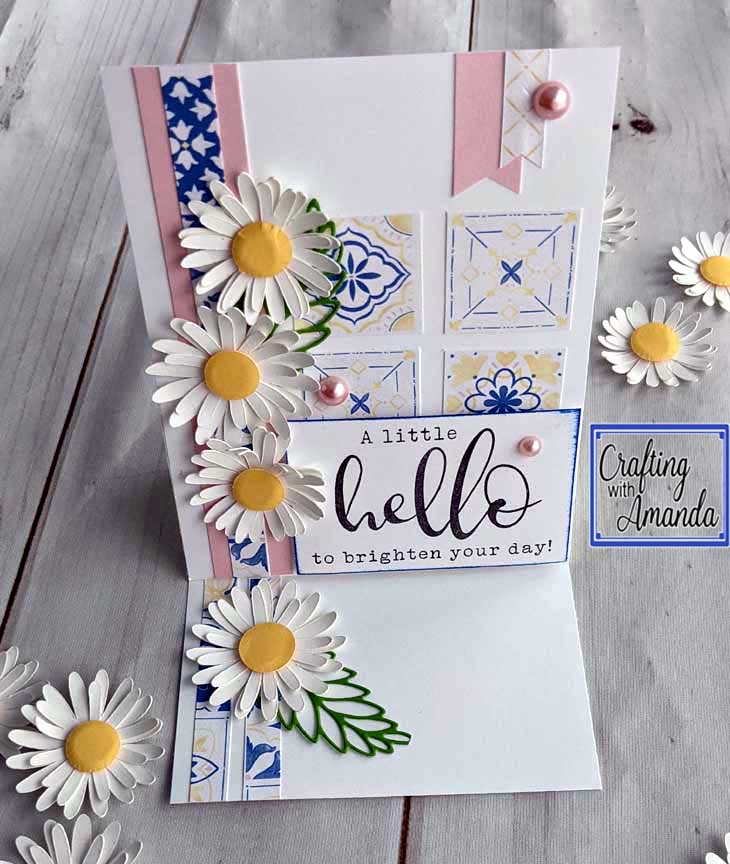
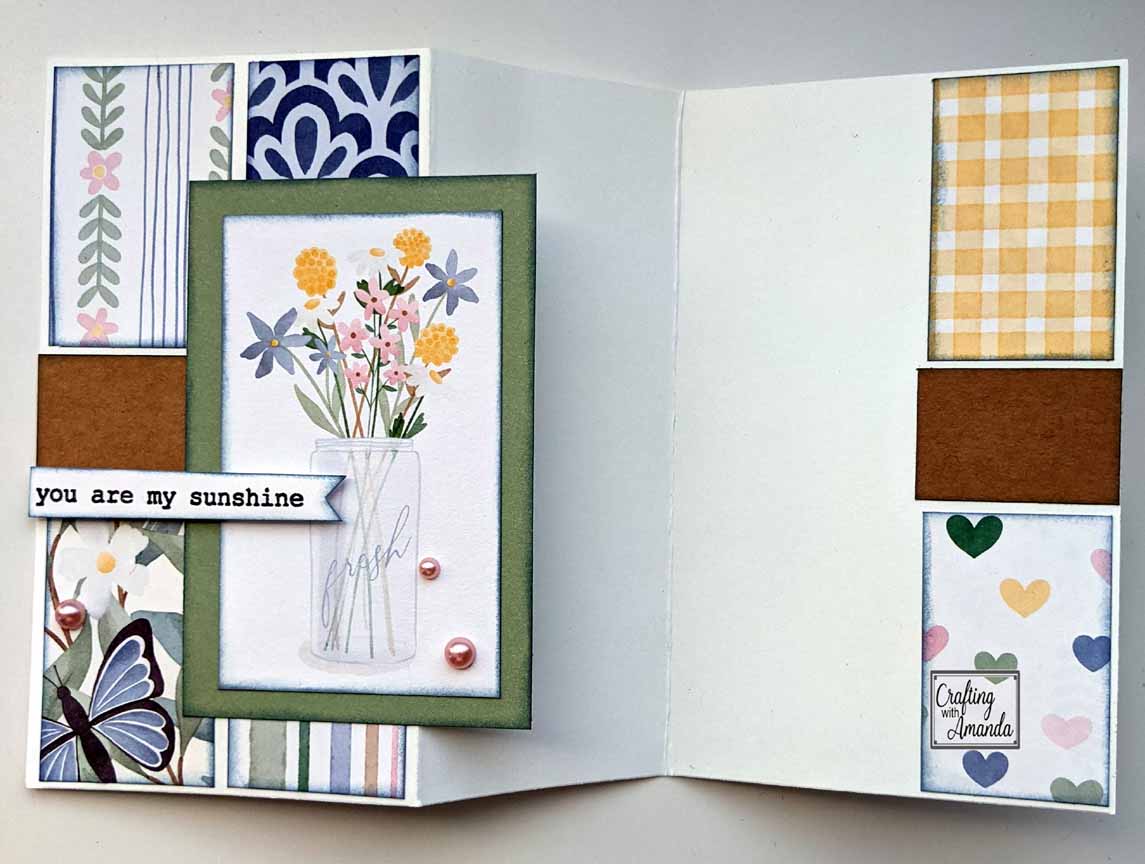
This card is a bonus card I made with all the scraps.
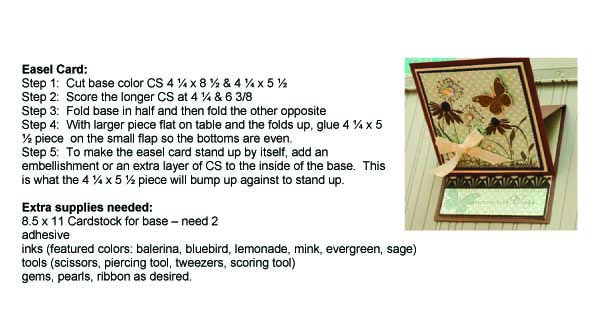
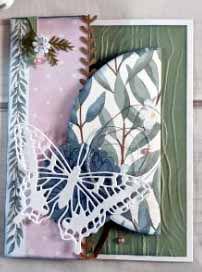
This easel card is so simple. In easy terms that work for ALL card sizes, here you go. For a portrait easel, your base is 4 1/4 x 8 1/2. You fold it in have, then fold one half in half again. The front of your card is 4 1/4 x 5 1/2 and you decorate it like any card front and you attach it to the bottom fold of the front of your folded base.
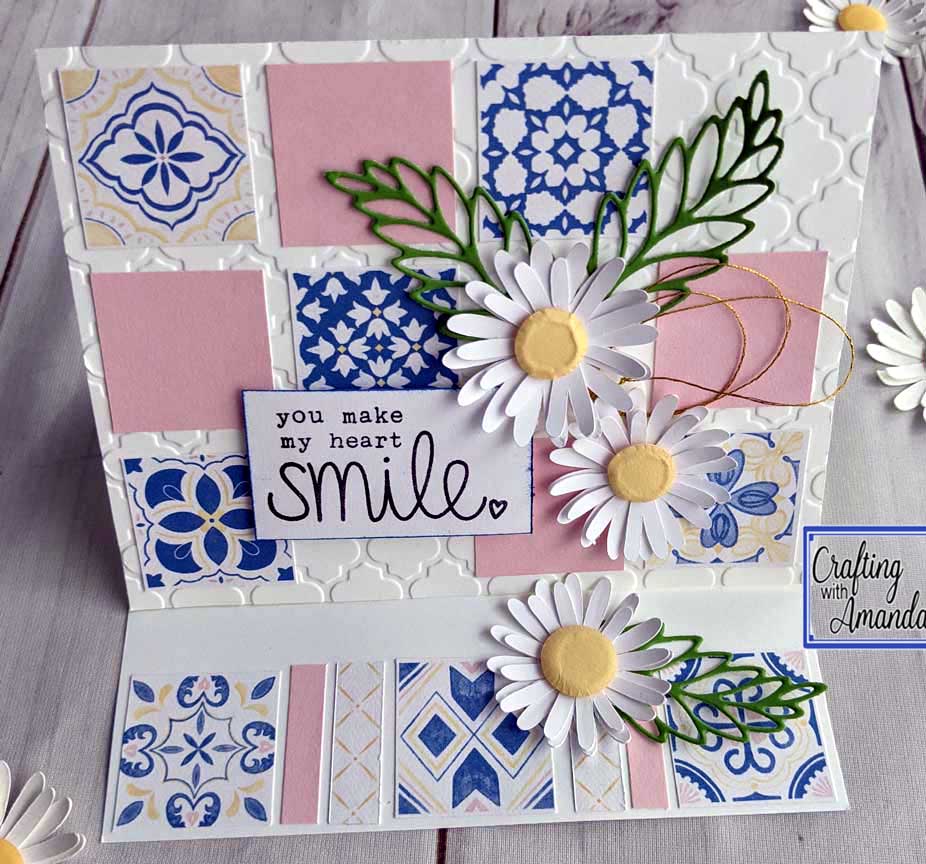
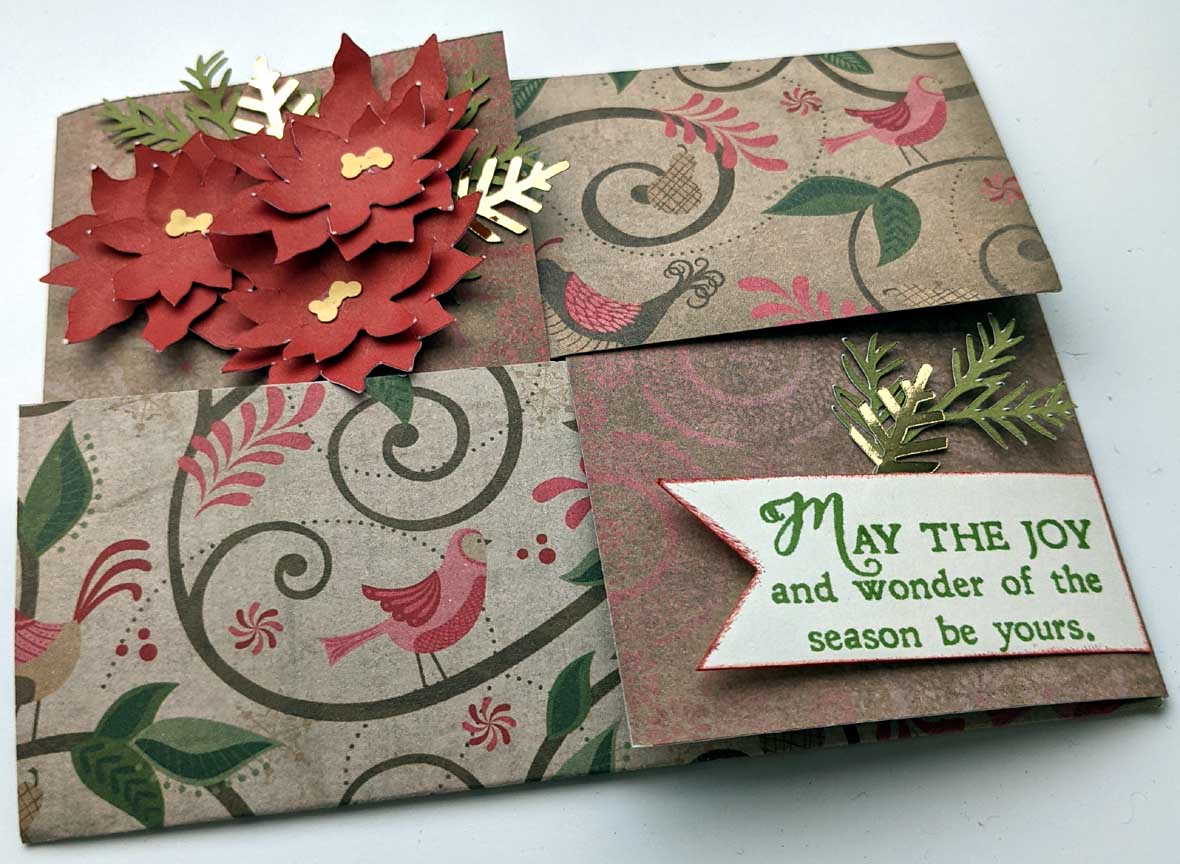
For the landscape card, your base is 5 1/2 x 8 1/2. Fold it in half, then fold the front in half again. Decorate your card front (4 1/4 x 5 1/2) as you want, then attach the card front to the bottom half of the front of the card.
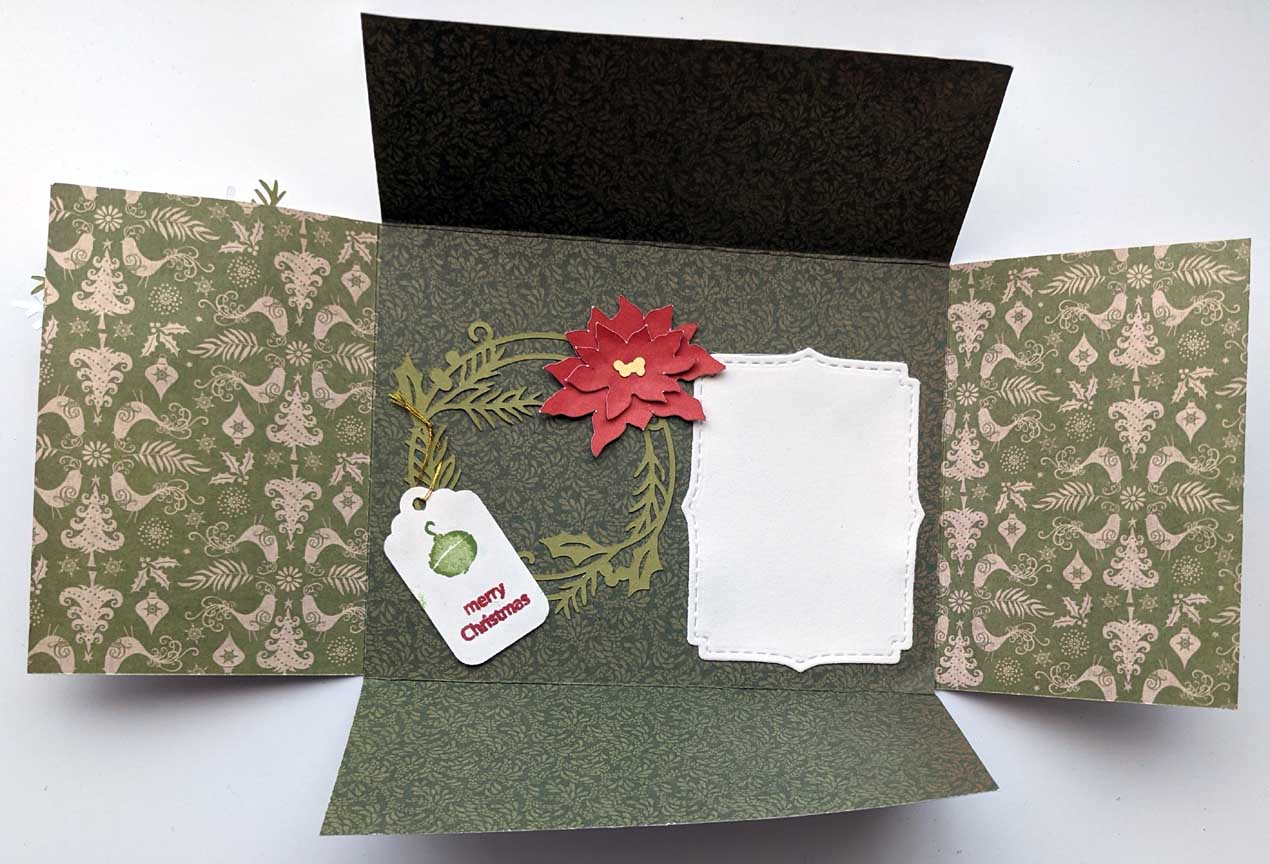
The only only “trick” is to create some barrier for the card front to rest again when it’s stood up.
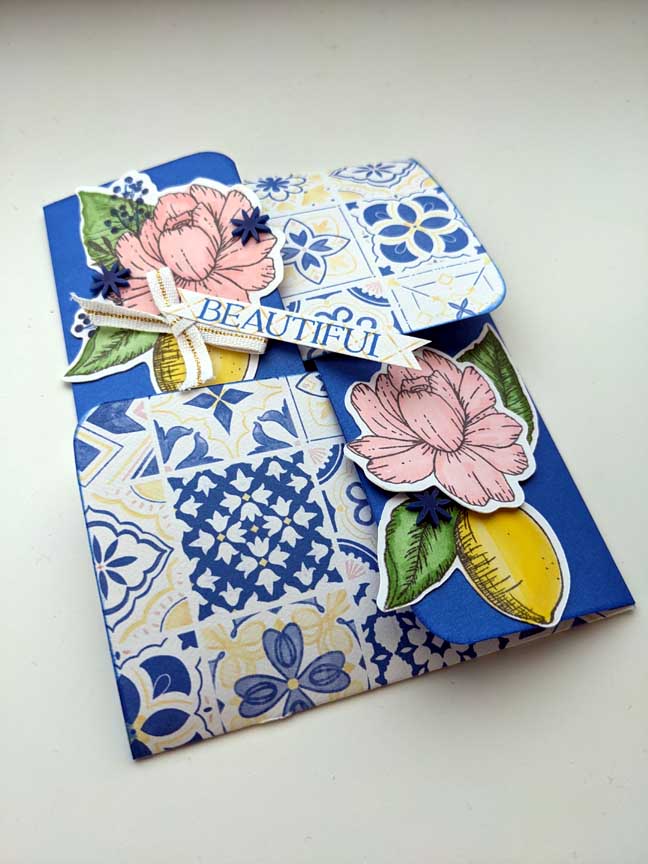
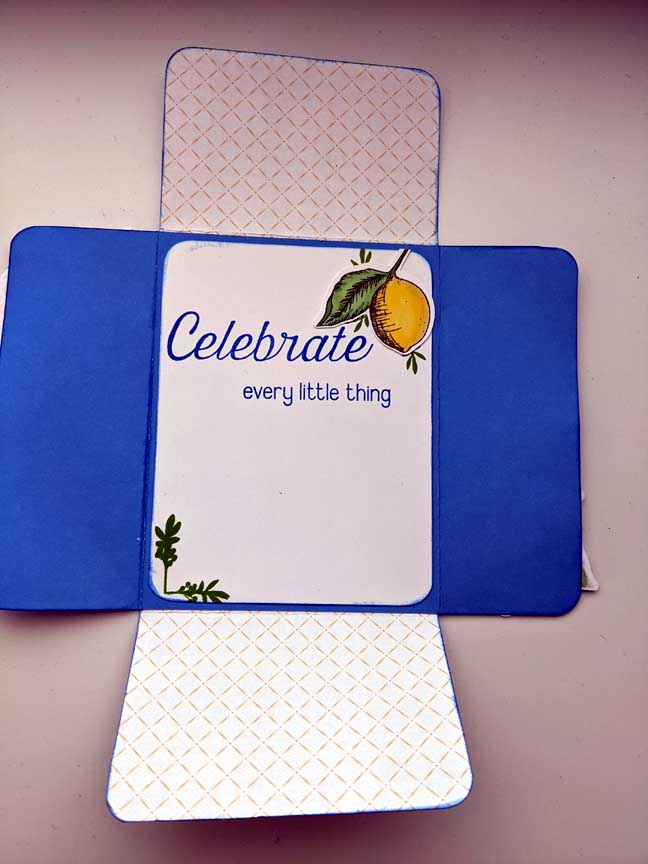
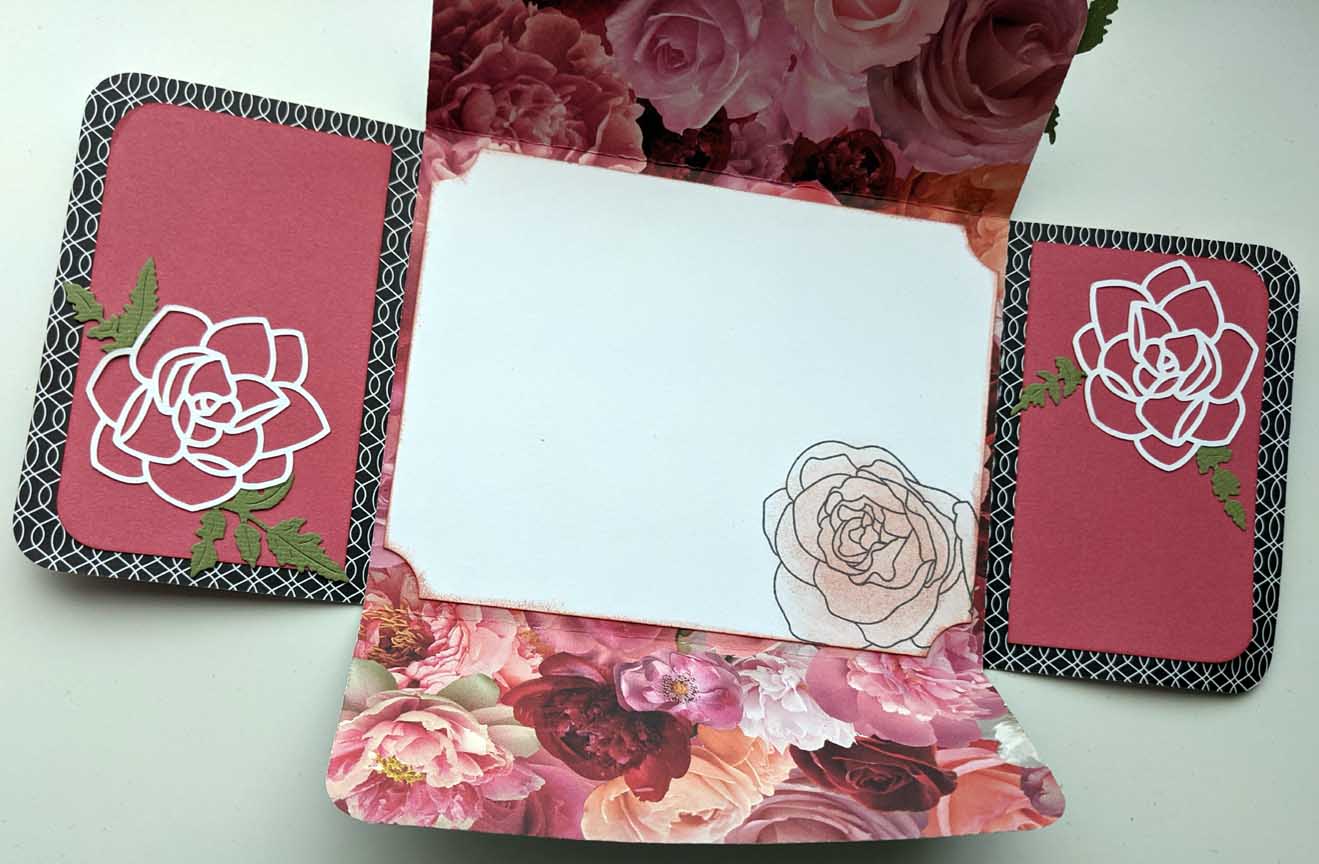
Adhere the two pieces of cardstock together, lining up the edges with the score lines. Making a cross
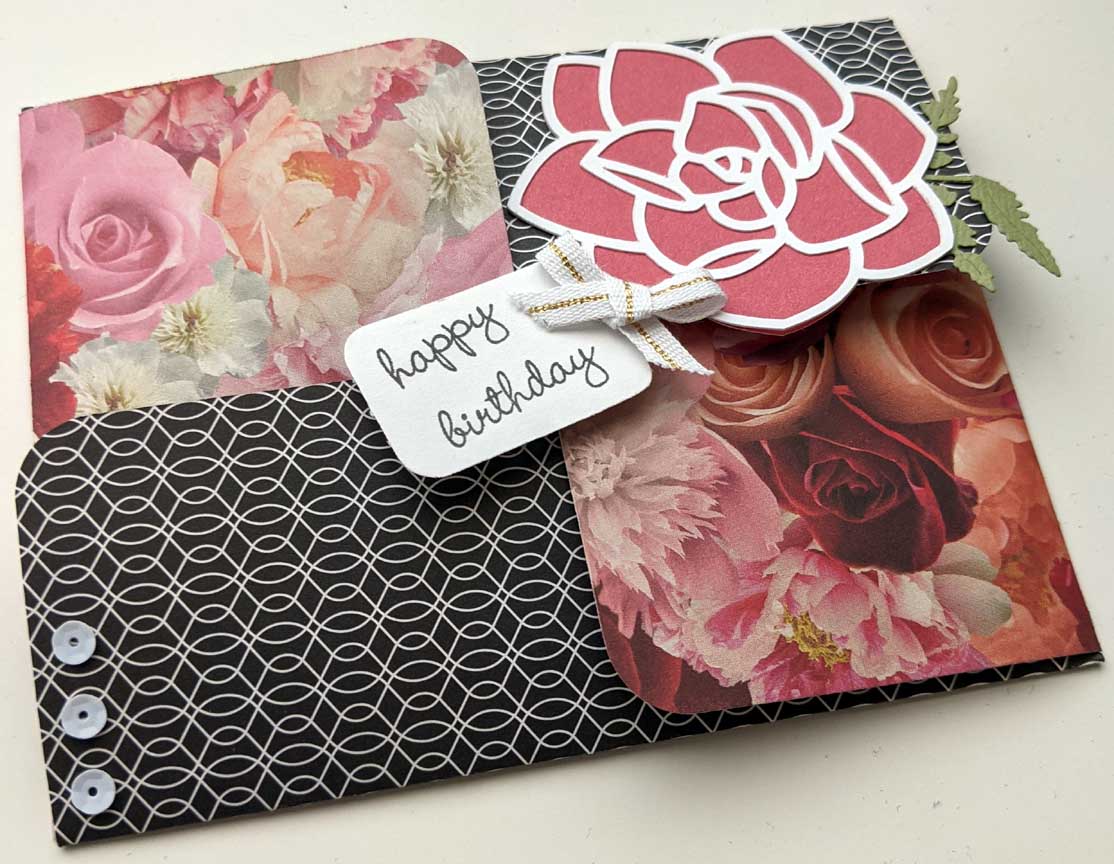
Decorate as desired. (2 x 2 5/8) are the dimensions of the flaps that will show on the front of the card
Fold the card as you would close a packing box. Fold in the left side, fold up the bottom, fold in the right side, then tuck the left corner of the top flap underneath the left side panel
This card would be great to hold confetti or a monetary gift. (No worries of it slipping out!) The card fits in a standard envelope
I started a new Fun Fold Friday Card series. I might not get the instructions put up when the video goes live, but I will get them posted! #FunFoldFridayCard
Here are the written instructions for these cards.
Less than $1.85 per card including tax and shipping for the yearly subscription is an a amazing deal. That doesn’t include any bonus cards or the stamp set, block & ink! Here are cards 3-12 plus the 3 bonus cards I made with a brief description of what I did to create the cards.
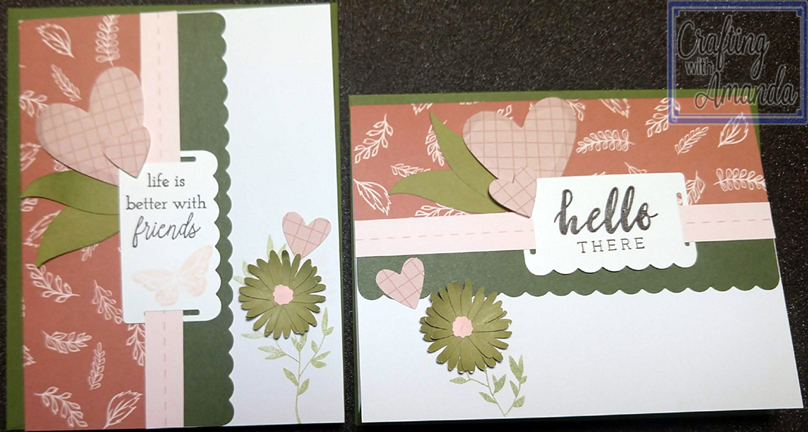
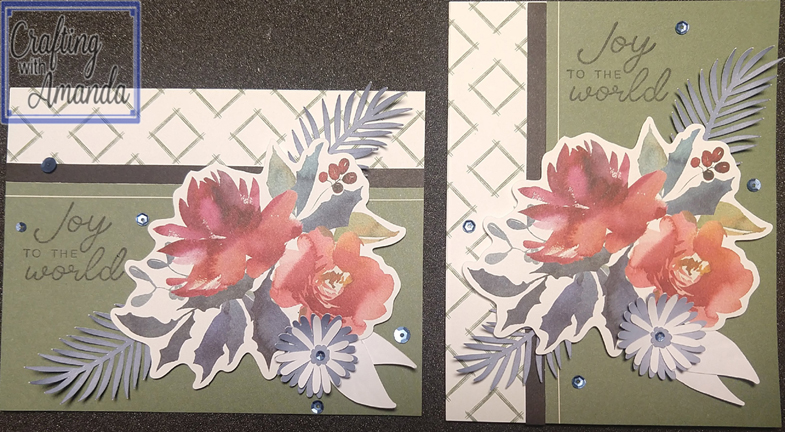
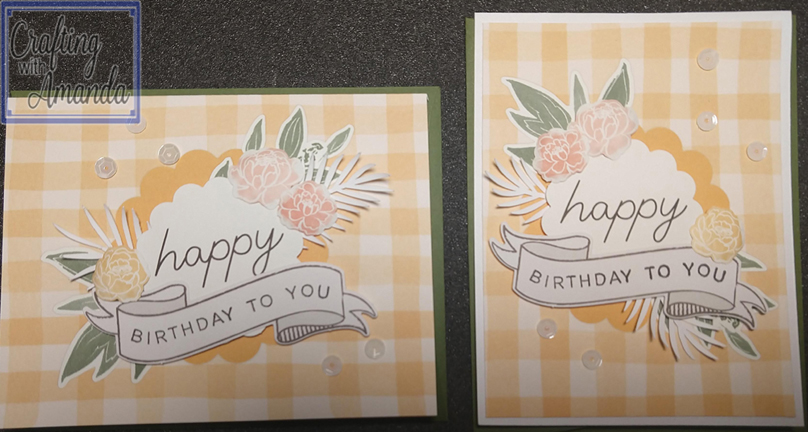
Card #3
All I did on card #3 was stylus emboss the big heart, one of the little hearts & curved the petals on the green flower. I used foam tape under the hearts above the sentiment. I also stamped the leaves under the green flower head.
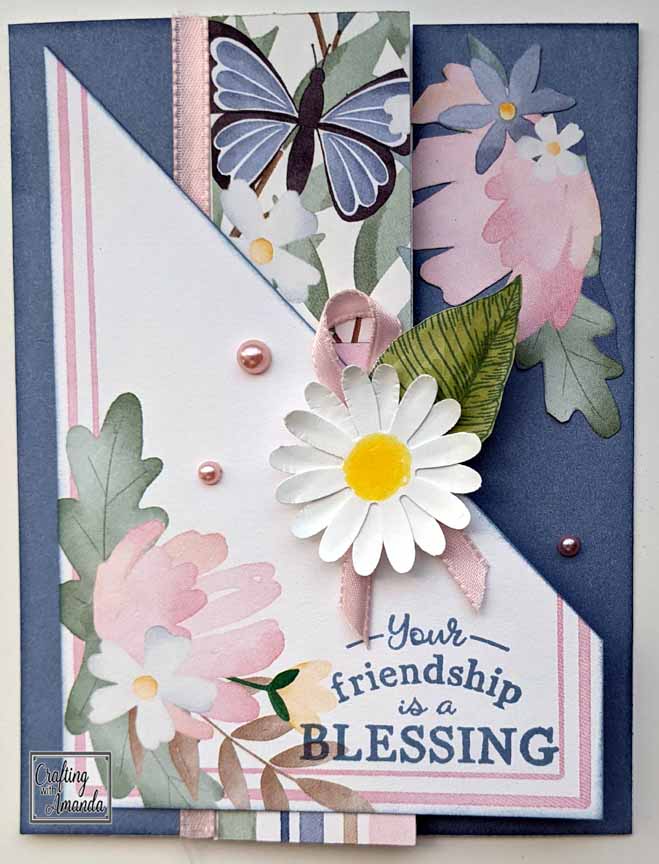
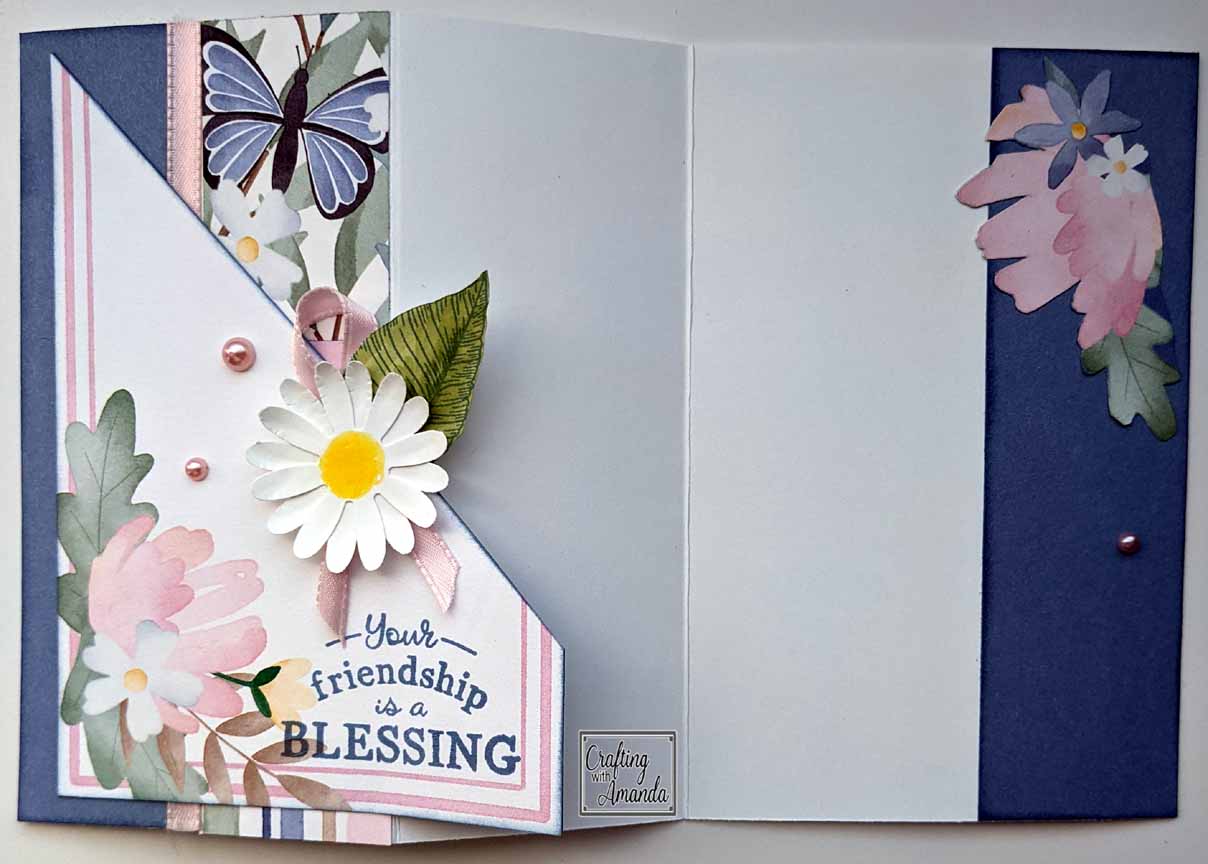
Card #4
Card Number four was kicked up a notch with a couple of pink leaves and a palm branch. Splattered the sentiment base with the pink shimmer brush and added some sequence along with stylus embossing the foliage & flower.
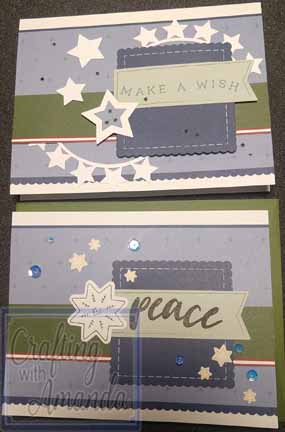
Card #5
I added some fern color stars from the circles of stars along with palm brand and a peach flower head to card #5. Glitzed it up a bit with the clear shimmer brush too.
Card #6
Adding some second generation stamped leaves and a few of the cricut cuts was all Card #6 needed.
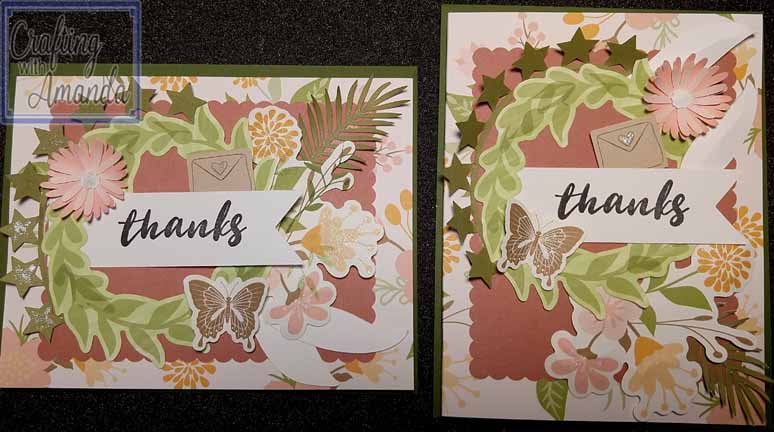
Card #7
I gave all the pre-cut die images from one card to the other card, and added all stars from the cricut cuts. Sprinkle in a few sequences and cards #7 are done.
Card #8
A couple of blue belle palm branches and a blue belle and white flower head joined a folded in half white leaf to complete cards #8. (Sprinkled with a few sequences too.)
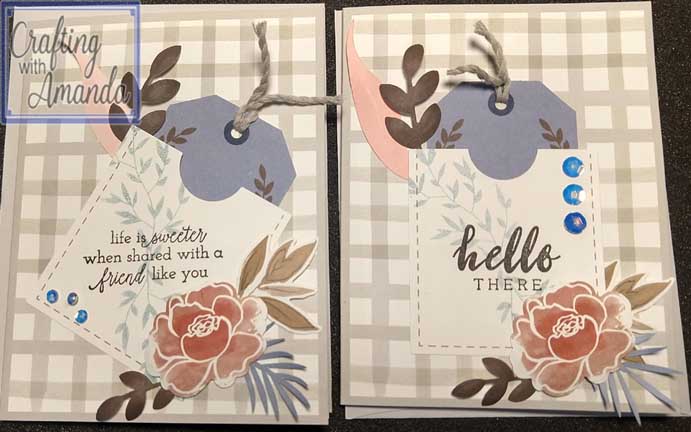
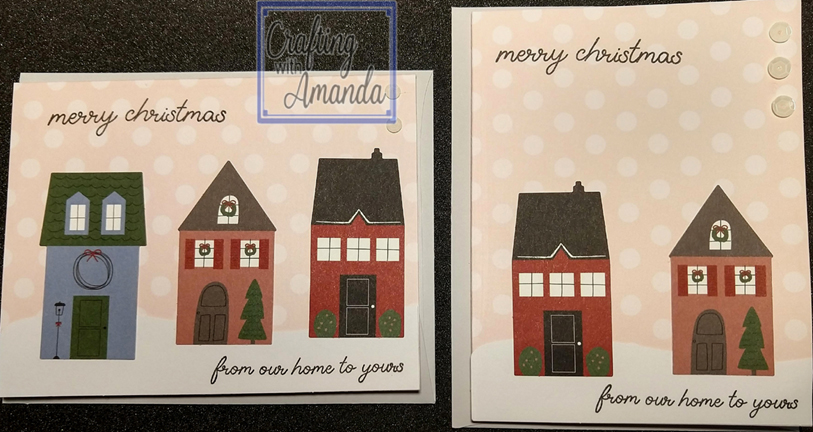
Card #9
In the chaos of moving from room to room, one of the blue houses was lost for Card #9. Add a few sequences and rotate the 2nd card and it’s done.
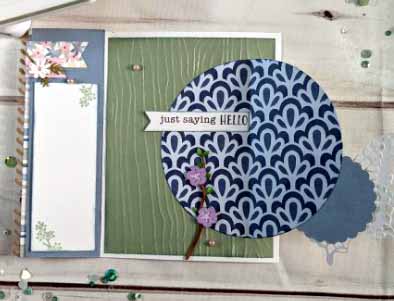
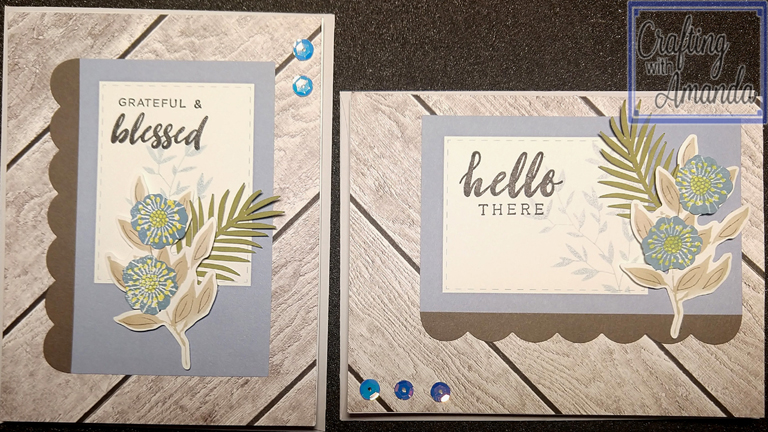
Card #10
I took both of the pre-printed card bases and cut them in half. I added 2 white card bases and added the front panel on them. The flowers on the branch are not pre-printed, so I found a flower stamp and used the center to turn the blank die-cuts into flowers. (The other 2 panels will be used in the bonus cards later.)
Card #11
Card #11 was straight foward. Some stylus embossing on the flowers and palm branch, add some foam tape for dimension and sprinkle with a few sequences.
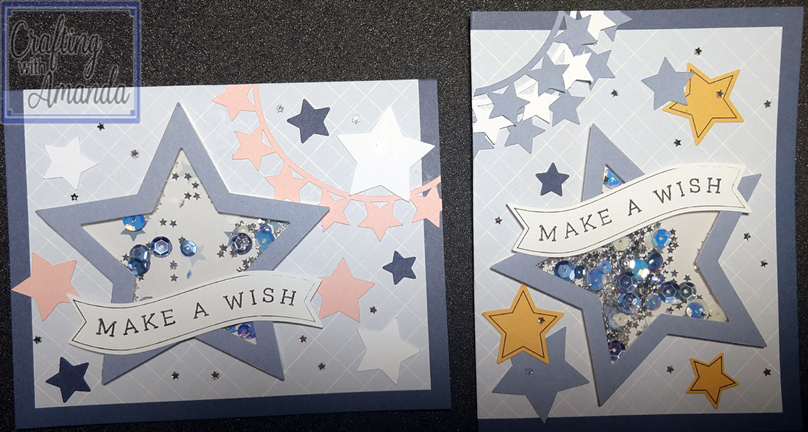
Card #12
I put all the yellow stars with one card base and added pink & white to the other card base. Sprinkle a few tiny silver stars and both cards should be well received.
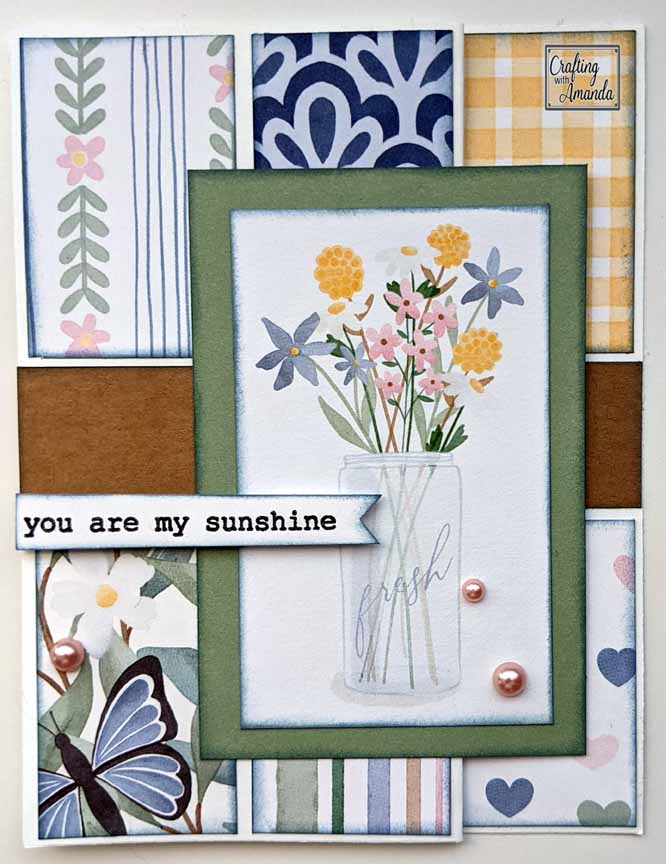
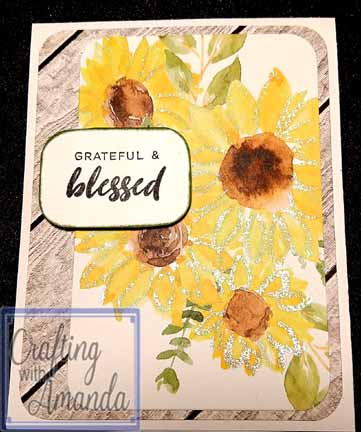
Bonus Card #1
Rounding the corners from one of the wood card panels cut from Card #10, I then cut the sunflowers off of the notecard from Jeannette Lynton and added a foam taped sentiment. You can see a few of the petals were outlined with the clear shimmer brush.
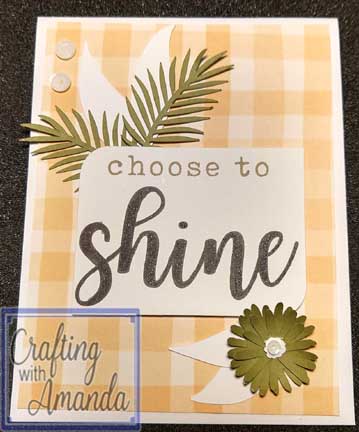
Bonus Card #2
The sentiment also came from the notecard from Jeannette Lynton and so I added some of the left over palm branches and white leaves along with a great flower head for fun.
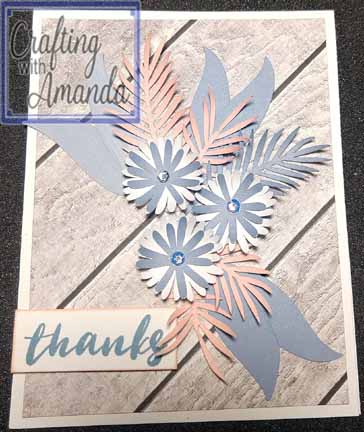
Bonus Card #3
This last card I took the last woodgrain panel from card #10 and made a cluster of flowers and leaves that were left over from the set of cricut images I added to this subscription kit.
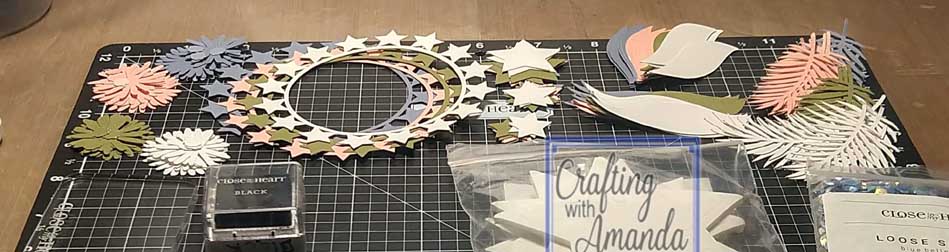
If you didn’t see the Cricut Image set in the previous post. Here it is. All the images come from the Flower Market cartridge and I used 4 half sheets of 12×12 in blue belle, peach, fern & white daisy.