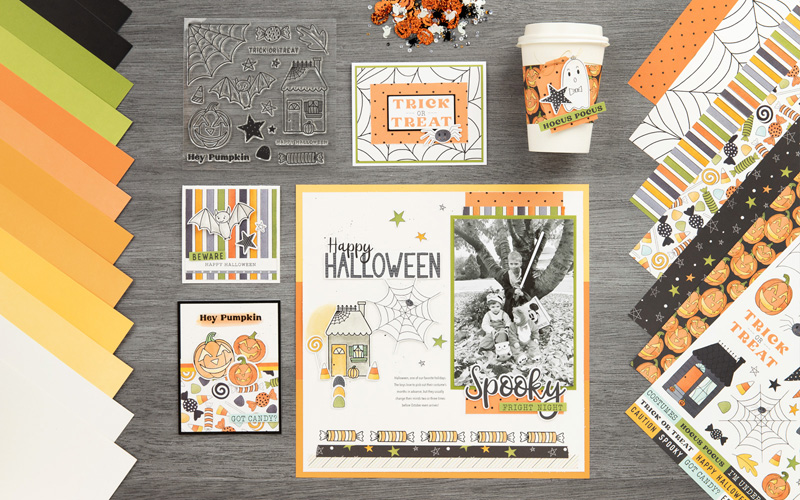
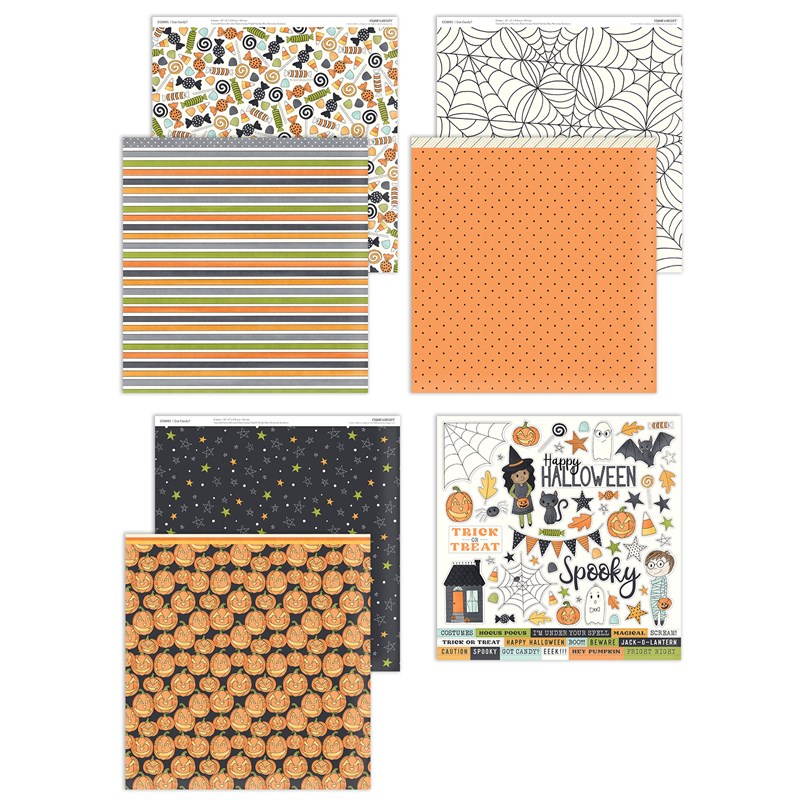
Through the end of October, or while supplies last, CTMH is offering a collection of Halloween papers & embellishments called Got Candy.
It’s easy to see this paper for some Halloween cards or layouts, but it easily lends itself to other jolly occasions. I have some photos when friends visited and we went to California Adventure that I think will look great on this paper!
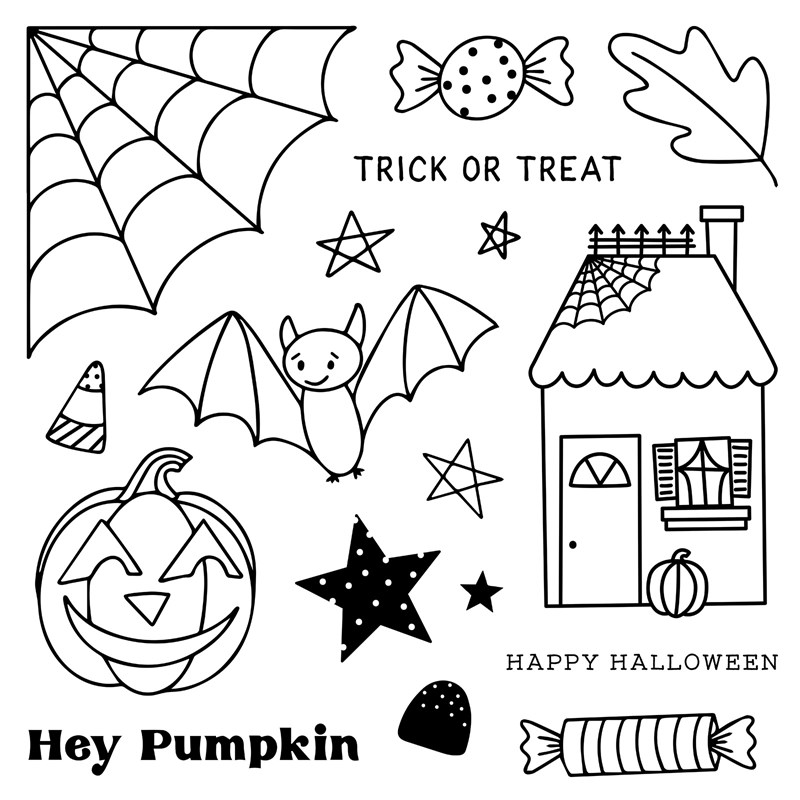
I love the stamp set that goes with this kit. It makes me happy and reminds me of happy days.
Less than $1.85 per card including tax and shipping for the yearly subscription is an a amazing deal. That doesn’t include any bonus cards or the stamp set, block & ink! Here are cards 3-12 plus the 3 bonus cards I made with a brief description of what I did to create the cards.
Card #3
All I did on card #3 was stylus emboss the big heart, one of the little hearts & curved the petals on the green flower. I used foam tape under the hearts above the sentiment. I also stamped the leaves under the green flower head.
Card #4
Card Number four was kicked up a notch with a couple of pink leaves and a palm branch. Splattered the sentiment base with the pink shimmer brush and added some sequence along with stylus embossing the foliage & flower.
Card #5
I added some fern color stars from the circles of stars along with palm brand and a peach flower head to card #5. Glitzed it up a bit with the clear shimmer brush too.
Card #6
Adding some second generation stamped leaves and a few of the cricut cuts was all Card #6 needed.
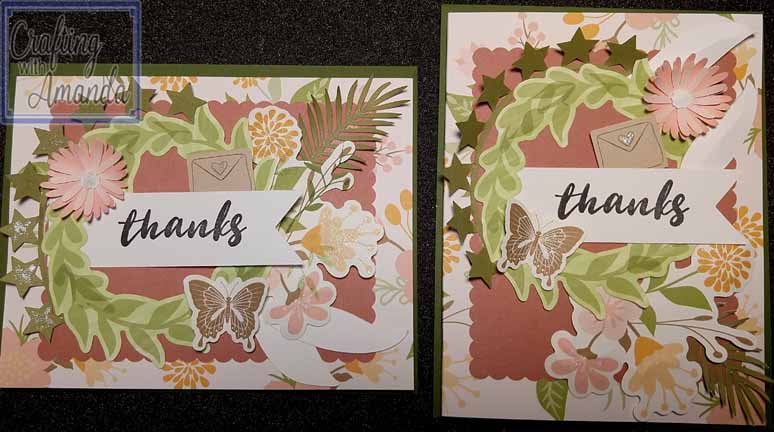
Card #7
I gave all the pre-cut die images from one card to the other card, and added all stars from the cricut cuts. Sprinkle in a few sequences and cards #7 are done.
Card #8
A couple of blue belle palm branches and a blue belle and white flower head joined a folded in half white leaf to complete cards #8. (Sprinkled with a few sequences too.)
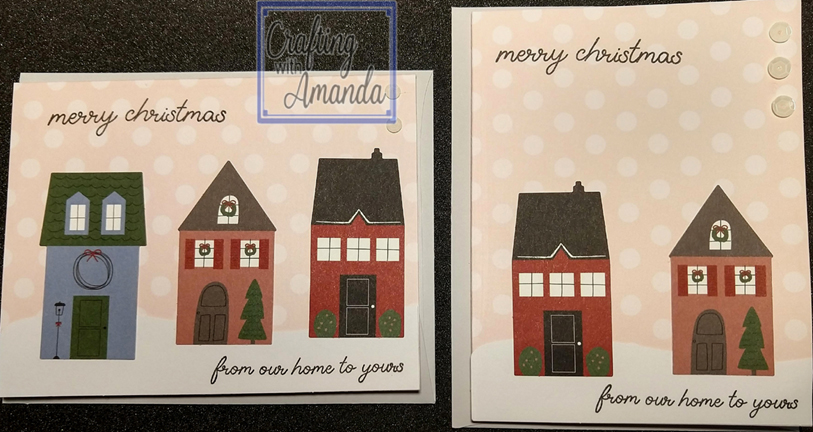
Card #9
In the chaos of moving from room to room, one of the blue houses was lost for Card #9. Add a few sequences and rotate the 2nd card and it’s done.
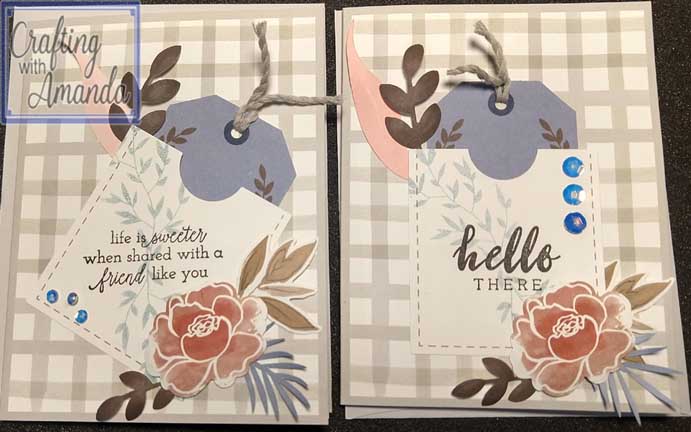
Card #10
I took both of the pre-printed card bases and cut them in half. I added 2 white card bases and added the front panel on them. The flowers on the branch are not pre-printed, so I found a flower stamp and used the center to turn the blank die-cuts into flowers. (The other 2 panels will be used in the bonus cards later.)
Card #11
Card #11 was straight foward. Some stylus embossing on the flowers and palm branch, add some foam tape for dimension and sprinkle with a few sequences.
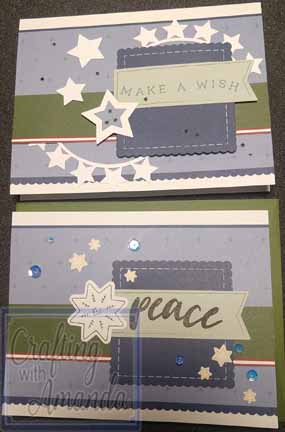
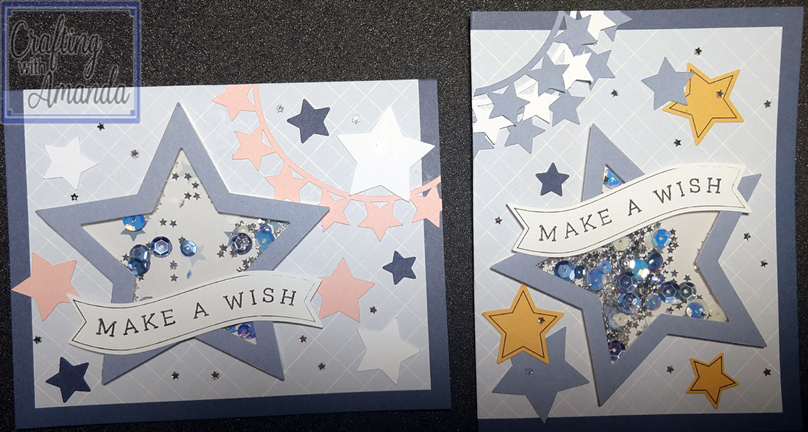
Card #12
I put all the yellow stars with one card base and added pink & white to the other card base. Sprinkle a few tiny silver stars and both cards should be well received.
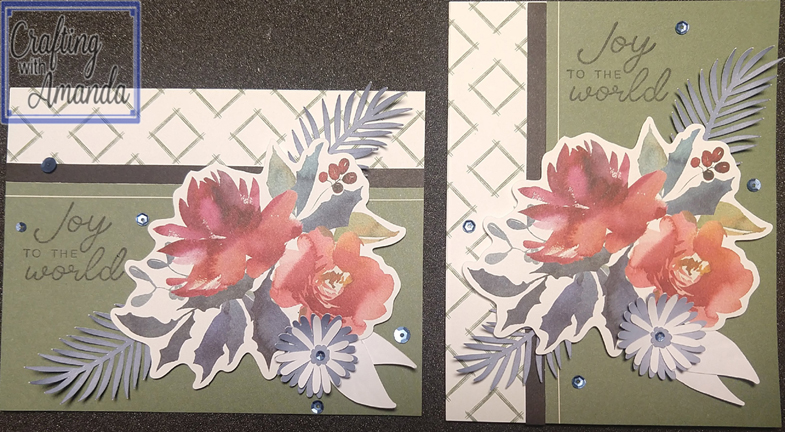
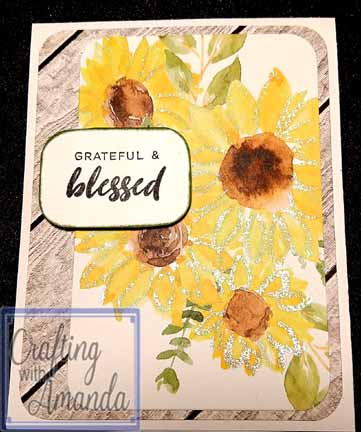
Bonus Card #1
Rounding the corners from one of the wood card panels cut from Card #10, I then cut the sunflowers off of the notecard from Jeannette Lynton and added a foam taped sentiment. You can see a few of the petals were outlined with the clear shimmer brush.
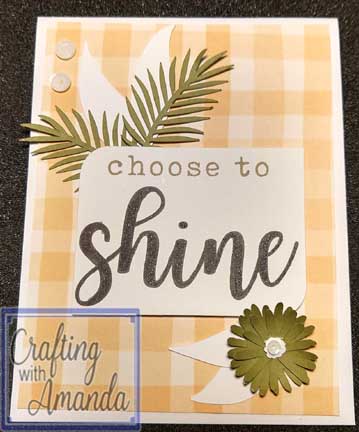
Bonus Card #2
The sentiment also came from the notecard from Jeannette Lynton and so I added some of the left over palm branches and white leaves along with a great flower head for fun.
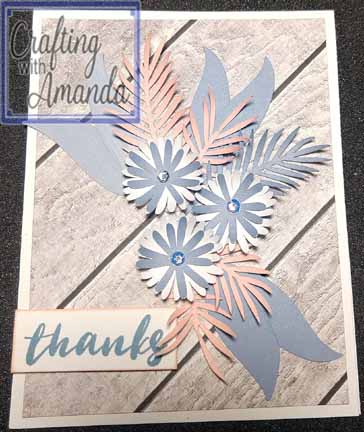
Bonus Card #3
This last card I took the last woodgrain panel from card #10 and made a cluster of flowers and leaves that were left over from the set of cricut images I added to this subscription kit.
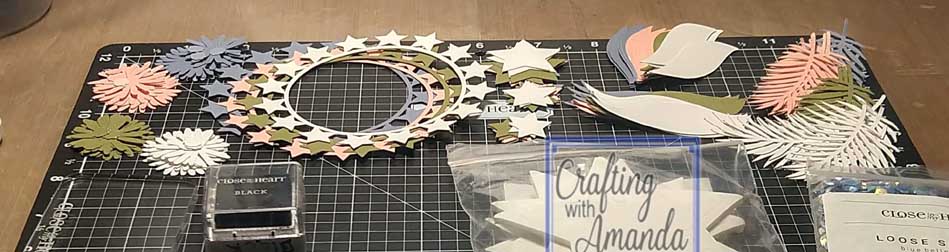
If you didn’t see the Cricut Image set in the previous post. Here it is. All the images come from the Flower Market cartridge and I used 4 half sheets of 12×12 in blue belle, peach, fern & white daisy.
This is one of the cards my free monthly club gals will be making in Sept 2020. If you would like to join the fun, come check us out at Crafting with Amanda VIP Group on face.
You might be tired of seeing iterations of the same distress oxide card, but it’s so quick that I was able to create and assemble 16 of them in less than an hour. Each crafter that qualified and signed up to receive the Sept card kit opened an envelope that had these things in it.
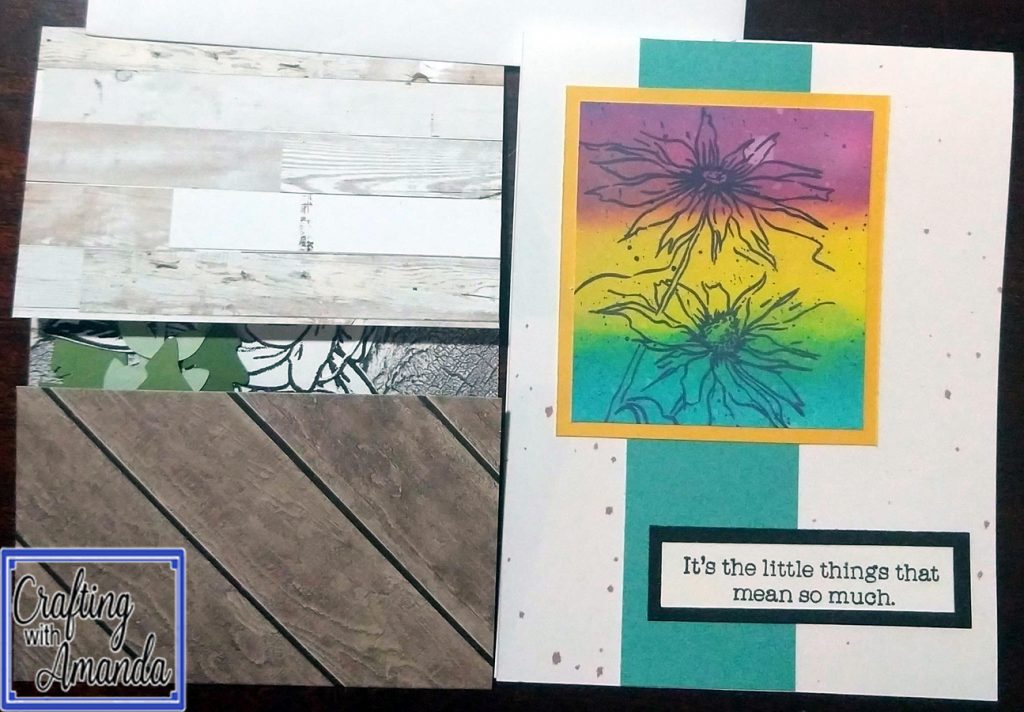
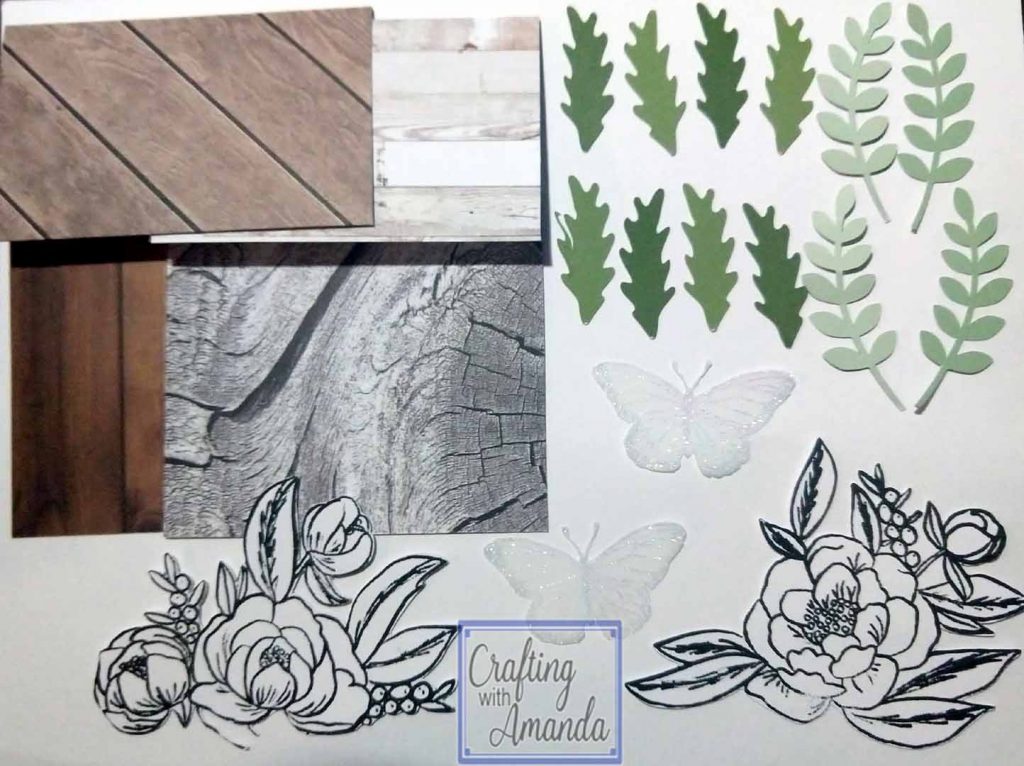
There are enough pieces here to create 2 bridge cards and we get to do some old fashioned coloring! I don’t know about you, but that just helps me relax.
https://youtu.be/O-XX4VkvLXM
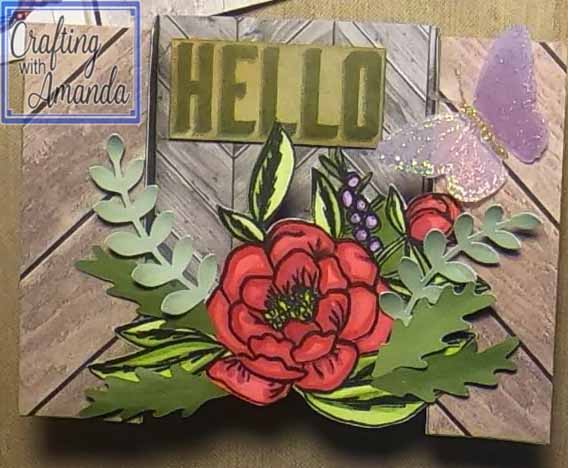
The video walks you through the process I used to create a bridge card. There are so many ways to create this card and they have such a wow impact to the receiver.
Hope you can find some crafting time in your world today!
Between being bounced in and out of the studio, an older computer and me learning new tricks, this latest video has taken a LONG time to get finalized. Just the exporting process took over 6 hours of computer time. That being said, ta da. Here it is!
The last blog has a link to the cricut design file cuts that I am using to enhance all the cards in this batch of subscription cards. Everyone that has ordered their subscription through Crafting with Amanda receives these shapes already cut with a homemade card from me. If you have ordered through another maker, that’s fine too, just click the link to the previous blog and you can still cut everything yourself!
Here is the version of the card as design by the wonderful crafty people at Close to my Heart.
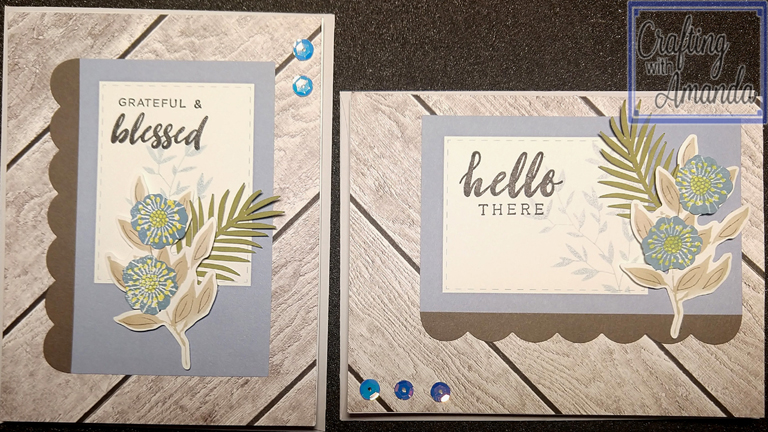
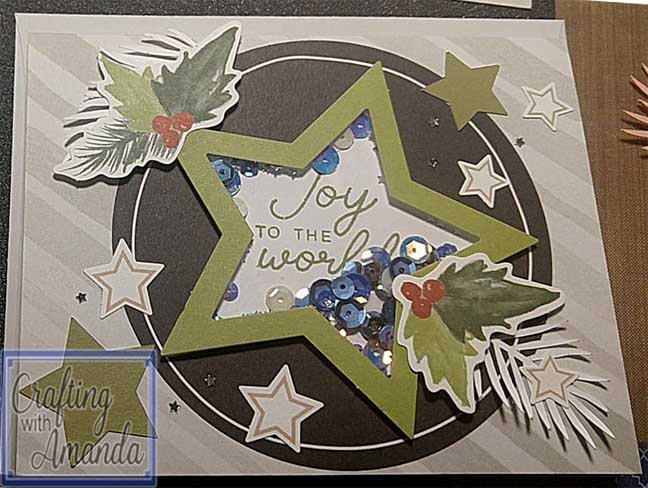
These are my amanda-ized versions of Card #1
For the first two cards, I decided to do one oriented like the original card, and the other I turned 90 degrees. The point of the star not being straight up and down might bother some, but I sometimes like things kitty-wampus (technical term).
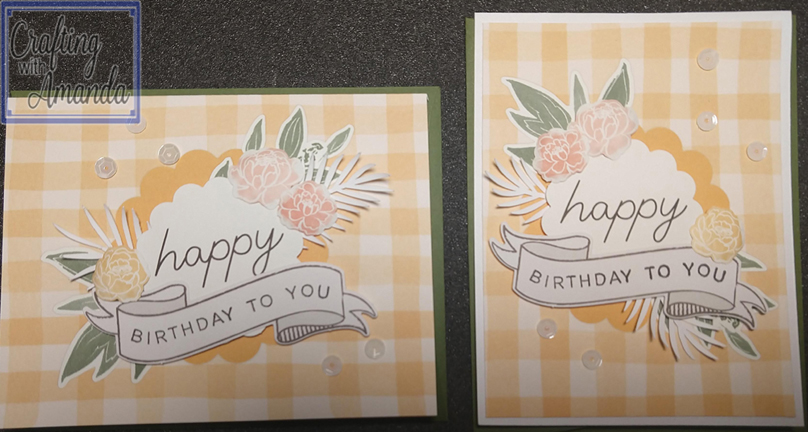
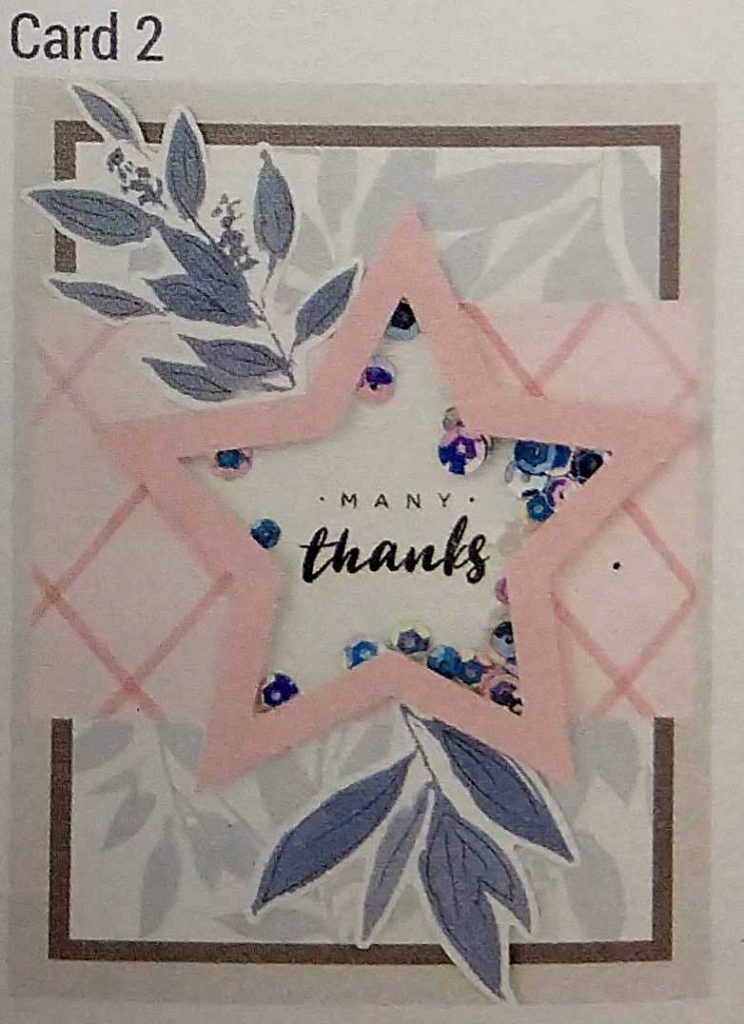
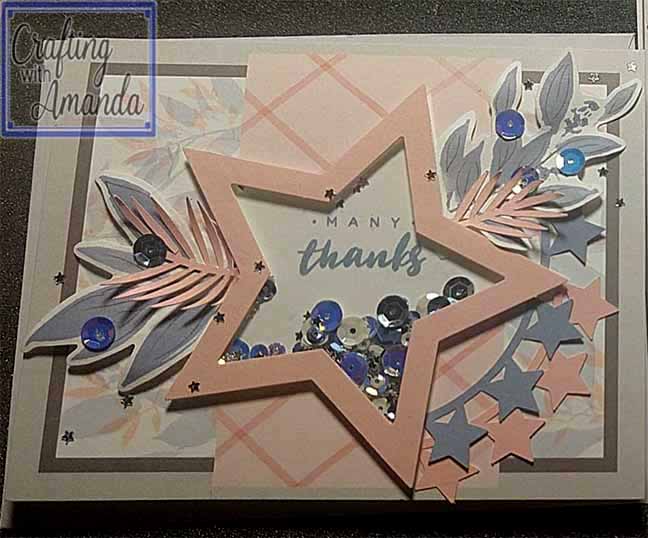
Here again is the CTMH version of card number 2
And now my versions.
I really had fun creating these. They took longer than I would have thought, and with a house filled with distractions, I am pleased with the results! How did you decide to put yours together?
Use the link above to quickly cut out the extra images I created for the CWH cards. In my set I used four 1/2 sheets of cardstock. One each of Blue Belle, Peach, Fern & White Daisy.
There will be a series of videos showing how I assembled the cards and used the extra images. Hope you enjoy!