Once again we got rain, so no field work for me today. Good thing I didn’t clean up my craft table so I can pick up where I left off last night!
I am finally getting to put together my first workshop on the go sample pages. I learned a couple of things. One, I really (REALLY) need to start editing my photos and get them printed as I am running out of photos in the house. As I haven’t had any printed for over a year, it’s past time. Second, I LOVE the CTMH Artbooking cartridge. It has so many cool images, page layouts, photo mats . . . I’m just thrilled.
So, here are the two layouts I completed yesterday. The first one is my version of the workshop layout. 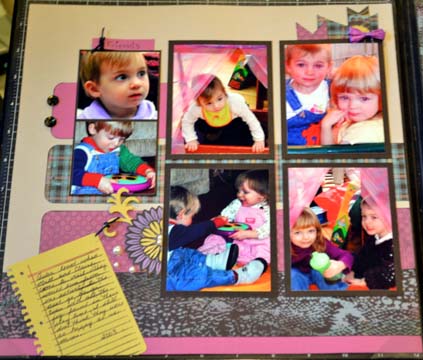

The original artwork in the Laughing Lola workshop used three small strips for journaling. That was not going to be enough for me on this page, so I broke out Artbooking and cut the cute “notebook” page and stamped it with the lines stamp (provided in the cartridge bundle so conveniently). I love dimensional elements and I have more embellishments than I could probably use in a lifetime so I just kept adding flowers, pearls and baubles. I also cut the title “Buddies,” and added it to the bottom corner. I’ll have more detailed instructions for cutting the paper ribbon ends and some of the techniques in a future blog.
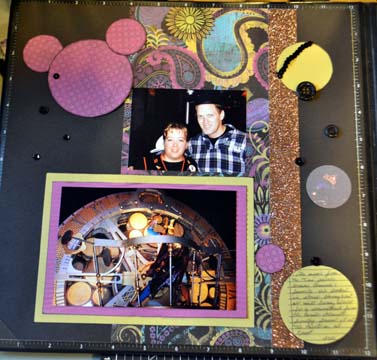

This second layout is a combination. I used the overlay from p87 of Artbooking for the right page and pattern 17 from Make It From Your Heart Vol2 for the left. I very rarely create single pages, but with all the photos for this layout it worked out great.
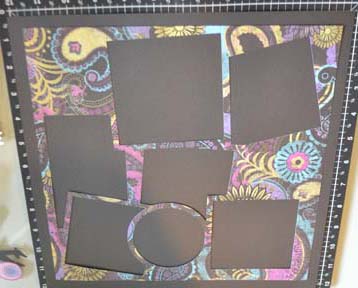
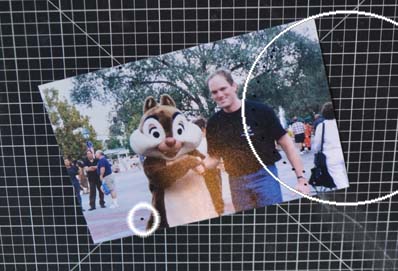
Here’s my tip for the day. After you cut an overlay for photos, keep all the cut out pieces to help you cut your photos to fit. 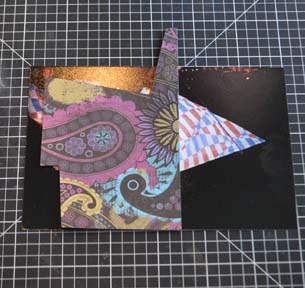
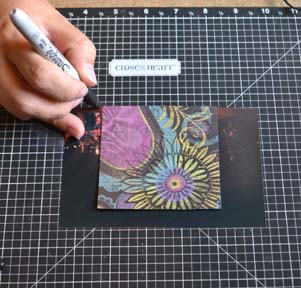
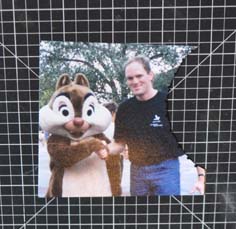
Once I decided what part of the photo I was going to use, I took a permanent marker and put dots on each of the corners. In hindsight, I would give myself more edging so I will place my dots farther away from the photos.
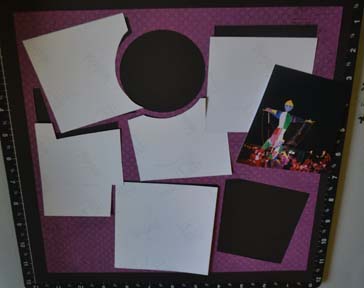 Once I got all the photos trimmed I turned the overlay over and attached them to the paper. If I had any open areas, I cut a piece of paper from the photo space paper and glued it down as well. I used the back side as my paper pattern was busy it just blended in, but you could use the exact piece to put back and the pattern would match exactly.
It’s hard to describe, but I’m hoping the photos will help. More details on my next blog!
Happy Crafting!
