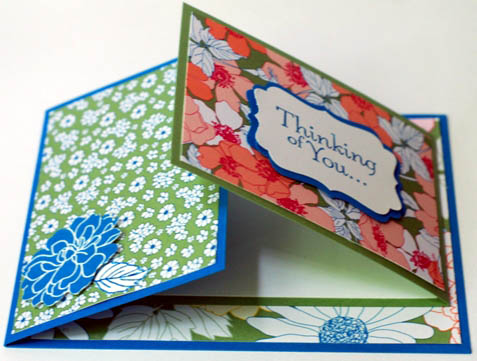
And the folds keep on coming. We did both the z fold and this double z-fold in October. Many of our normal attendees weren’t able to make it, but they all got caught up at the craft retreat that started the next day.
Once you have mastered the z-fold, I highly recommend the double z-fold. It takes a little more time, but so worth it.
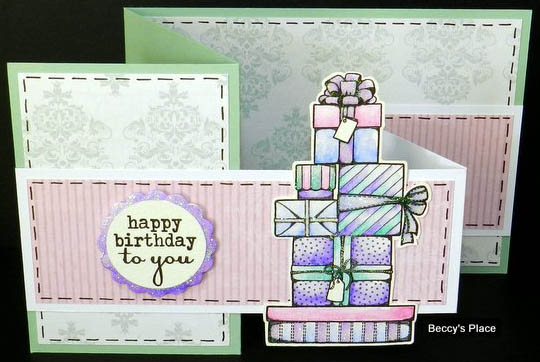 (This photos was found on google. )
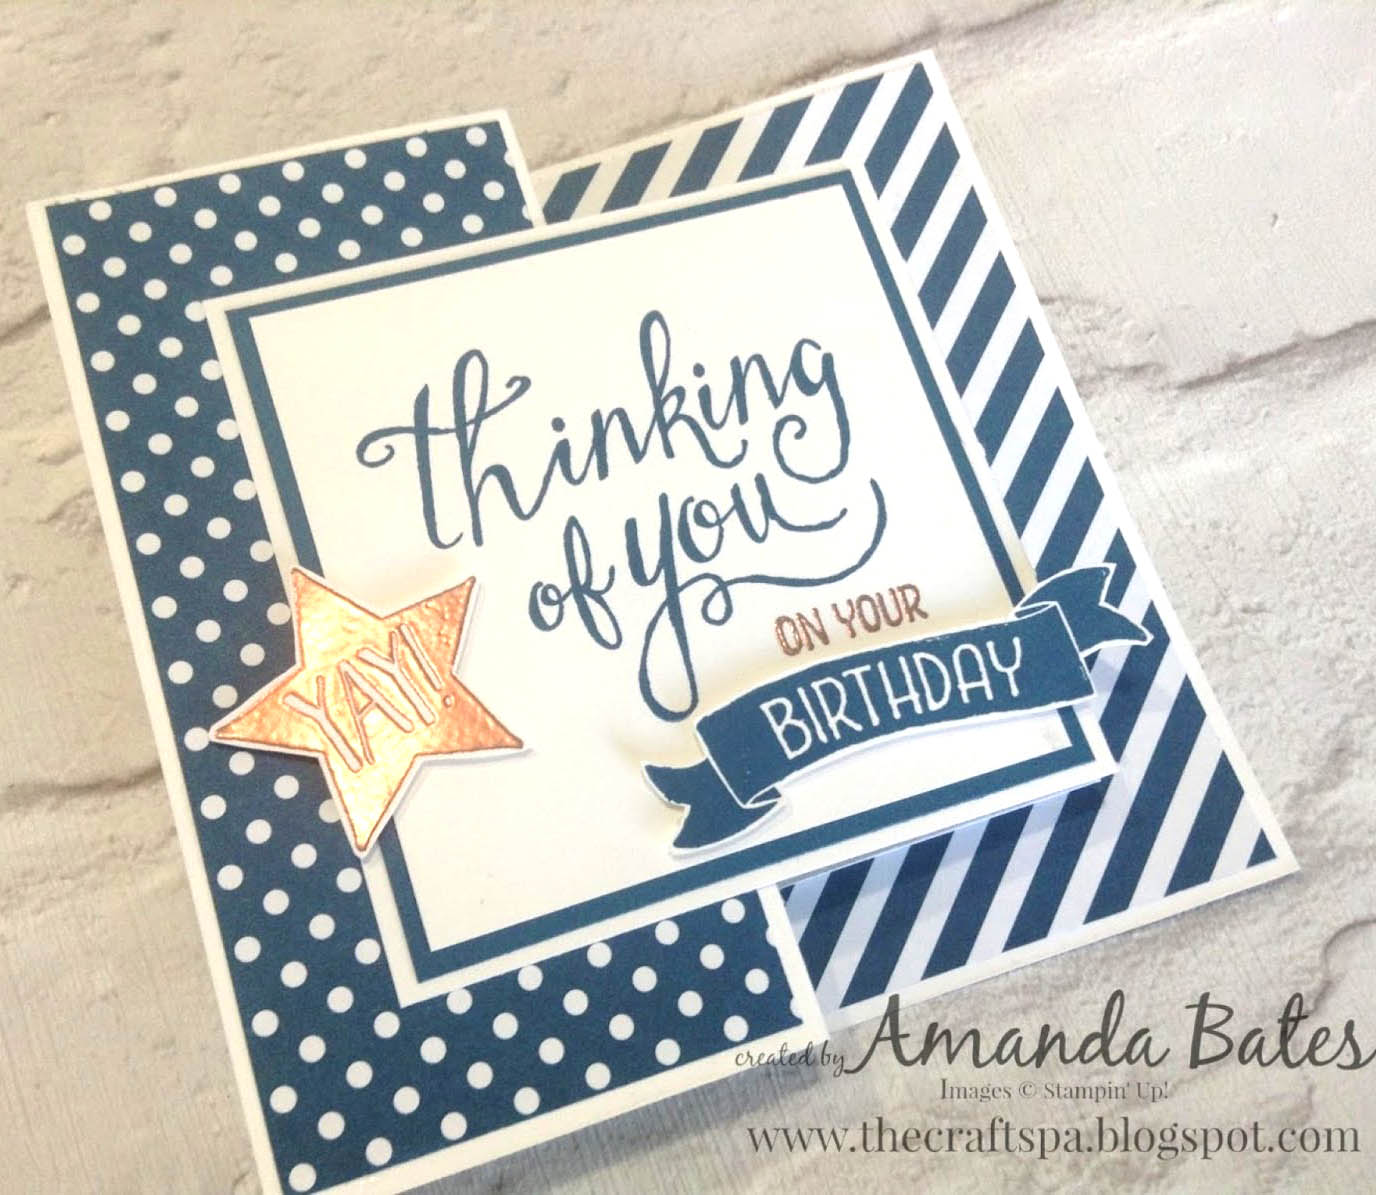
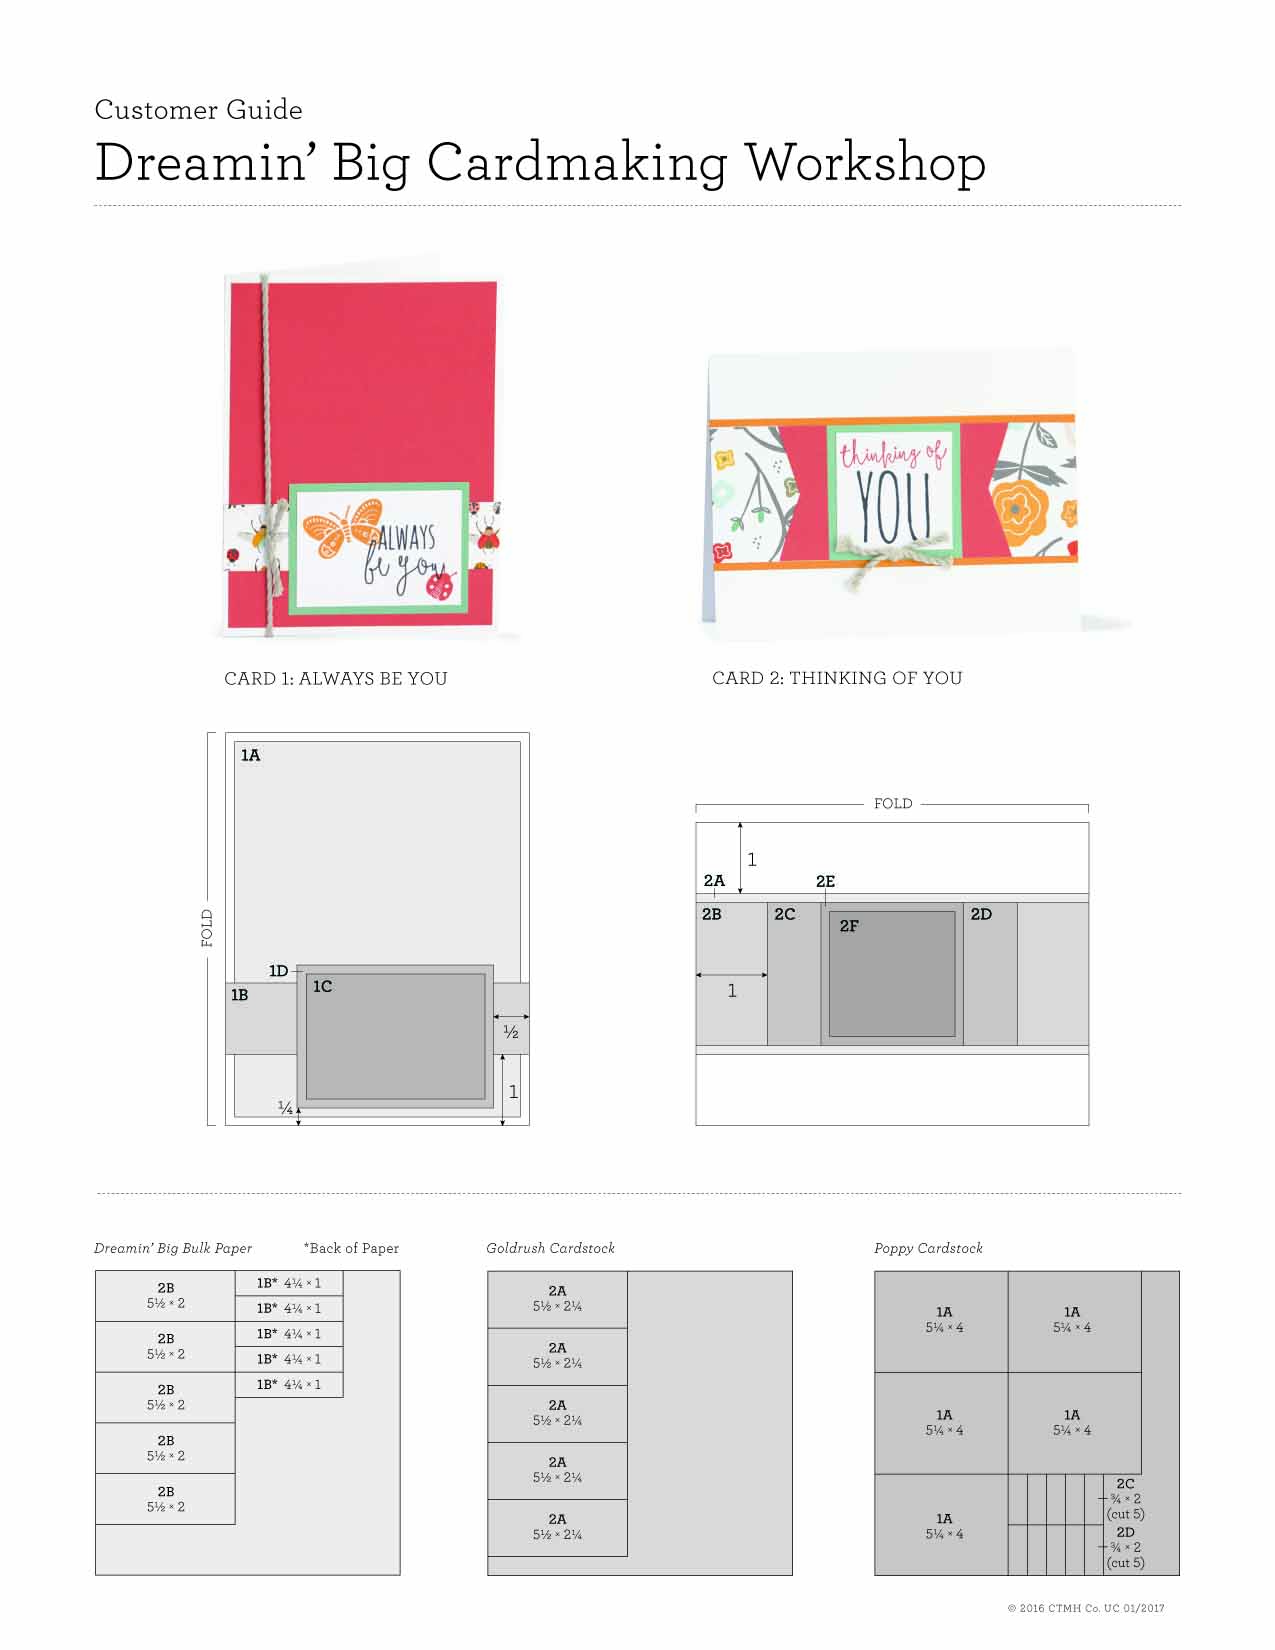
Double Z-Fold: The trick to this to ensure that it will always work is the middle of each fold is the same length. Here is the fold measurements for a standard card (4.25 & 5.5). All measurements are from a 8 ½ x 5 ½ card base.
Base: Score at 2 1/8 & 4 ¼,
Top: Trim second base (5 ½ x 8 ½) to height desired and cut to 7.5″ in
length, then score at 3 ¼ and 5 3/8.
Attach top base to bottom base by aligning the 2 1/8″ section to the right edge of the base and glue that in place. Fold the base and then put glue on the back of the top that will overlap the front of the base.
Happy Crafting!
 Unfortunately I gave away the cards I made in this video before I took photos of them. Opps!
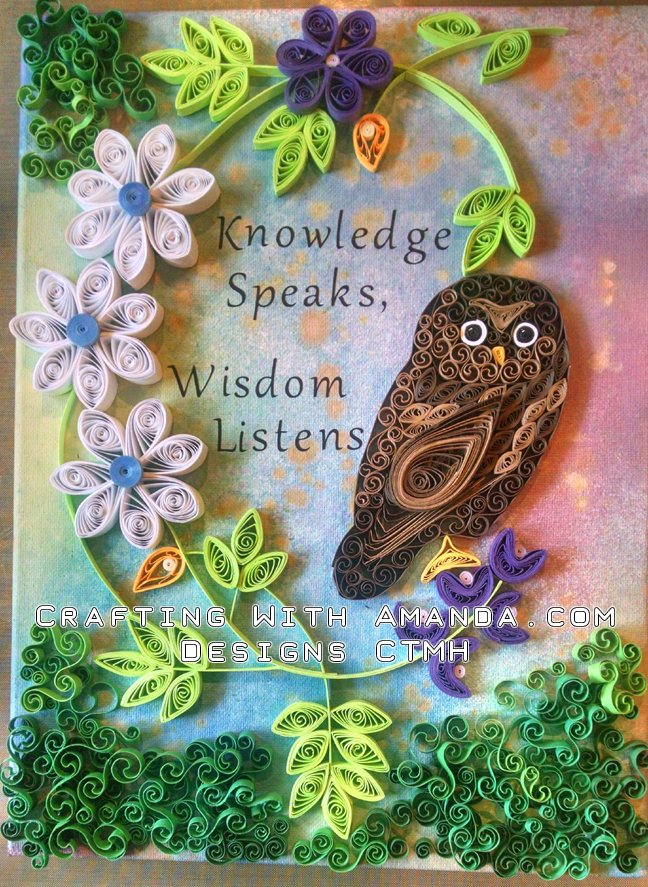 I am not sure why I didn’t think of this earlier, but I got out my spray pens with re-inker & alcohol and started to spray a canvas. LOVING the results.
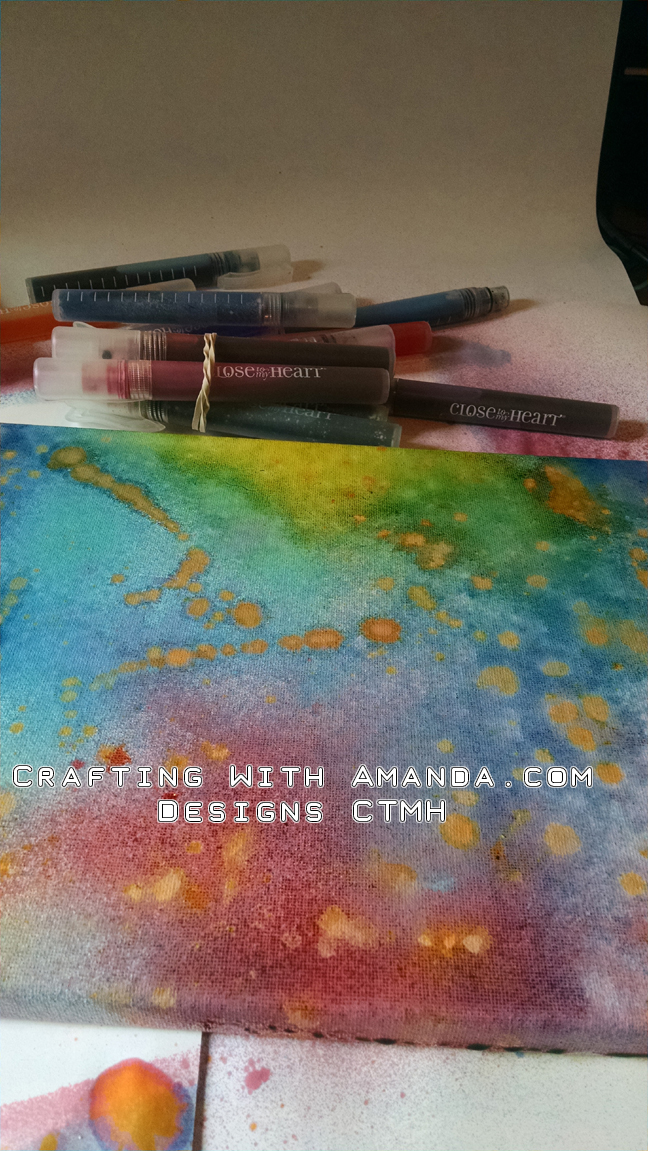 When I started quilling, I would create just to try new techniques, so I have several containers with flowers, leaves, this and that. I dumped them on my desk and found some that worked with the colors on the pallet.
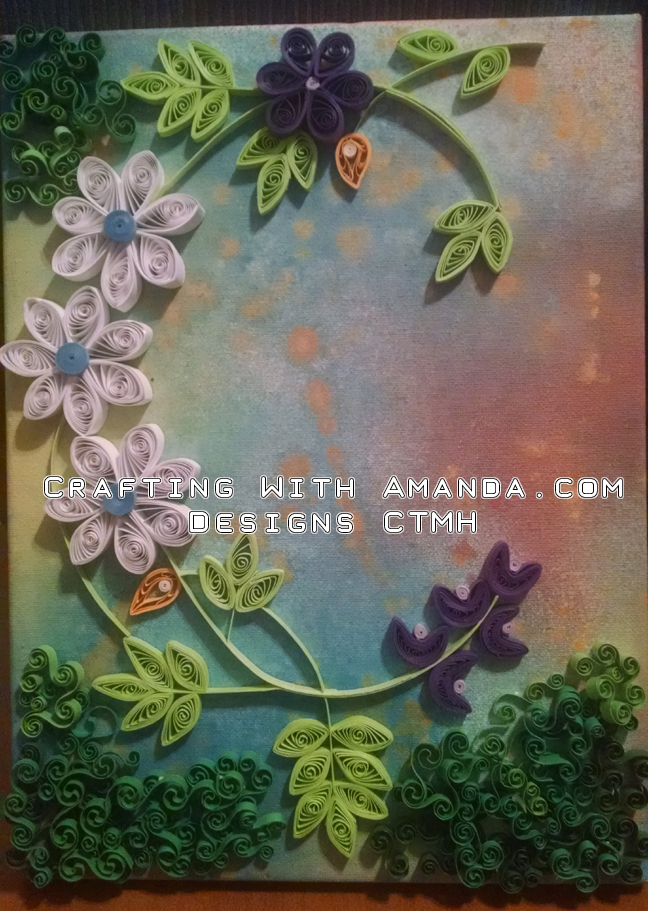 Once I created the “C,” it needed something so I posted this on facebook to ask for ideas. The feedback was great, but I just couldn’t figure out how to create fireflies with quilling. So, instead I decided to do an owl. (Besides, I loved doing all the beehive quilling I did on the tree for the Winnie the pooh project. and knew it would fit for the feathers.)
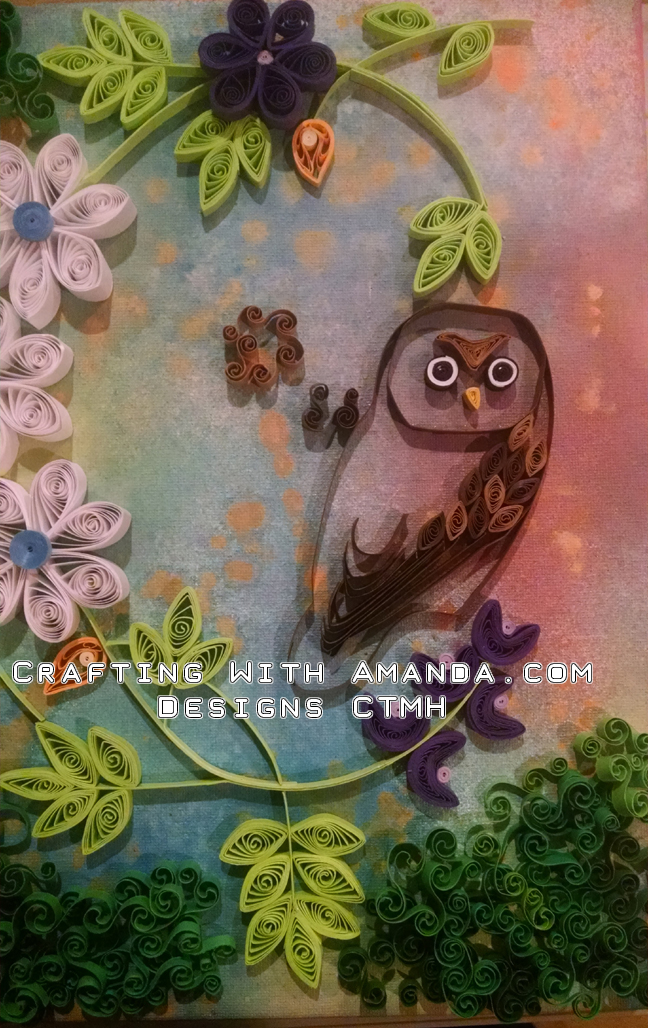 Once again, the quilling didn’t go the way I thought it would, but took me in a different direction. Sometimes you have to let the project lead.
